EASY No Bake Raspberry Cheesecake

I remember making this NO BAKE cheesecake for a boy I thought I was in love with as a teenager. I was trying to win his heart through his stomach.  EEK…..

Easy Raspberry Cheesecake recipe


When he proposed a year later, I decided he wasn’t really who I wanted after all…snicker….Typical fickled 19 year old, right?  Yeah.  But he wasn’t wrong to love my cheesecake.  No Way. 

I buy the graham cracker crust for the Raspberry Cheesecake….It’s just EASIER! 


I like to take shortcuts where I can so I bought the graham cracker crust pie crust. You could easily make one too with butter, sugar and graham crackers, but why bother? Make life easier on yourself! Plus the clear plastic top makes a great pie carrier.  


Easy No Bake Cheesecake Recipe:

  • 10 ounces cream cheese
  • 1/2 cup powdered sugar
  • 1 teaspoon vanilla
  • 1/2 teaspoon lemon juice
  • 1 cup heavy cream
  • fruit toppings of your choice
  • Directions:
Beat together the cream cheese, sugar, vanilla and lemon juice in a bowl until smooth.Then whip up the cream, and then add it into the cream cheese mixture.  Spread the cheesecake  into your graham cracker pie crust and put in the fridge for 3 hours or overnight to set up. 
I LOVE this raspberry topping for a cheesecake…It is the most popular too!

I helped serve at my niece’s wedding reception. They had cheesecake with multiple toppings for dessert. There was a choice of blueberry, raspberry, strawberry and cherry.  The first one to go was the raspberry. Everybody loved it. It is rich and dark and syrupy and tart. Love, love, love it! It is above on the left.

Cut 1/4th off a 2nd block of cream cheese for your cheesecake..

The other thing I like about a store bought graham cracker crust is the built in lid that you flip over and it makes a great pie taker. So your cheesecake doesn’t get smashed up in the car ride. Yeah! How easy is that? Easy peasy!

1 1/4 blocks of cream cheese in this cheesecake recipe…super easy and quick! 

Heavy Whipping cream, some vanilla and some lemon juice….

A little powdered sugar and mix it up! So quick and yummy too! 
Here is my finished cheesecake all set up and ready to take to the family party! 

Raspberry topping…or cherry or blueberry,  and a dollop of whip cream….yummy~!


Grandpa made this cranberry relish with nuts…I was thinking of trying it out on the cheesecake too…Doesn’t THAT sound delicious?  

When you serve it, top each piece with 2 spoonfuls of a good, canned, cherry, blueberry or raspberry pie filling, or fresh strawberries and a dollop of Cool Whip.  Easiest and yummiest cheesecake pie you will ever make.  It isn’t as “cheesy and hard” as some kinds of cheesecake. It is more light and creamy and lemony.  And every crumb will be licked off of the plates, I promise!  

Dinner Rolls Tutorial

Here is a recipe I got from my sister in law, Robin. So I think I should call these Robin’s Rolls. They are  really fluffy and yummy dinner rolls. She made these a few Thanksgivings ago and I loved them!  So I called her up to get the recipe to make my own.

Yummy, hot and buttery Dinner Rolls Recipe…
With real butter and homemade raspberry jam, these homemade dinner rolls are to DIE for good!

Robin’s Fluffy Dinner Rolls Recipe
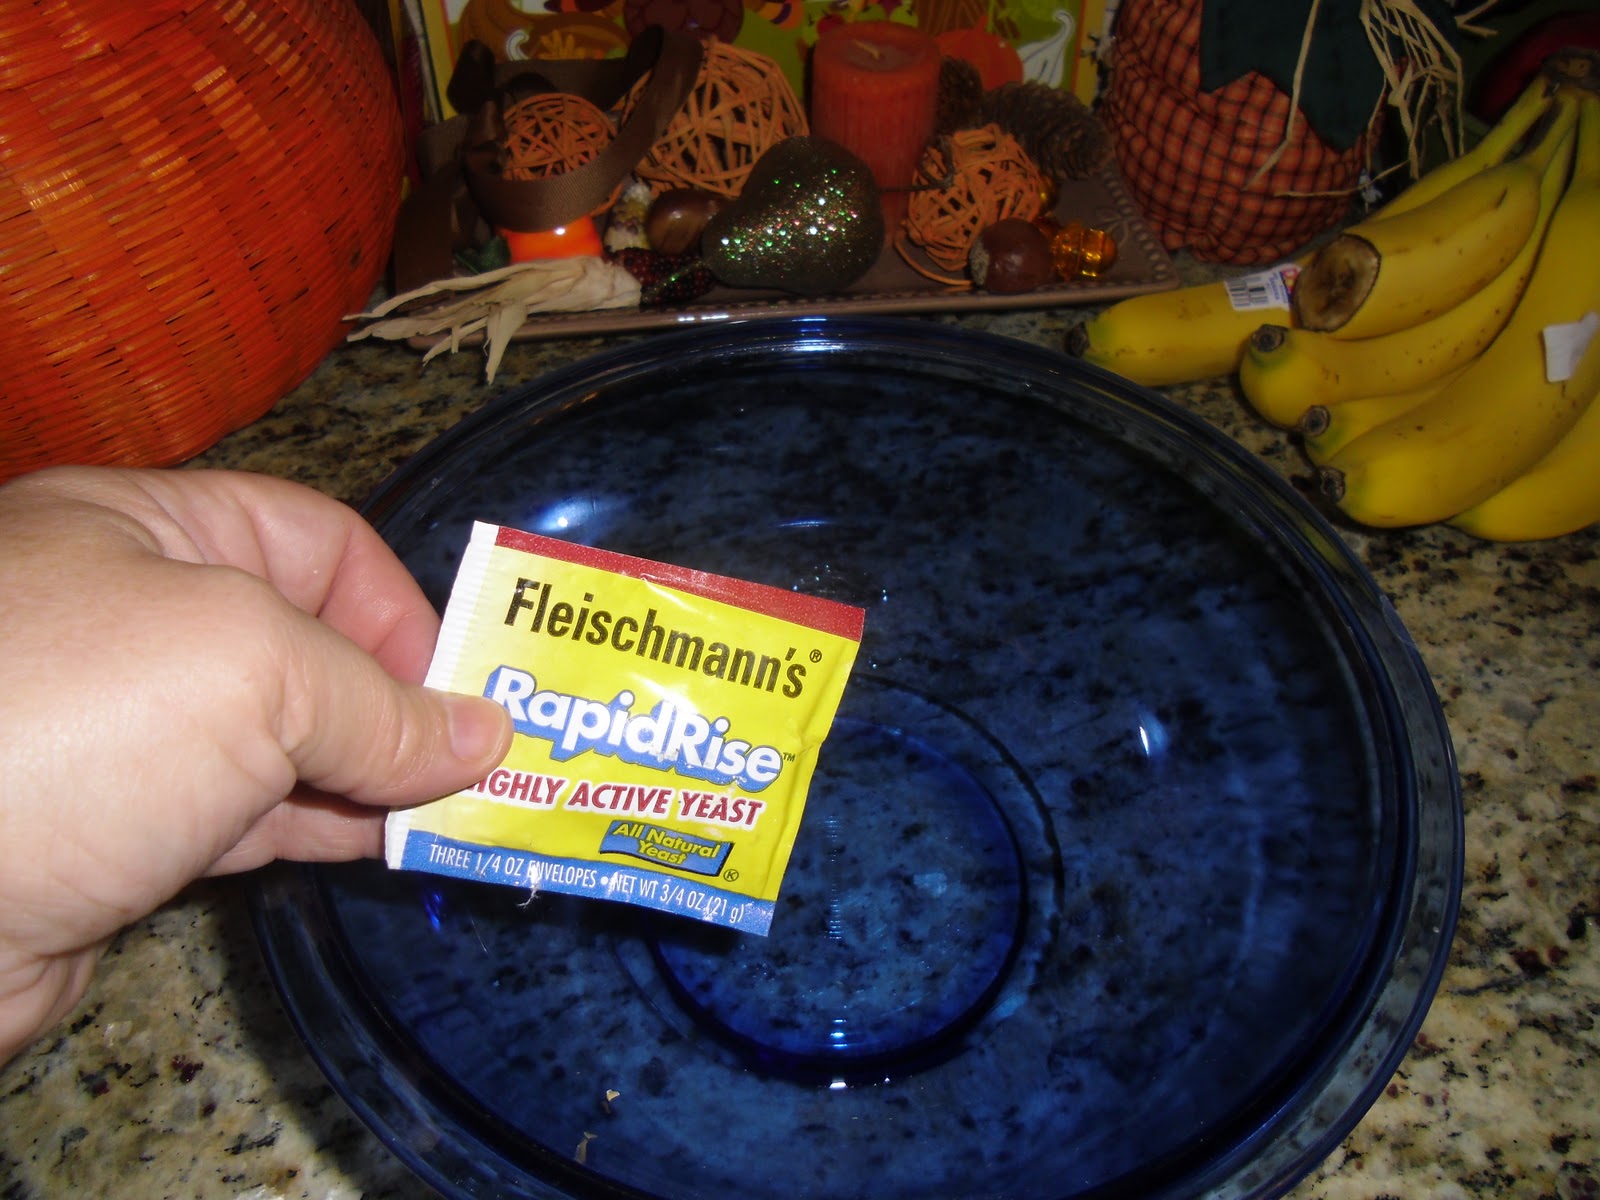
1 package dry yeast
1/4 cup really warm (not HOT!) water
1 cup of microwaved  hot milk
1/4 cup sugar
1 teaspoon salt
1/4 cup oil
——————–do the above part first….then add half the flour, then egg. then last of flour.

3 1/2 cups flour
1 egg

After rising twice and forming into crescents, put them on oiled baking pans and bake them at 375 for 10 to 12 minutes. This recipe makes about  24 rolls.

Let’s make some homemade dinner rolls! 

DIRECTIONS
Add the yeast to the warm water in a bowl and let sit for 2 minutes. Then add sugar.  Let sit.  The sugar FEEDS the yeast. Don’t disturb it. It will turn a little foamy.

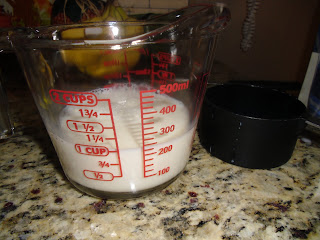
I never scald the milk when it calls for it, just microwave it till it’s hot…..

Then put microwaved warm milk into your mixer.  I Microwave milk till it’s hot– then let it get to warm before I add it to the yeast mixture. If your liquids are too hot they kill the activation of the yeast. We want fluffy rolls, not flat, dense rolls! Have you ever had those? Yeah. The yeast probably got killed.

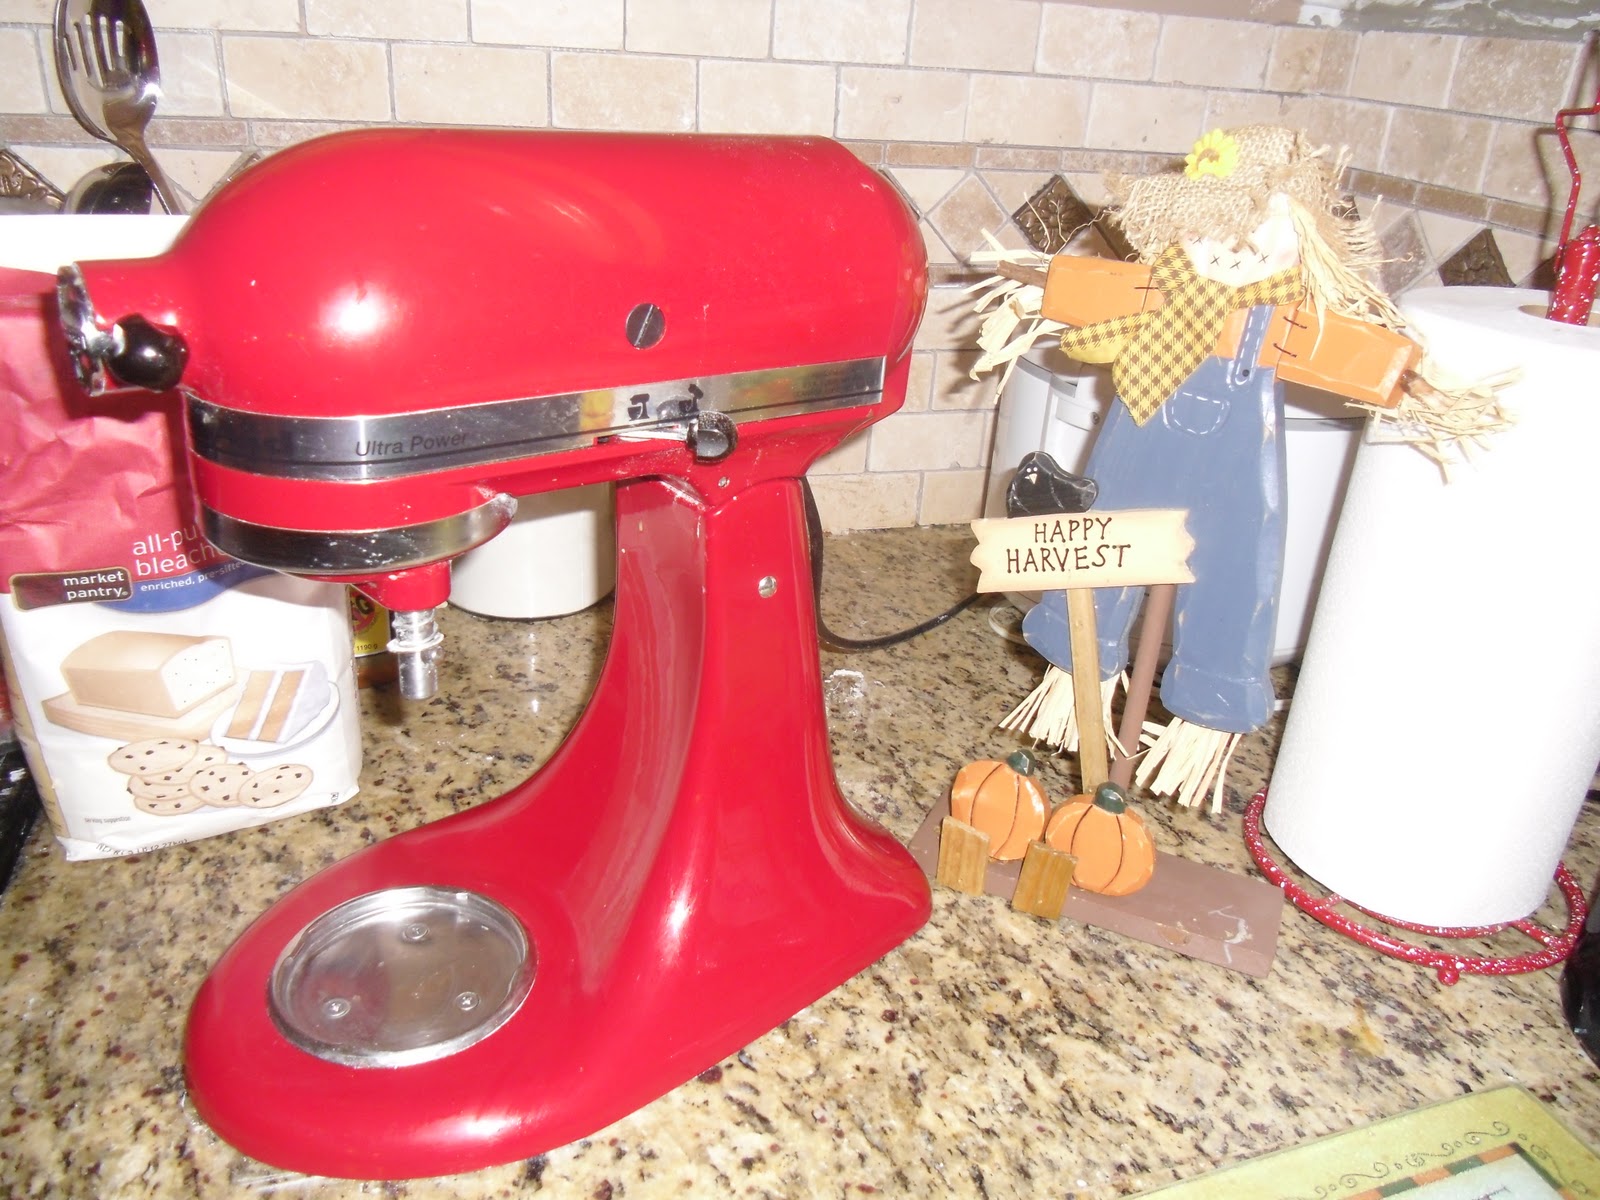
My favorite kitchen utensil…..my Kitchenaide Mixer! 

Then add the yeast mixture into the milk and mix together. Then dump in the oil and salt (add salt after other ingredients as it slows down the activation of the yeast). Lastly add a cup or so of flour, then the egg, then the other 2 1/2 cups of flour…… a cup at a time. It takes like less than 10 minutes to mix these babies up.

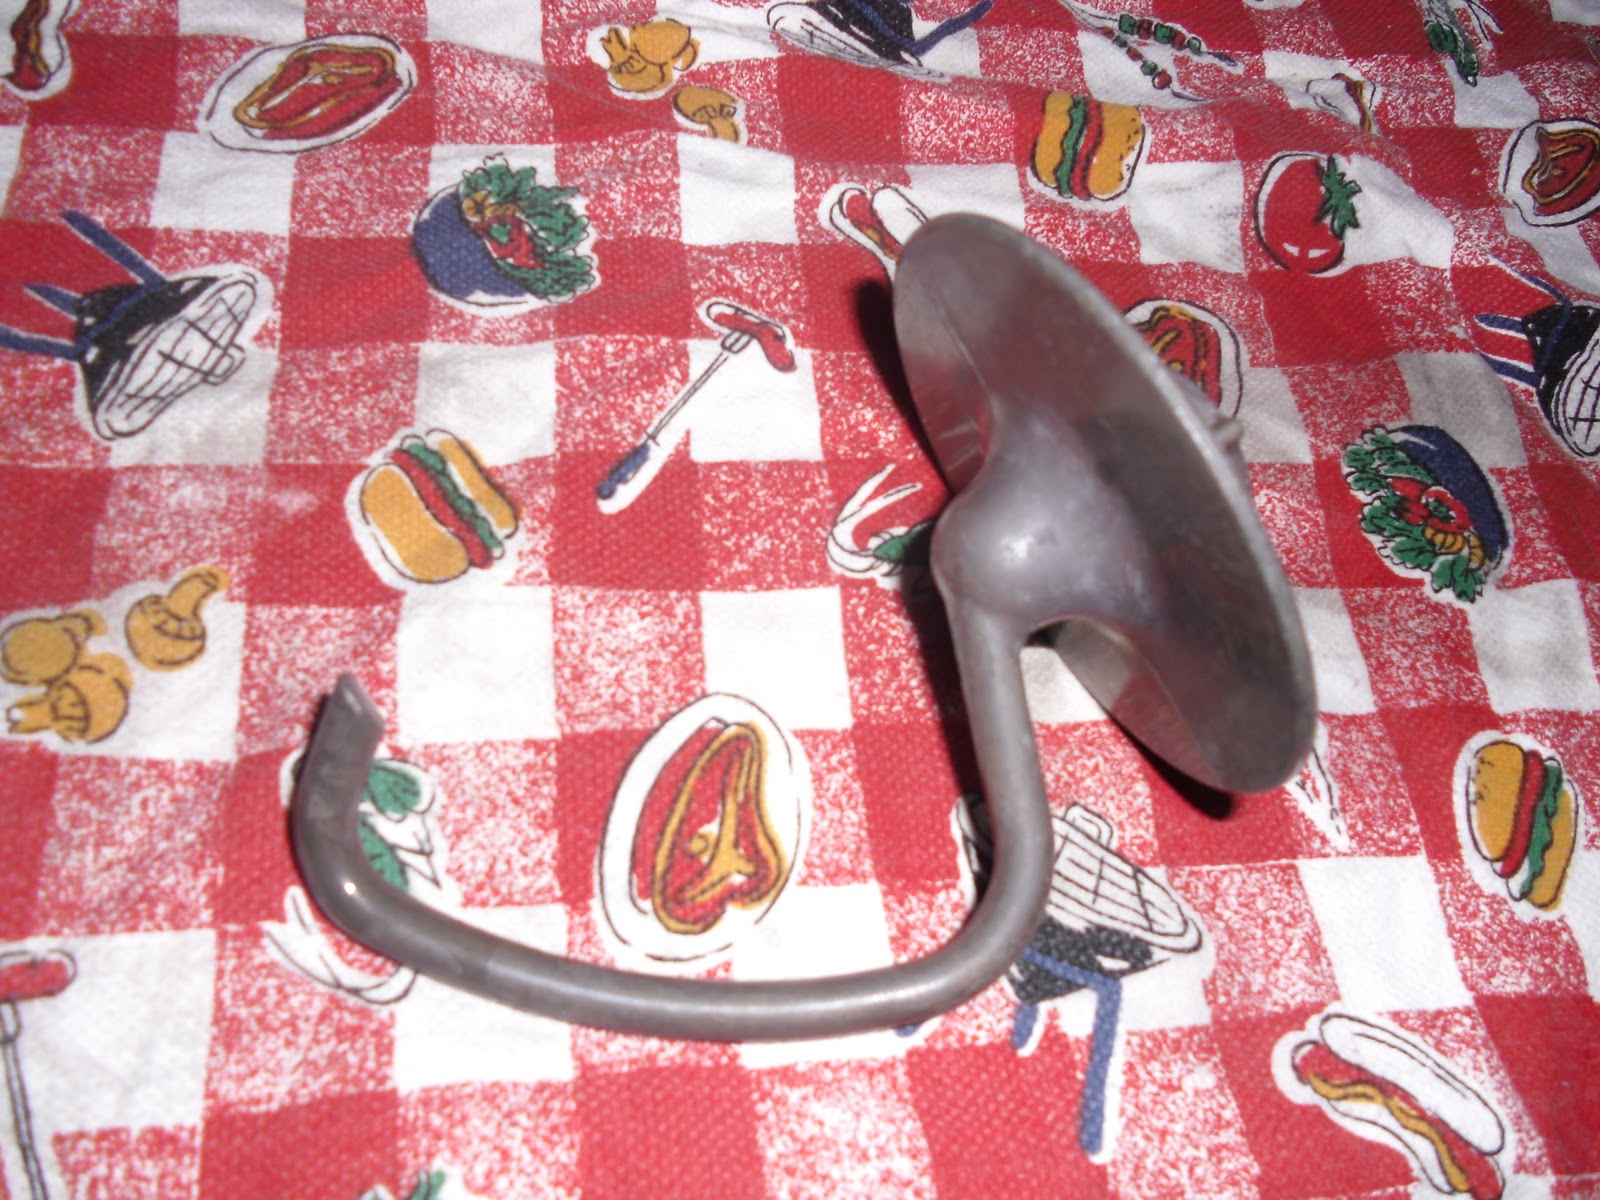
Bread Dough Hook attachement…

I just let my Kitchenaid Mixmaster do the mixing using the dough hook attachment. It is super fast and easy. I did it while my husband was putting our movie in the Blue Ray Player. It seriously took like 7 minutes start to finish. No need to knead this recipe. You can also double the recipe.

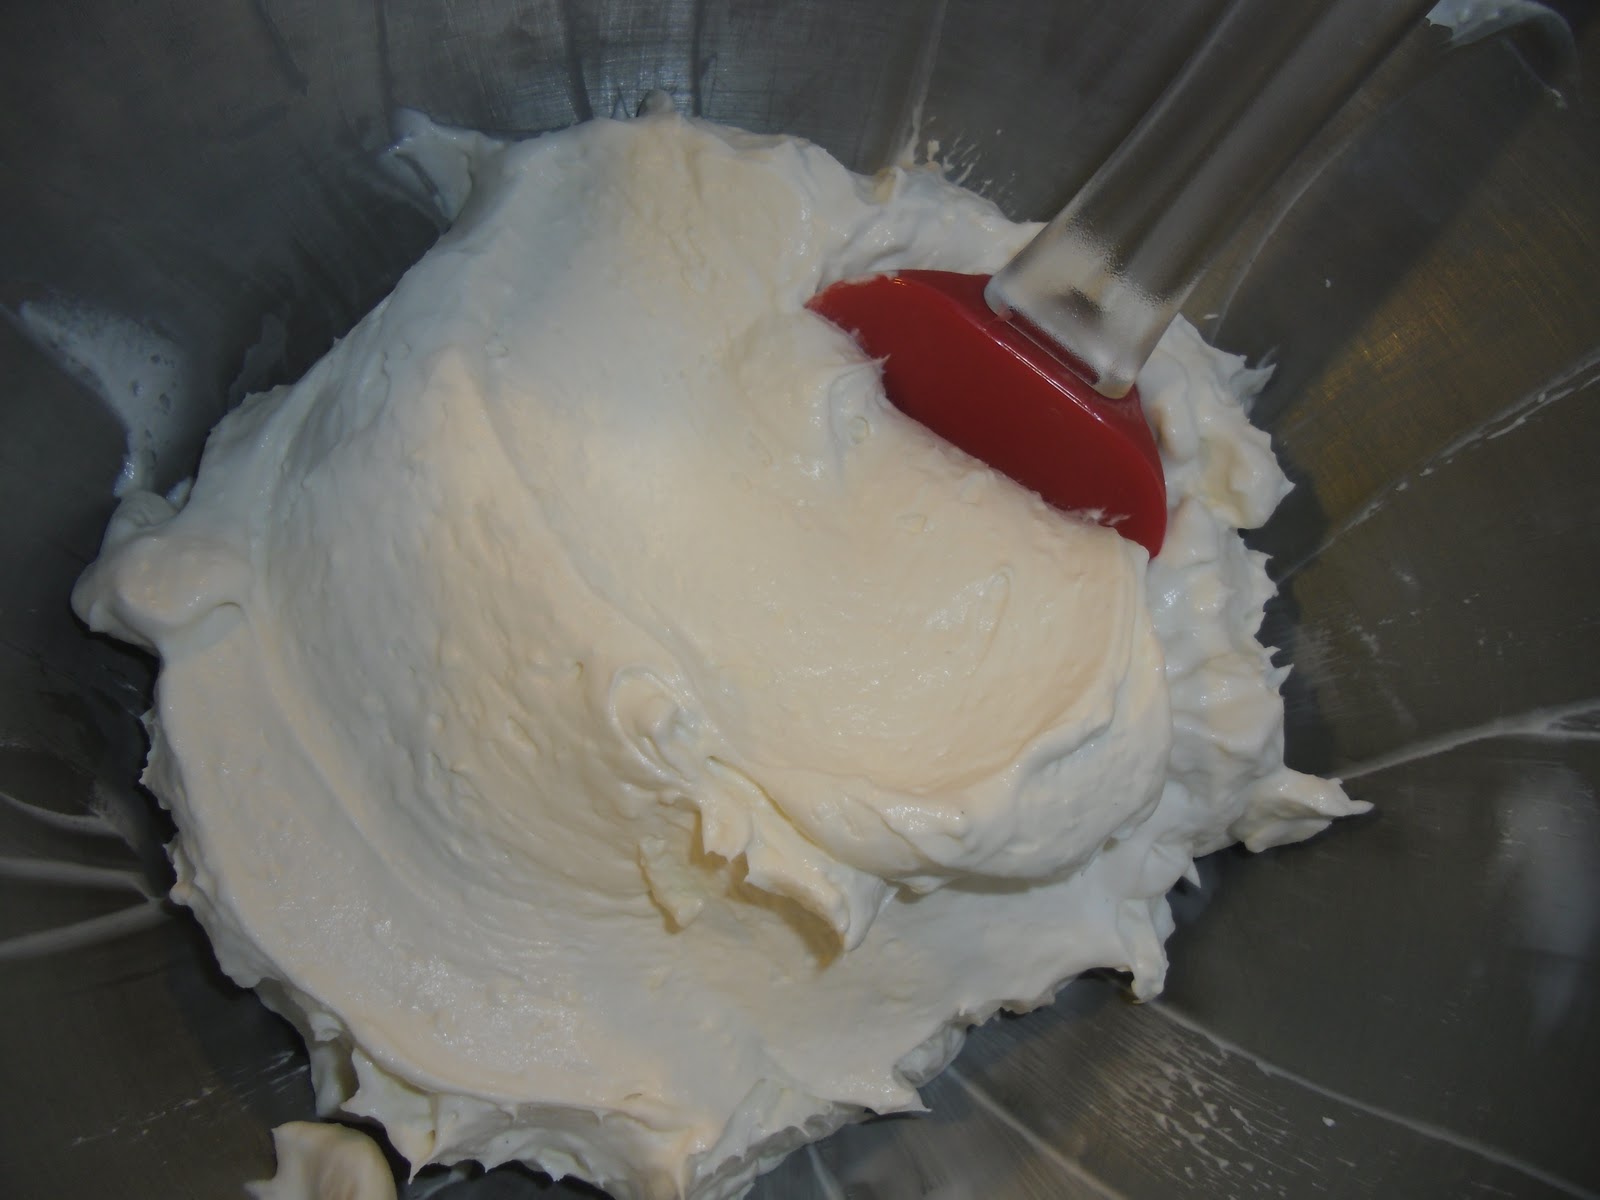
After 3 hours or left overnight in the fridge the dough has doubled in size….

Then I put Press and Seal over an oiled bowl (and I oiled the top of the bread dough) and put it in the fridge overnight to rise. Or you could let the dough rise 2 -3  hours instead.  It should double in size.

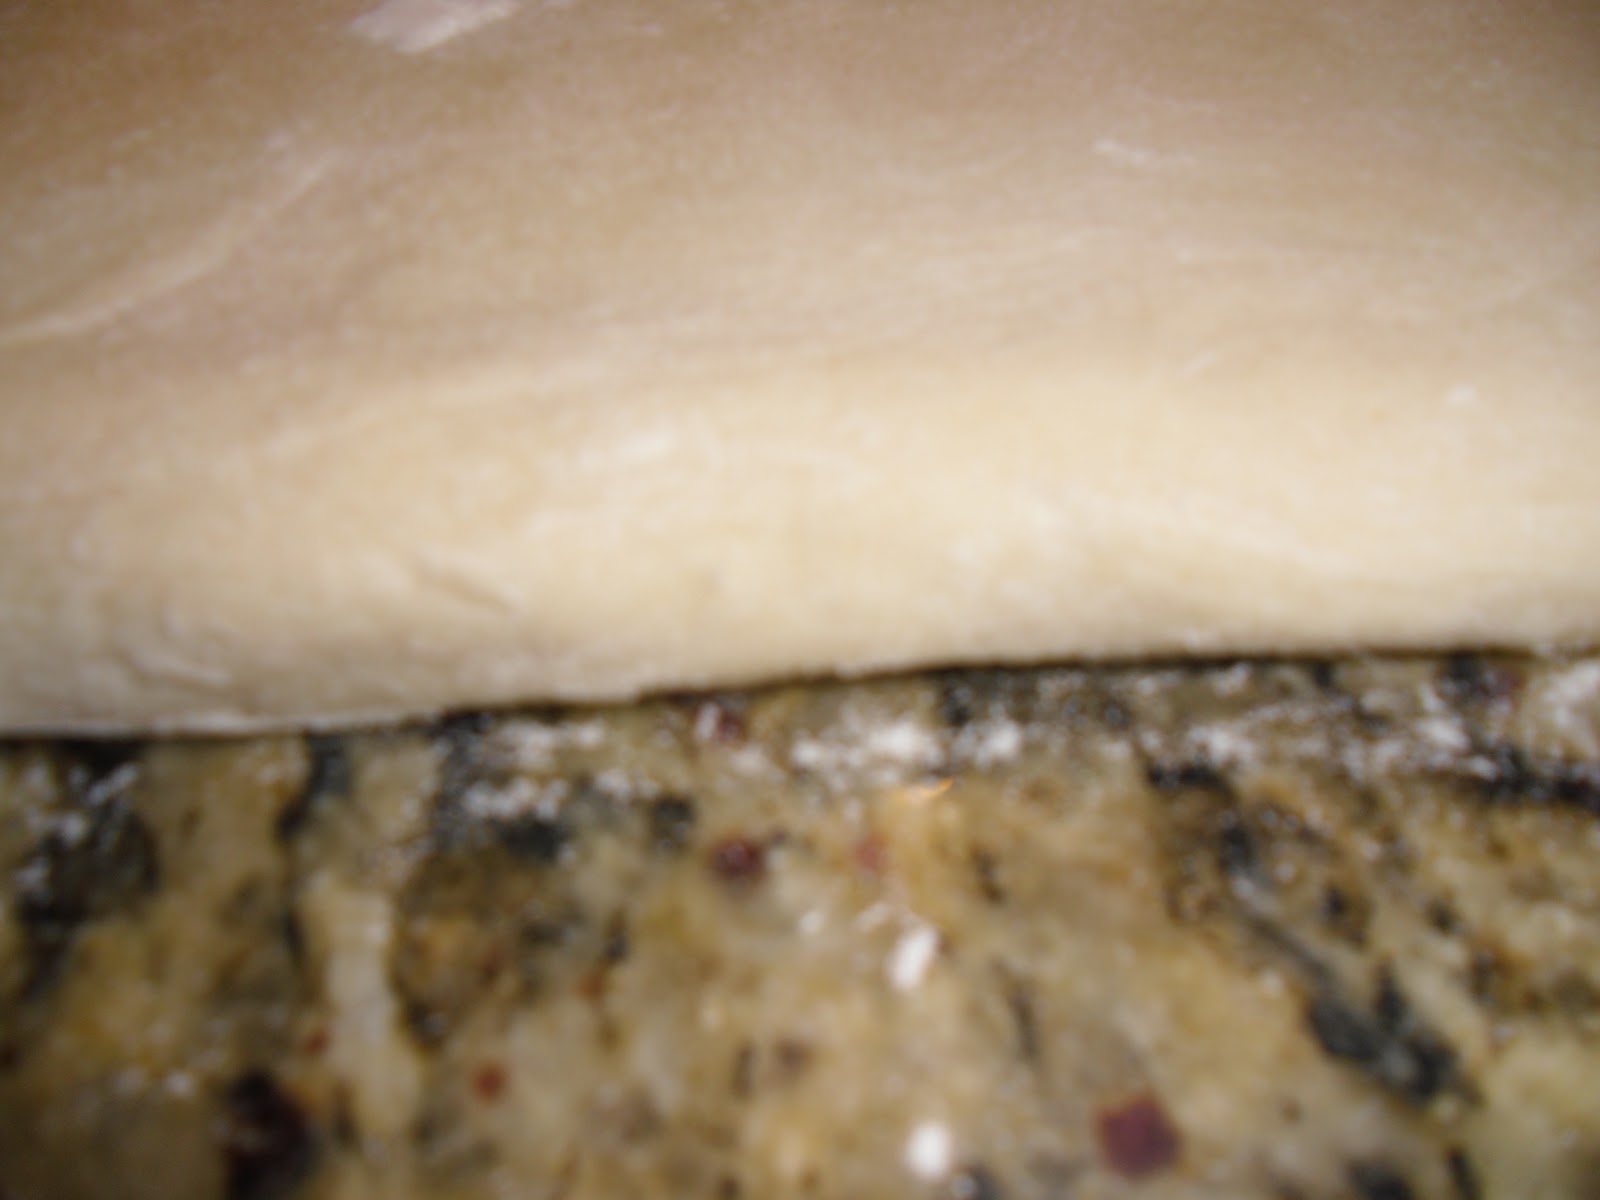
Pull it from the pan and lay it on a floured surface

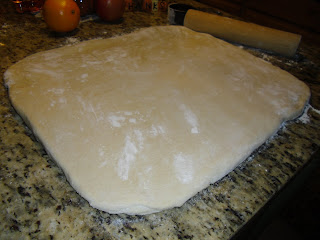
Roll dough out to a giant rectangle…

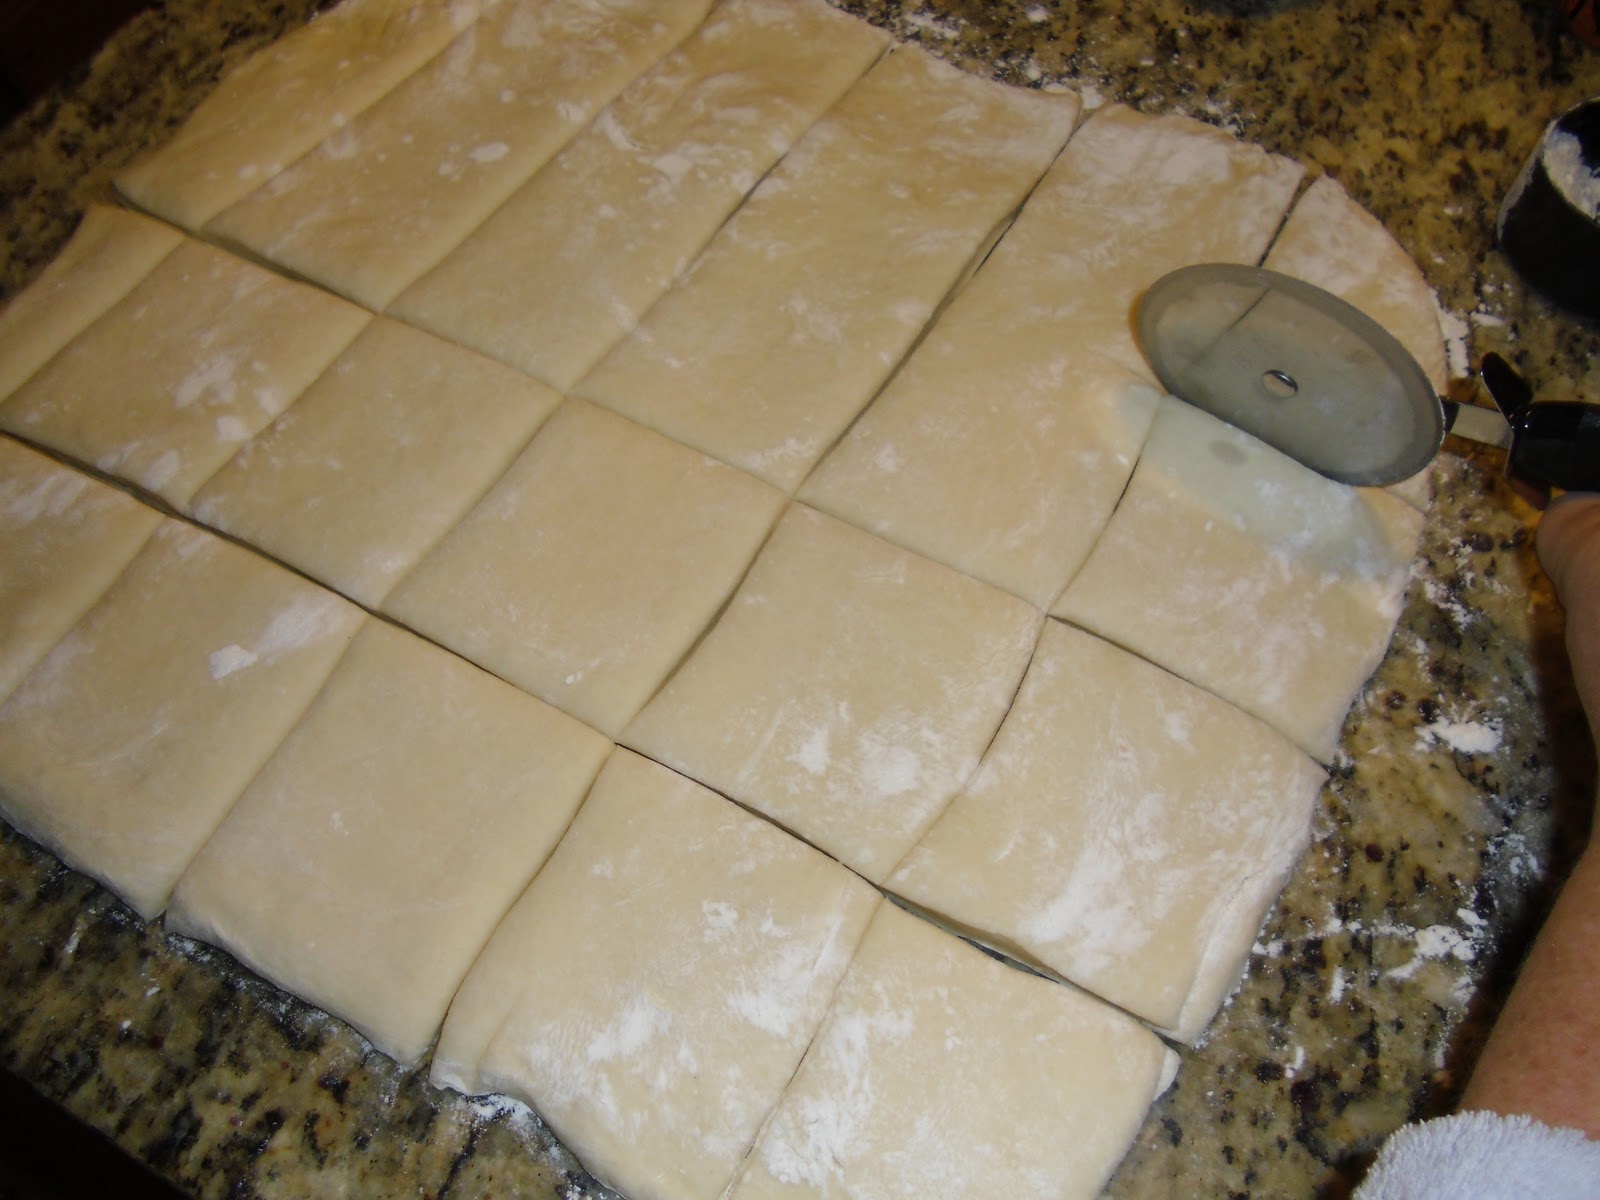
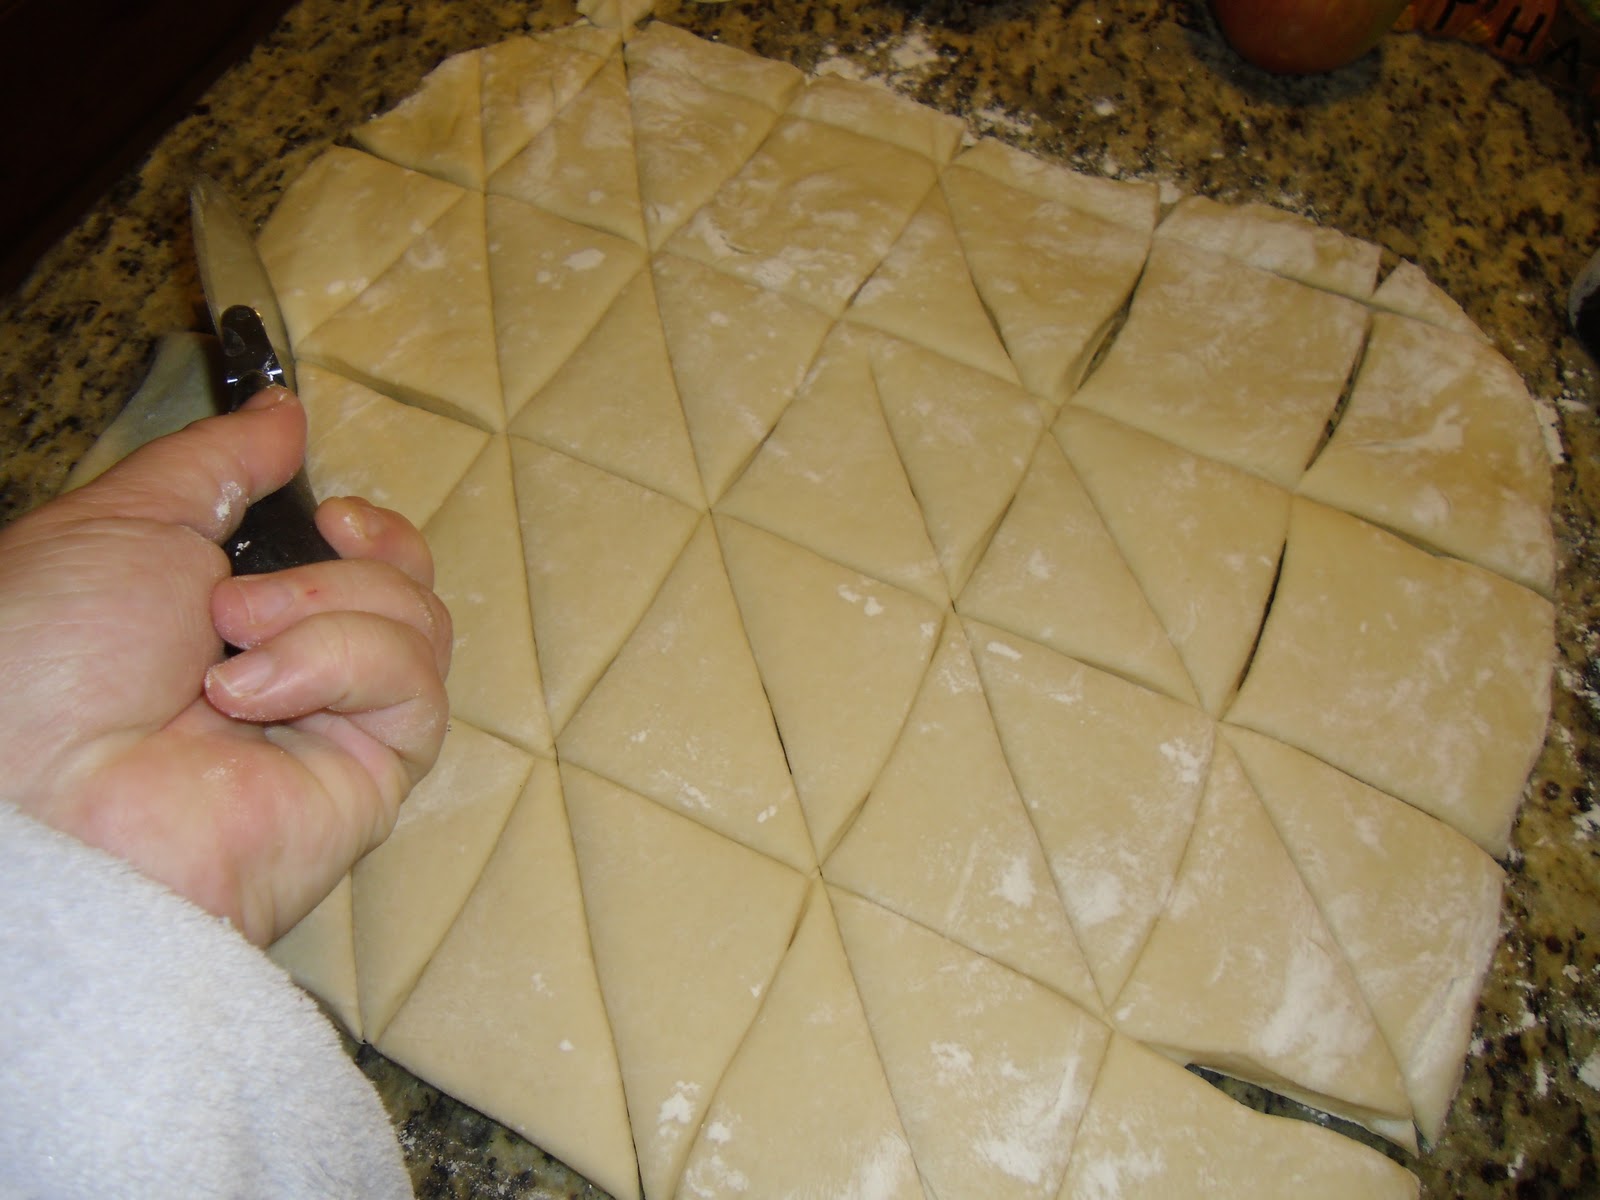
This morning I got up and it had doubled pretty good. I dumped it on my floured, granite counter top.  Then I floured the top of the dough and rolled out a big rectangle (about 1/3rd of an inch thick). I cut  3 1/2 inch wide strips using a pizza cutter.

Try to get your dough about 1/3 inch thickness for your dinner rolls

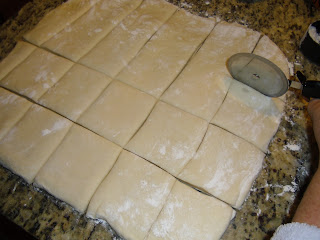
It’s really FUN to cut dough with a pizza cutter…you feel like such a  Betty Crocker! 

Did you have a little, blue, metal, EZ Bake Oven like I did? That ‘s probably where  I get the need to bake, right? 

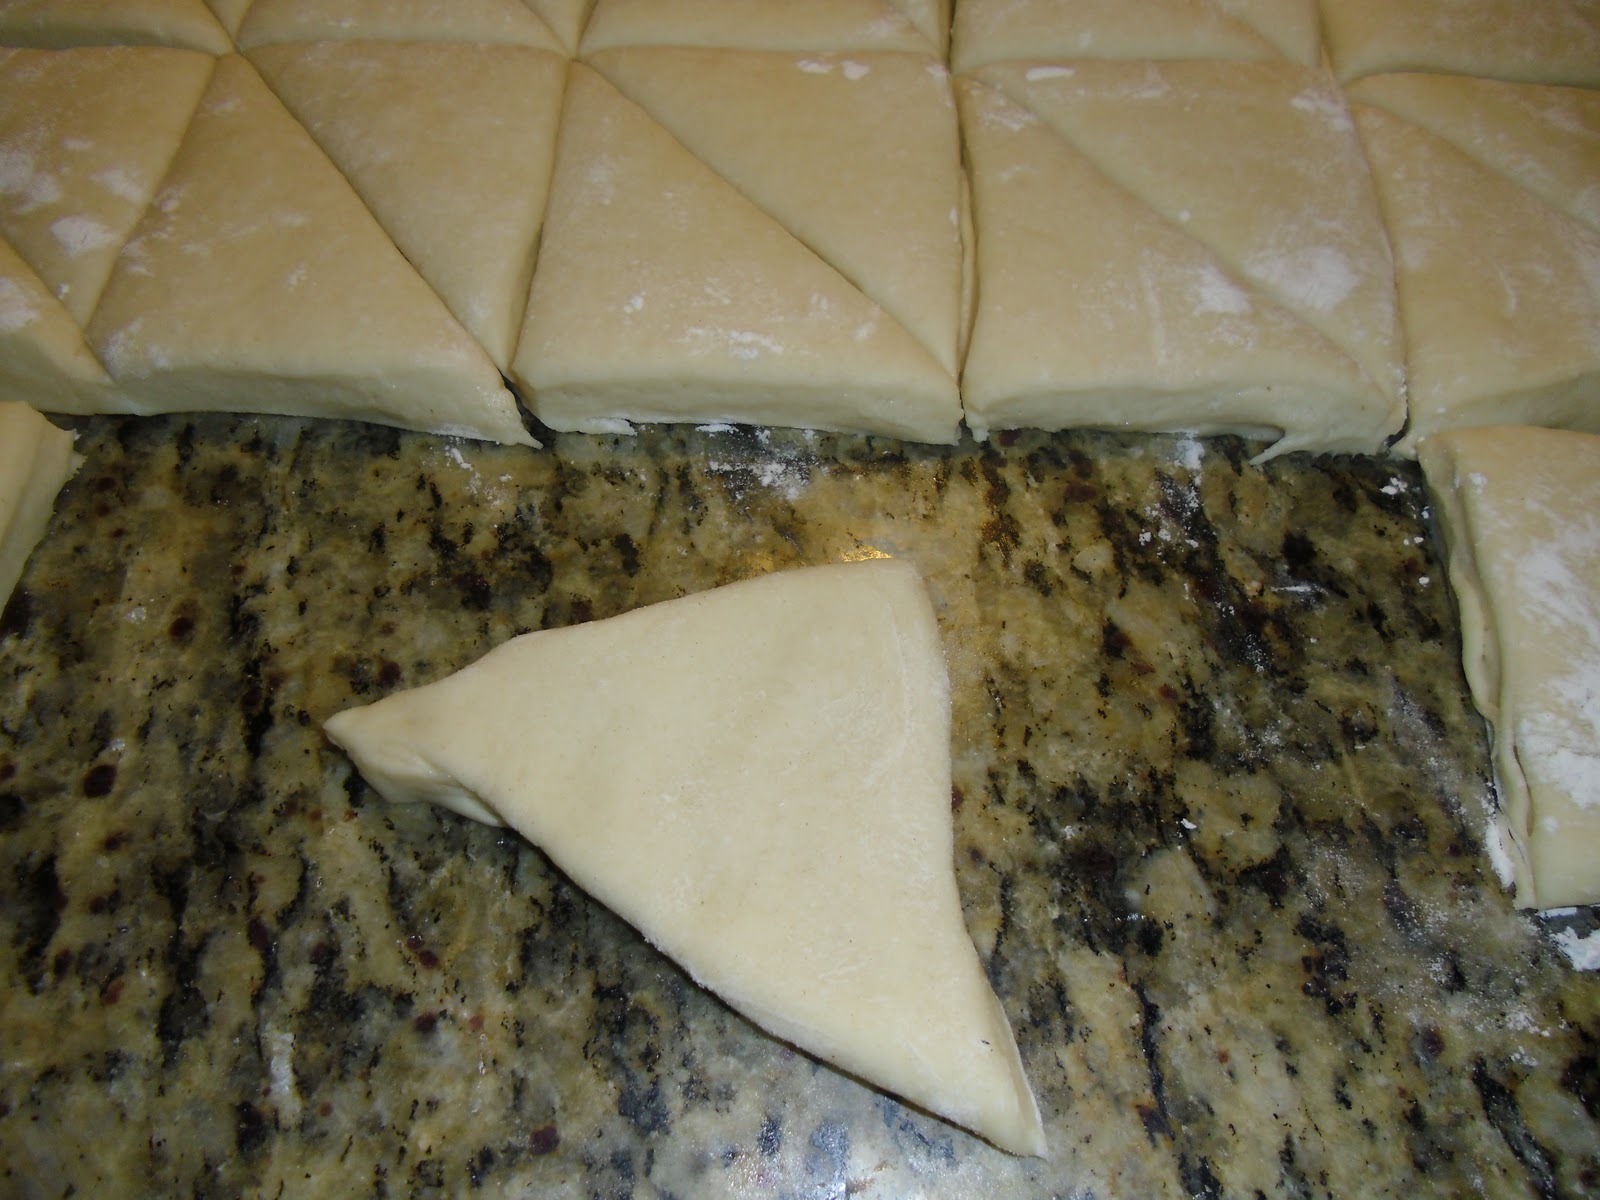
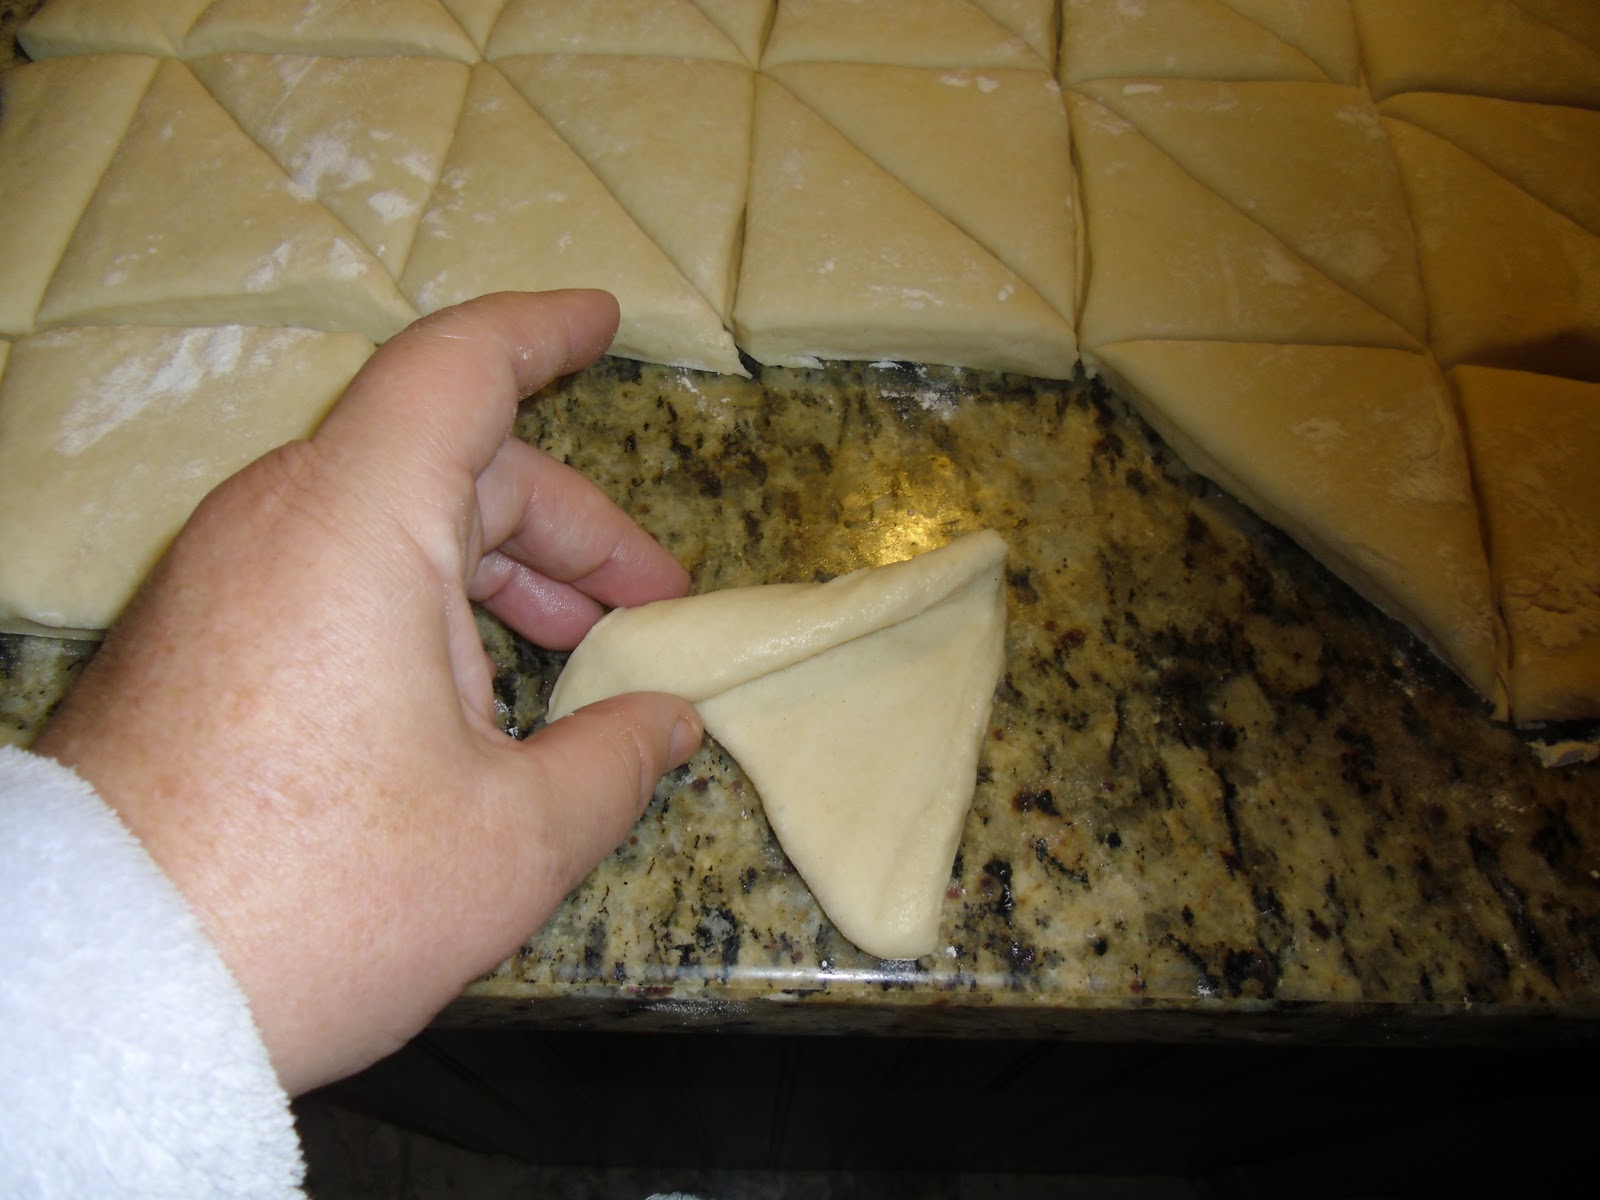
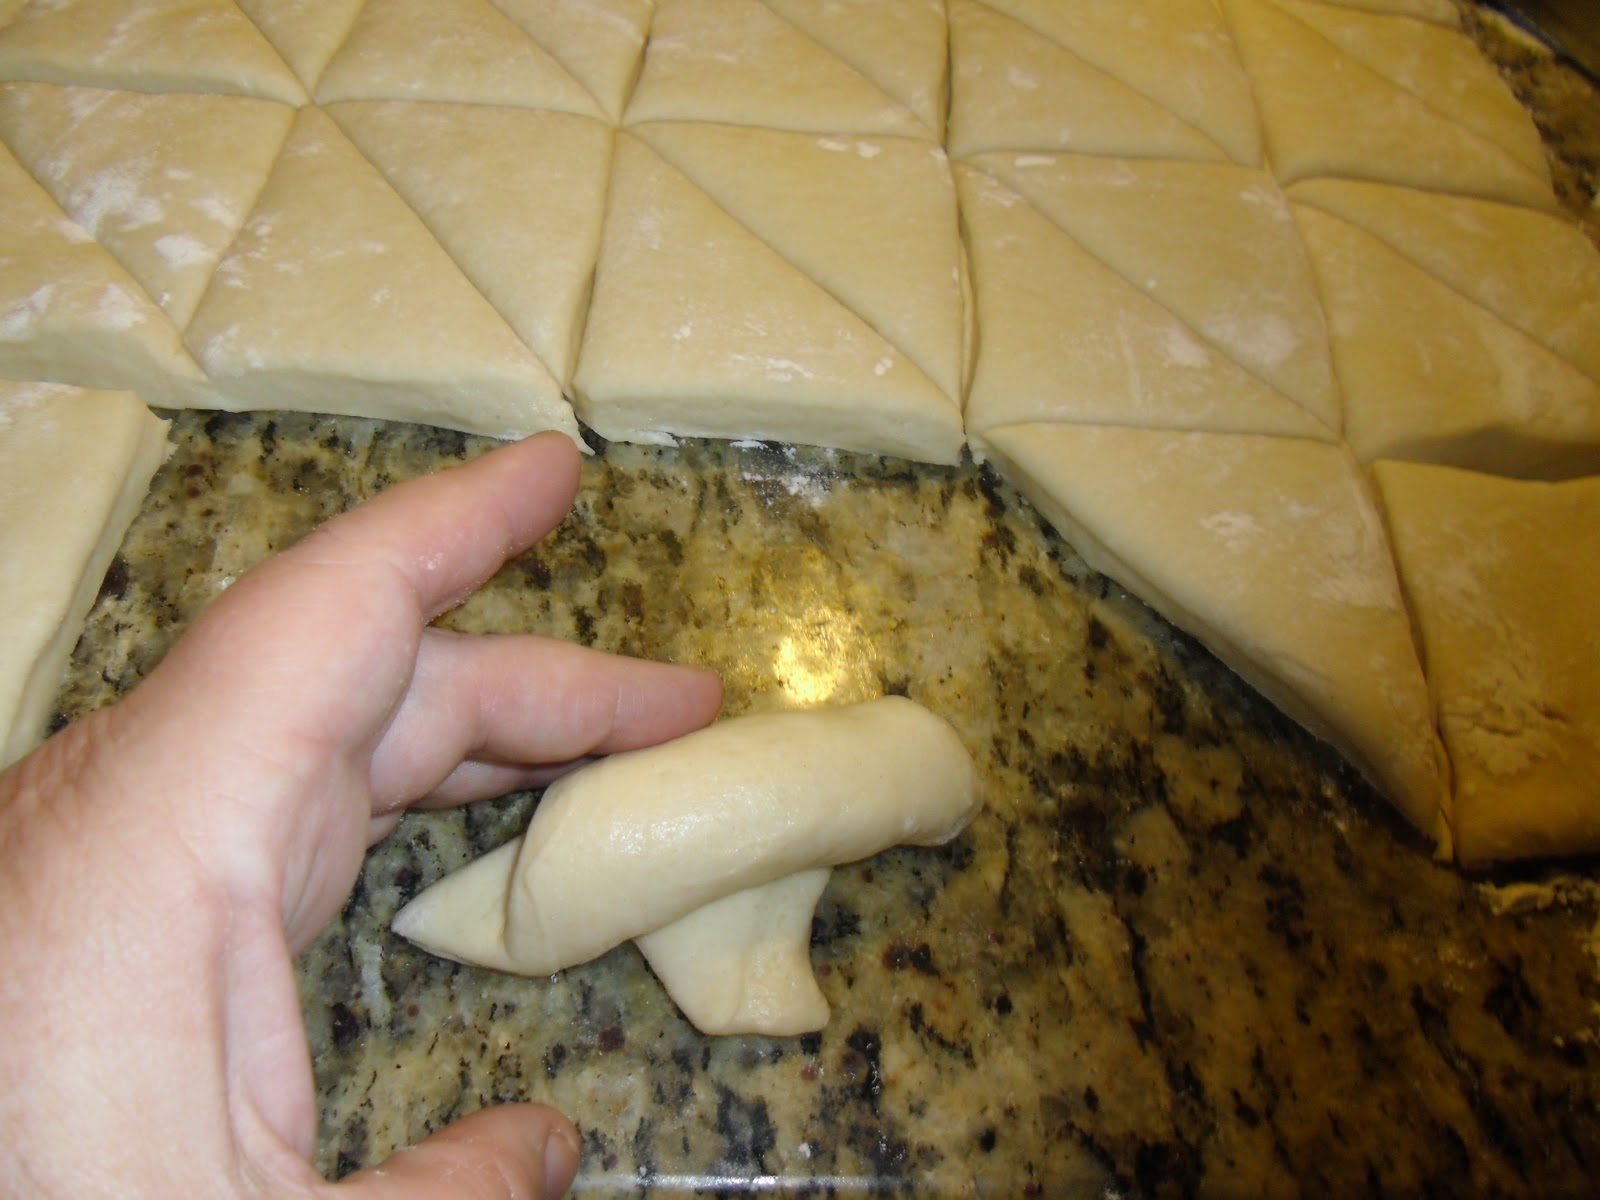
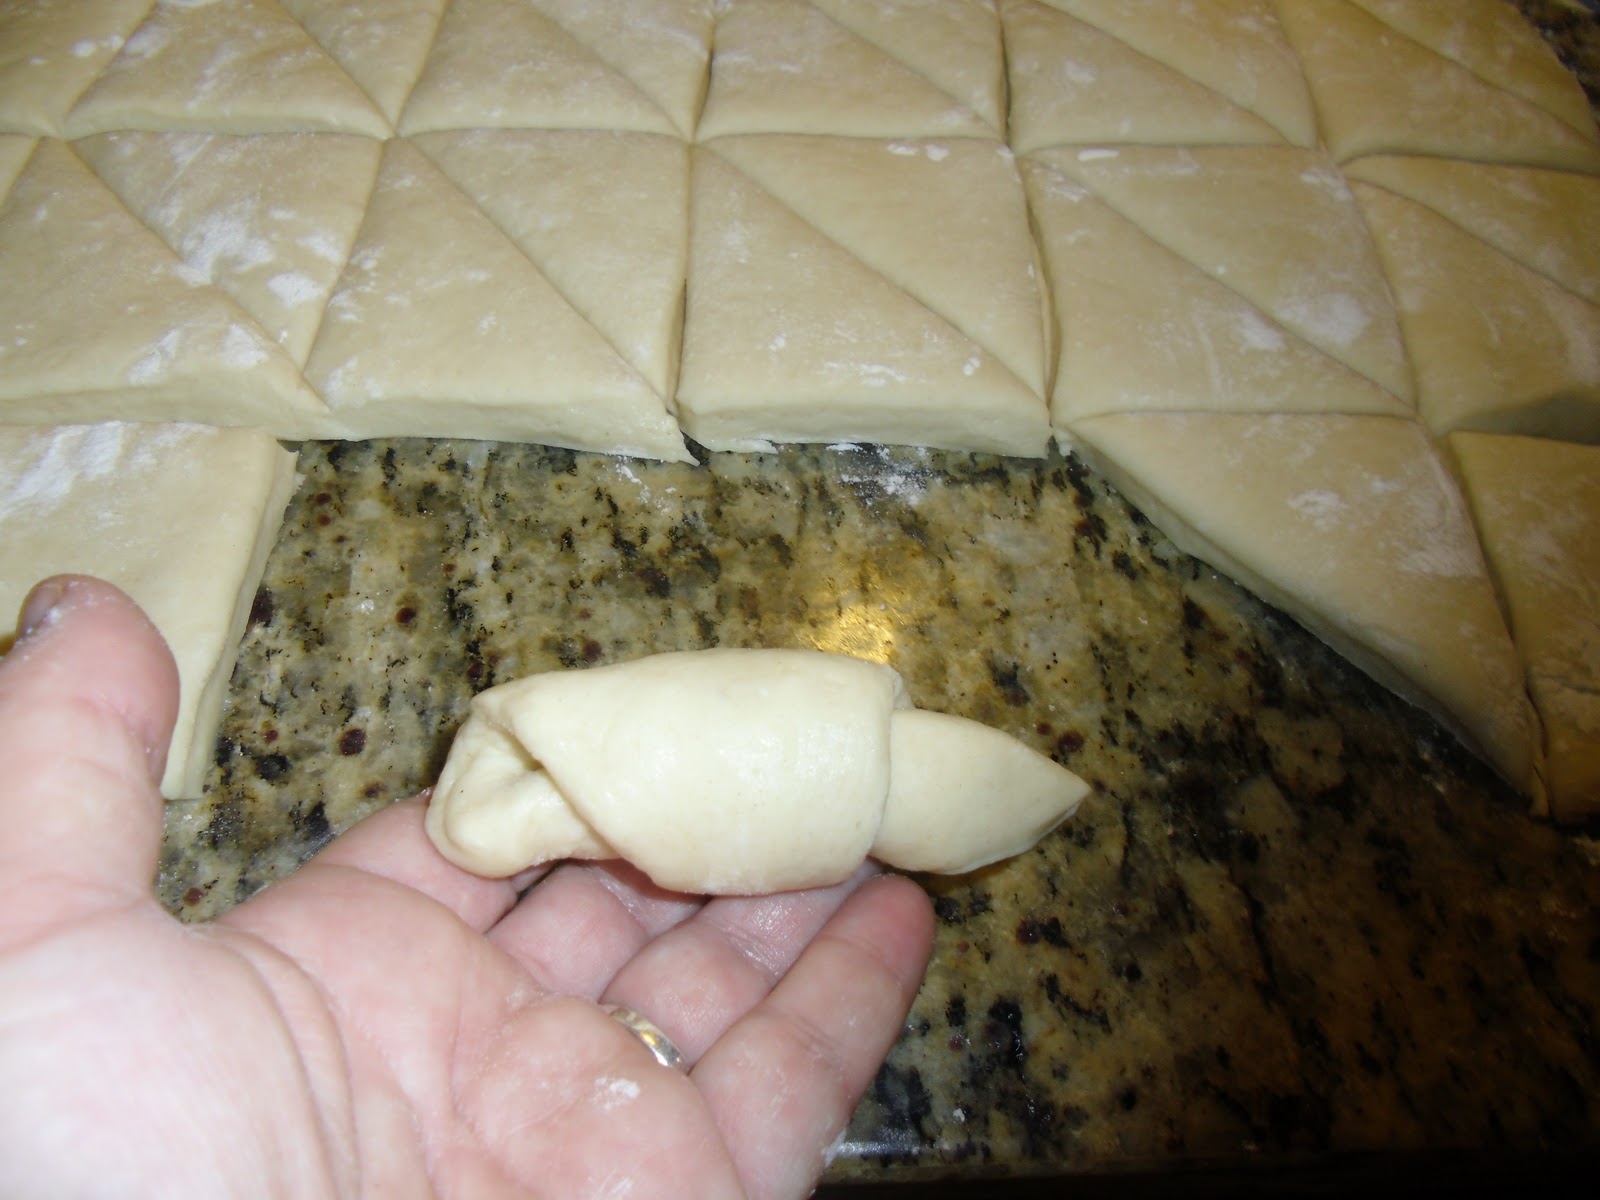
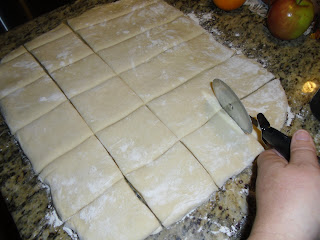
Then I cut those strips into squares and those squares into rectangles. Roll up the rectangles from the longest side to the short tip side. Then press those tips into the roll or they will unroll when baking.  It looks like a crescent roll when you are done, but less calories! .

Here’s my dough all cut up…it will make 24 rolls but I doubled mine…All this work? Heck, I’m doubling the batch,  oh YEAH! 
Hey, there I am in my robe…yeah…I bake in my pajamas! snicker……
This triangle is about 3 inches across.  I flatten it a little with my hand before rolling it up. 

Roll from the longer, flat end of the triangle….my jammie robe again, Ugh!  Why didn’t I bake in pearls like Mrs. Cleaver?  

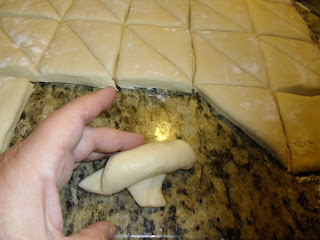
Roll towards the pointy end… isn’t this FUN?

Tuck it under and pinch a tiny bit before laying it on your oiled cookie sheet

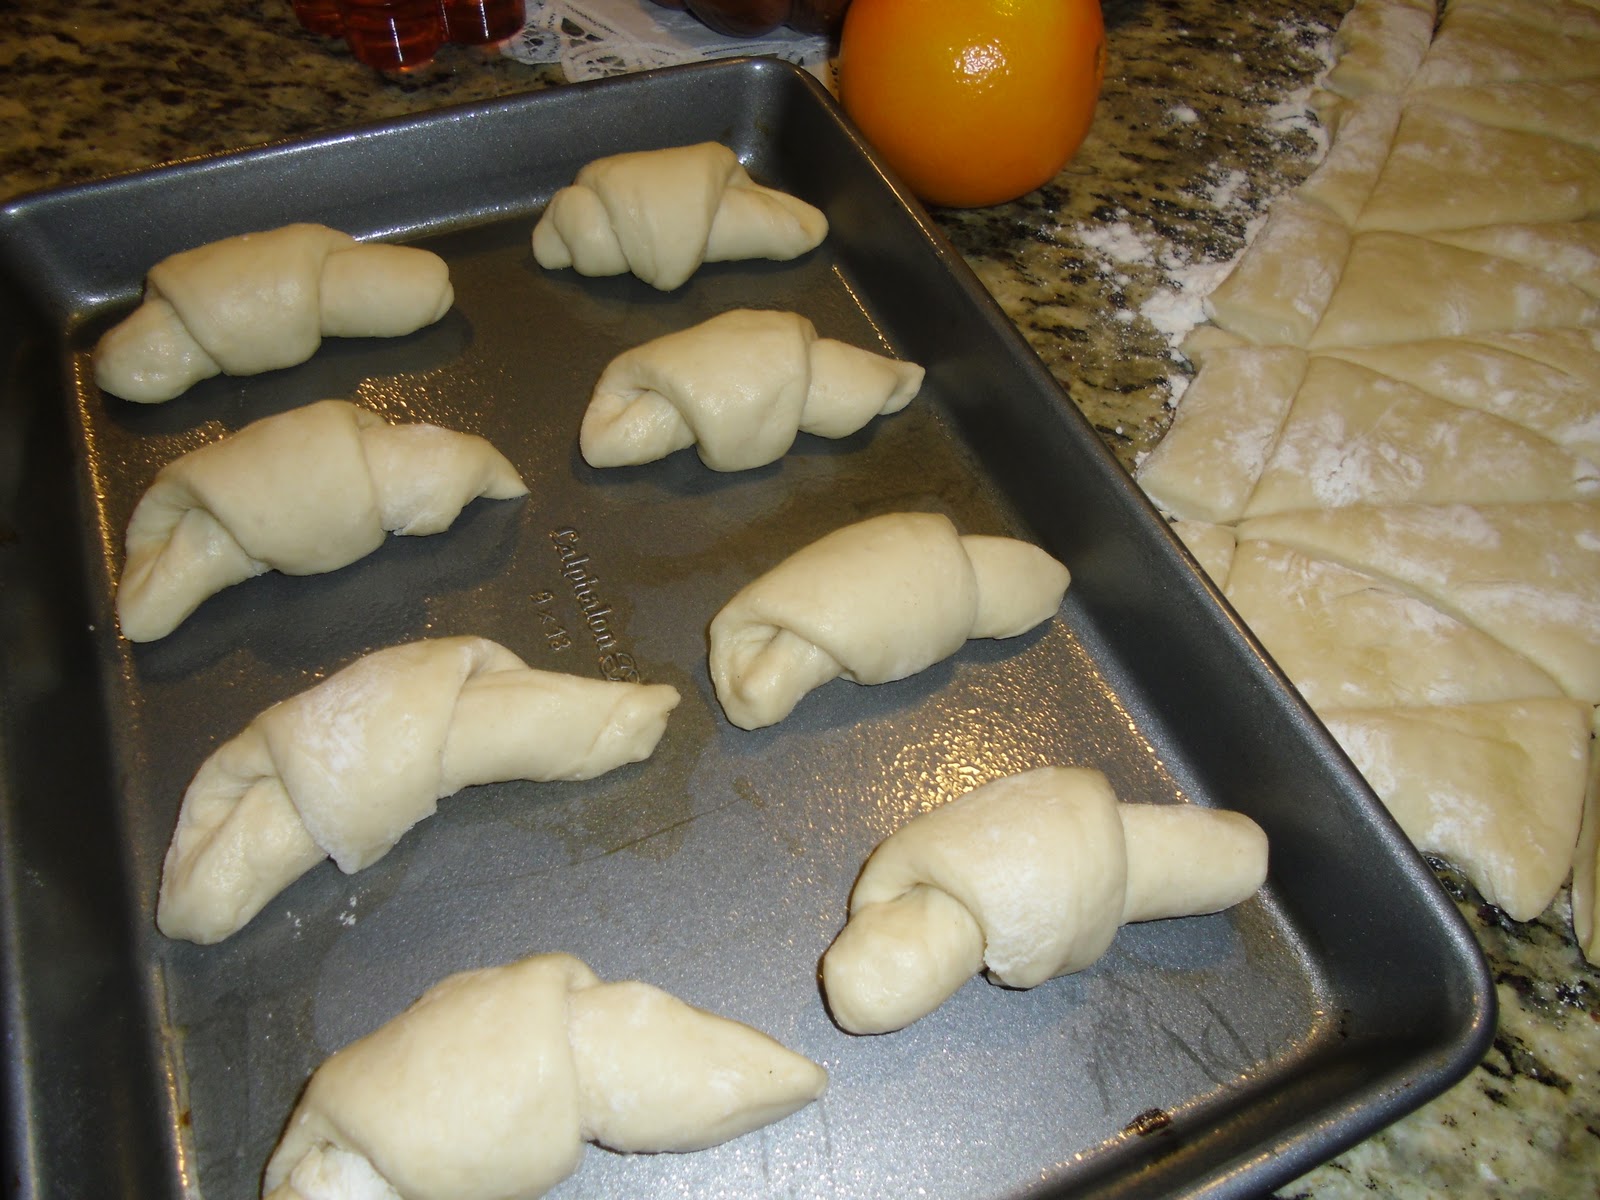
Then put 12 rectangles on a greased cookie sheet. …I just use a spray of PAM  to oil mine.


Here they are! This took another 10 minutes from rolling out the dough to putting them all into  pans….

No need to make them look perfect. They already look fancy just rolling the triangles up. And people just love them and gobble them up no matter how they look. And they look soft, fluffy and delicious. Try it! It’s not hard at all and it’s really FUN!

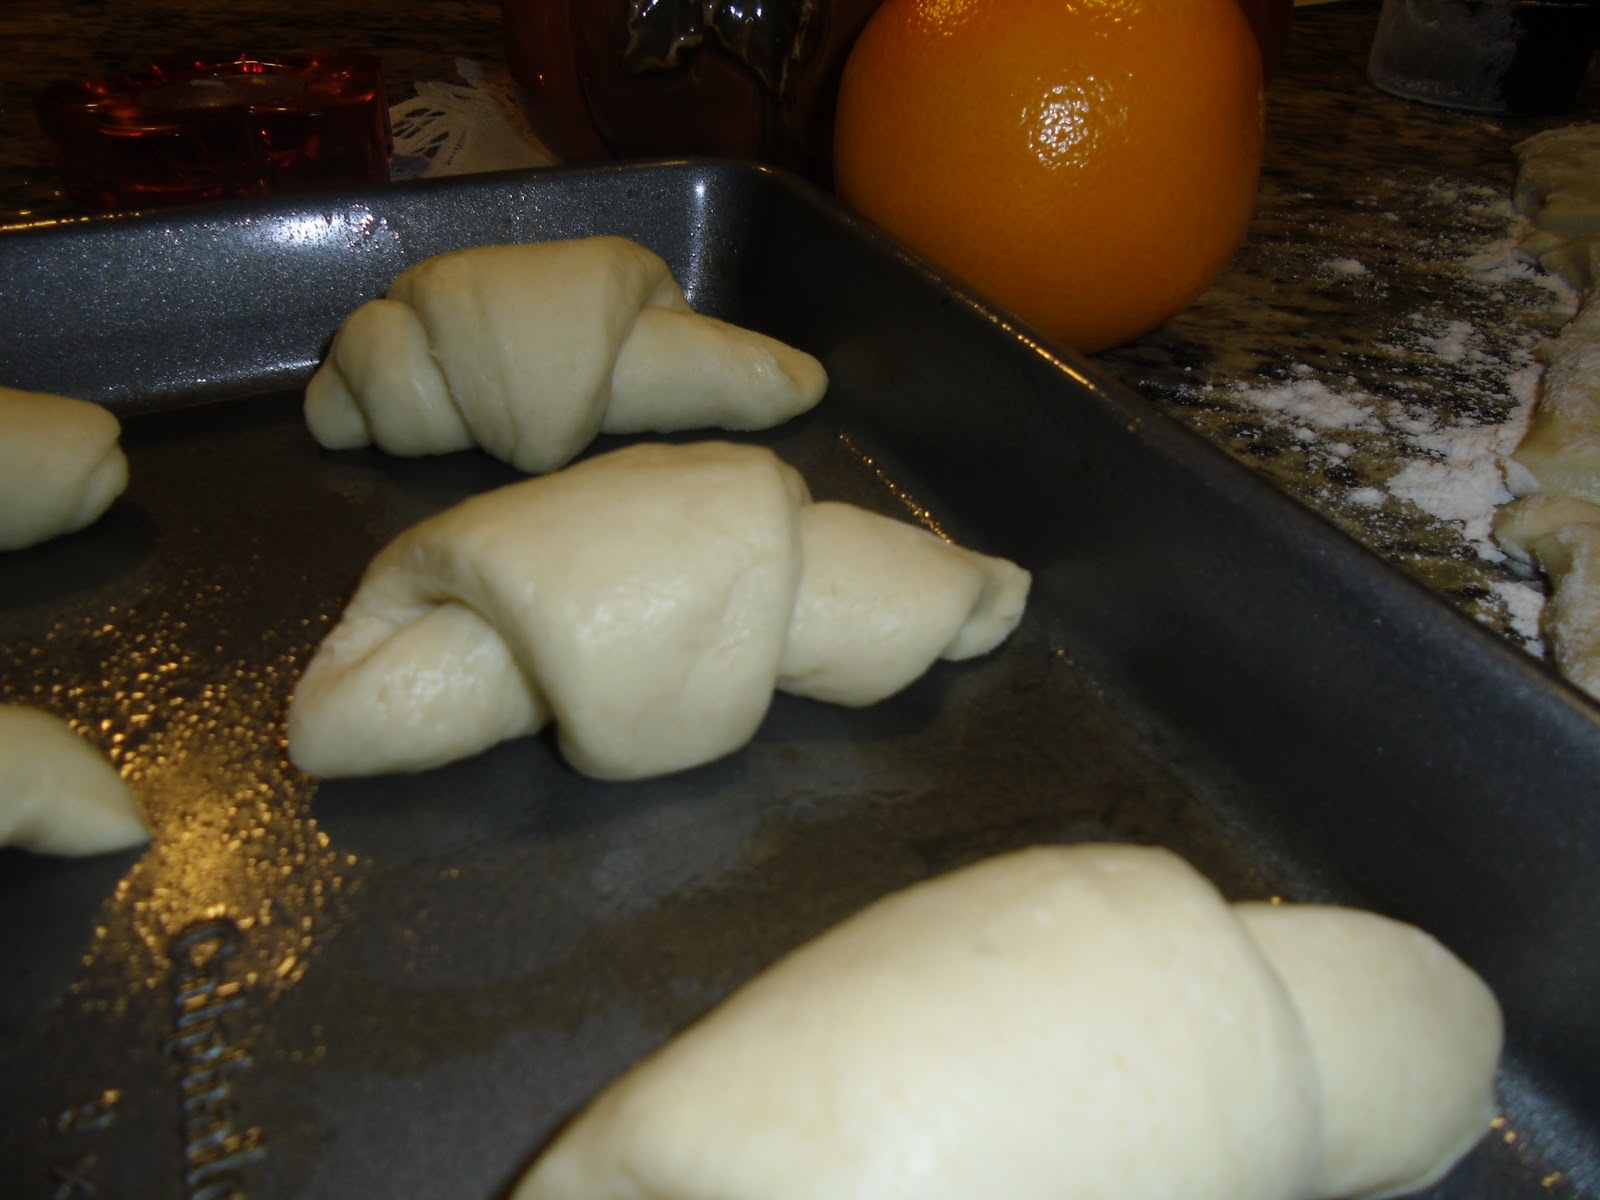
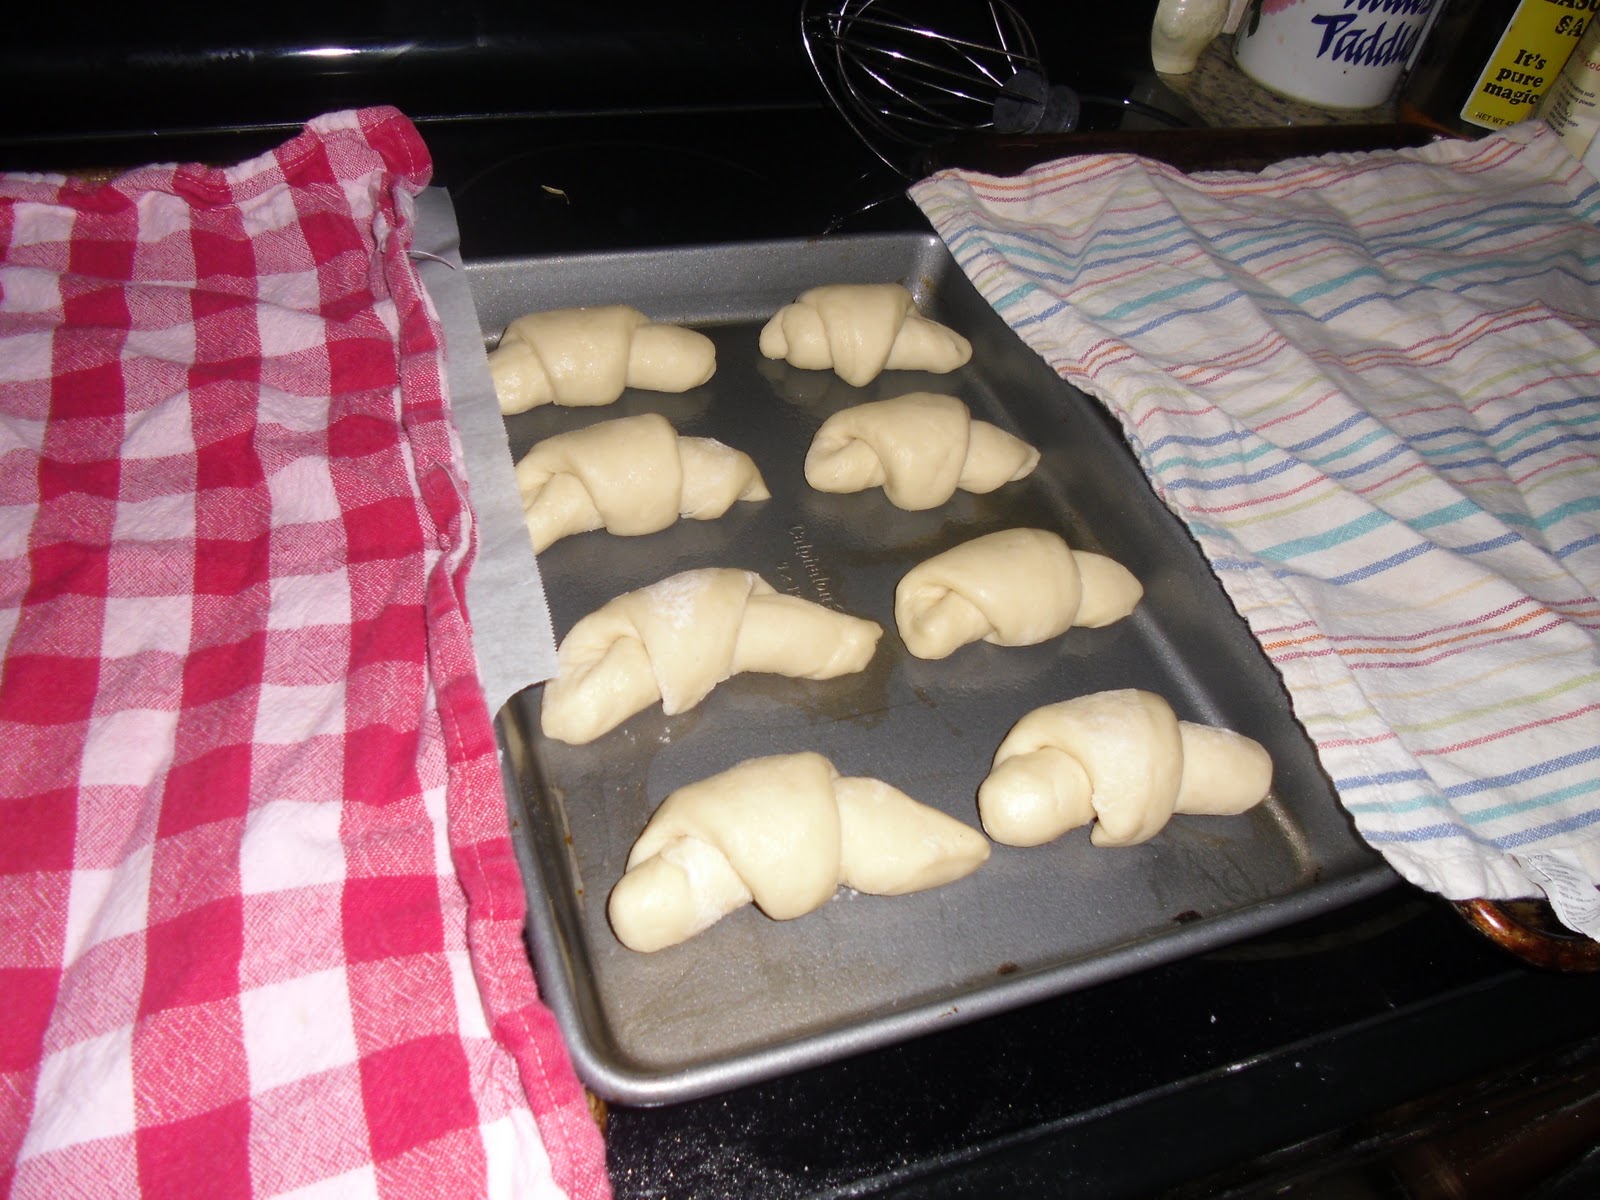
Now these will still rise for another 2 hours so imagine them hot and fluffy! 

If you’d like a different design you can also make 3 little balls of dough and put them together into a greased muffin tin. They rise together to make a cloverleaf looking roll. They are pretty also. I should have made some of those just for you to see…Oh well…..

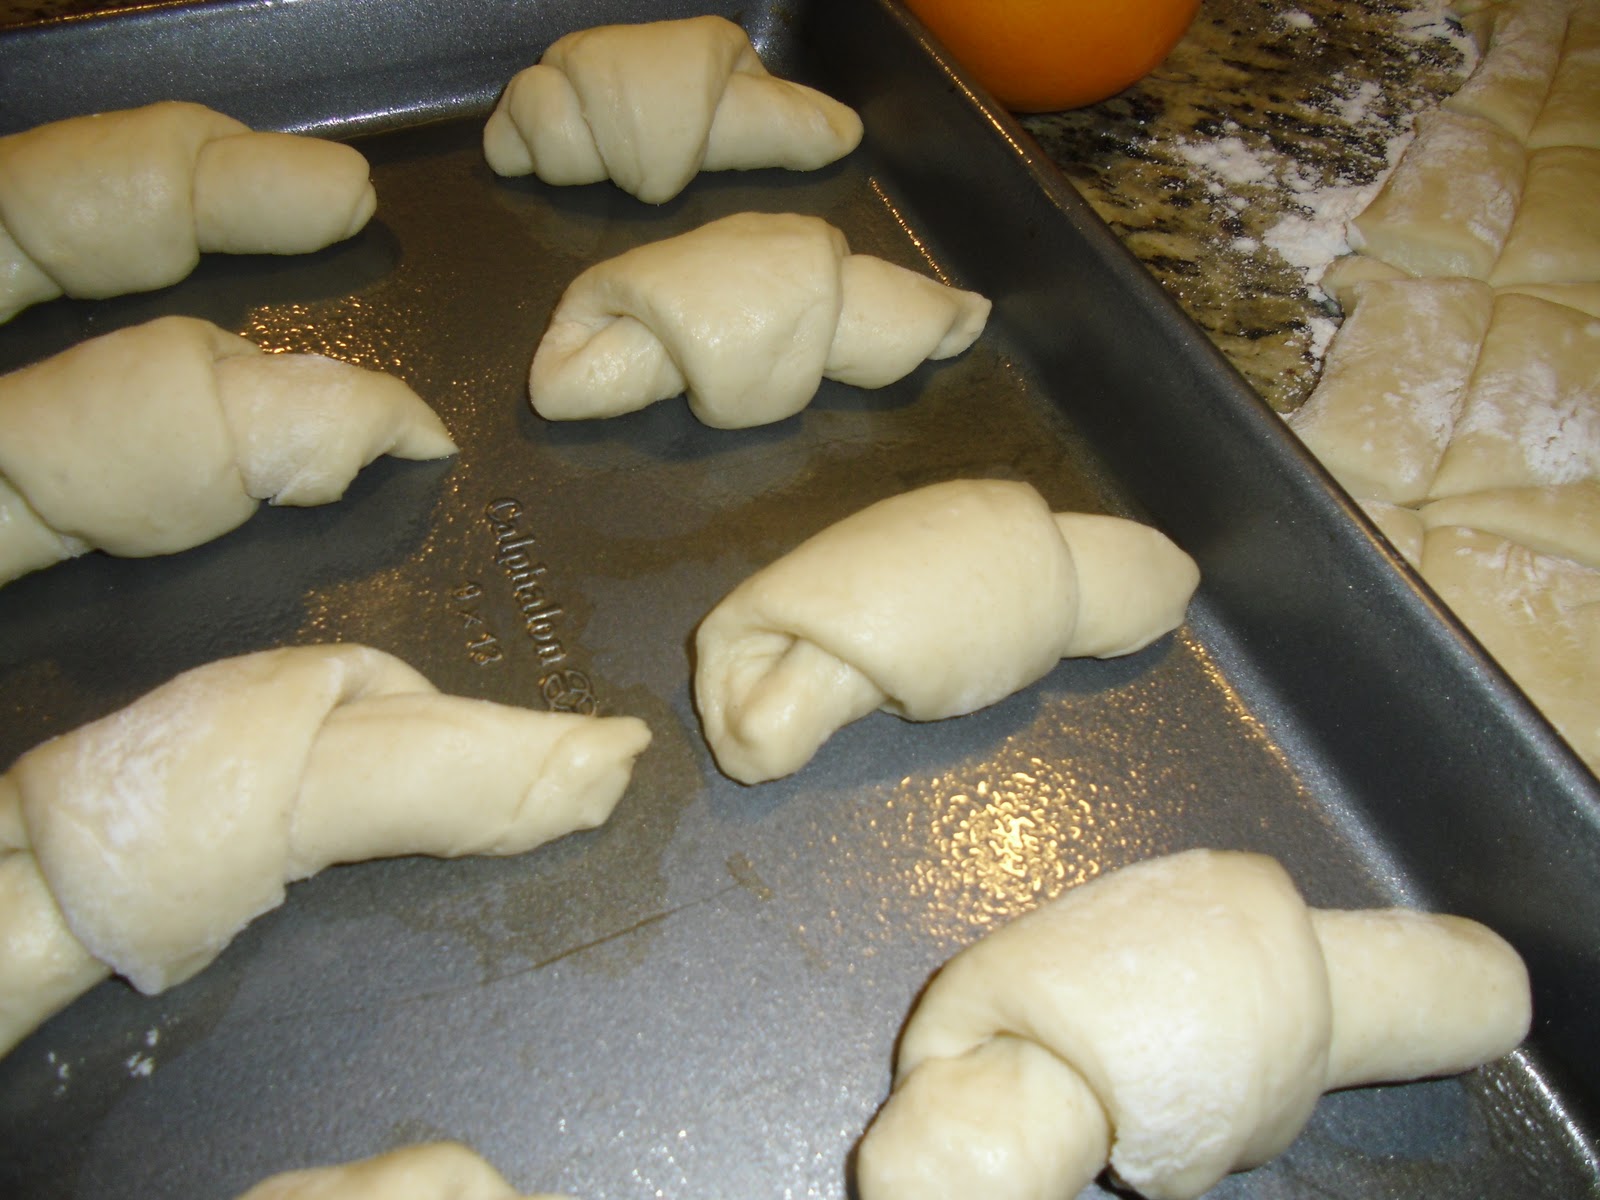
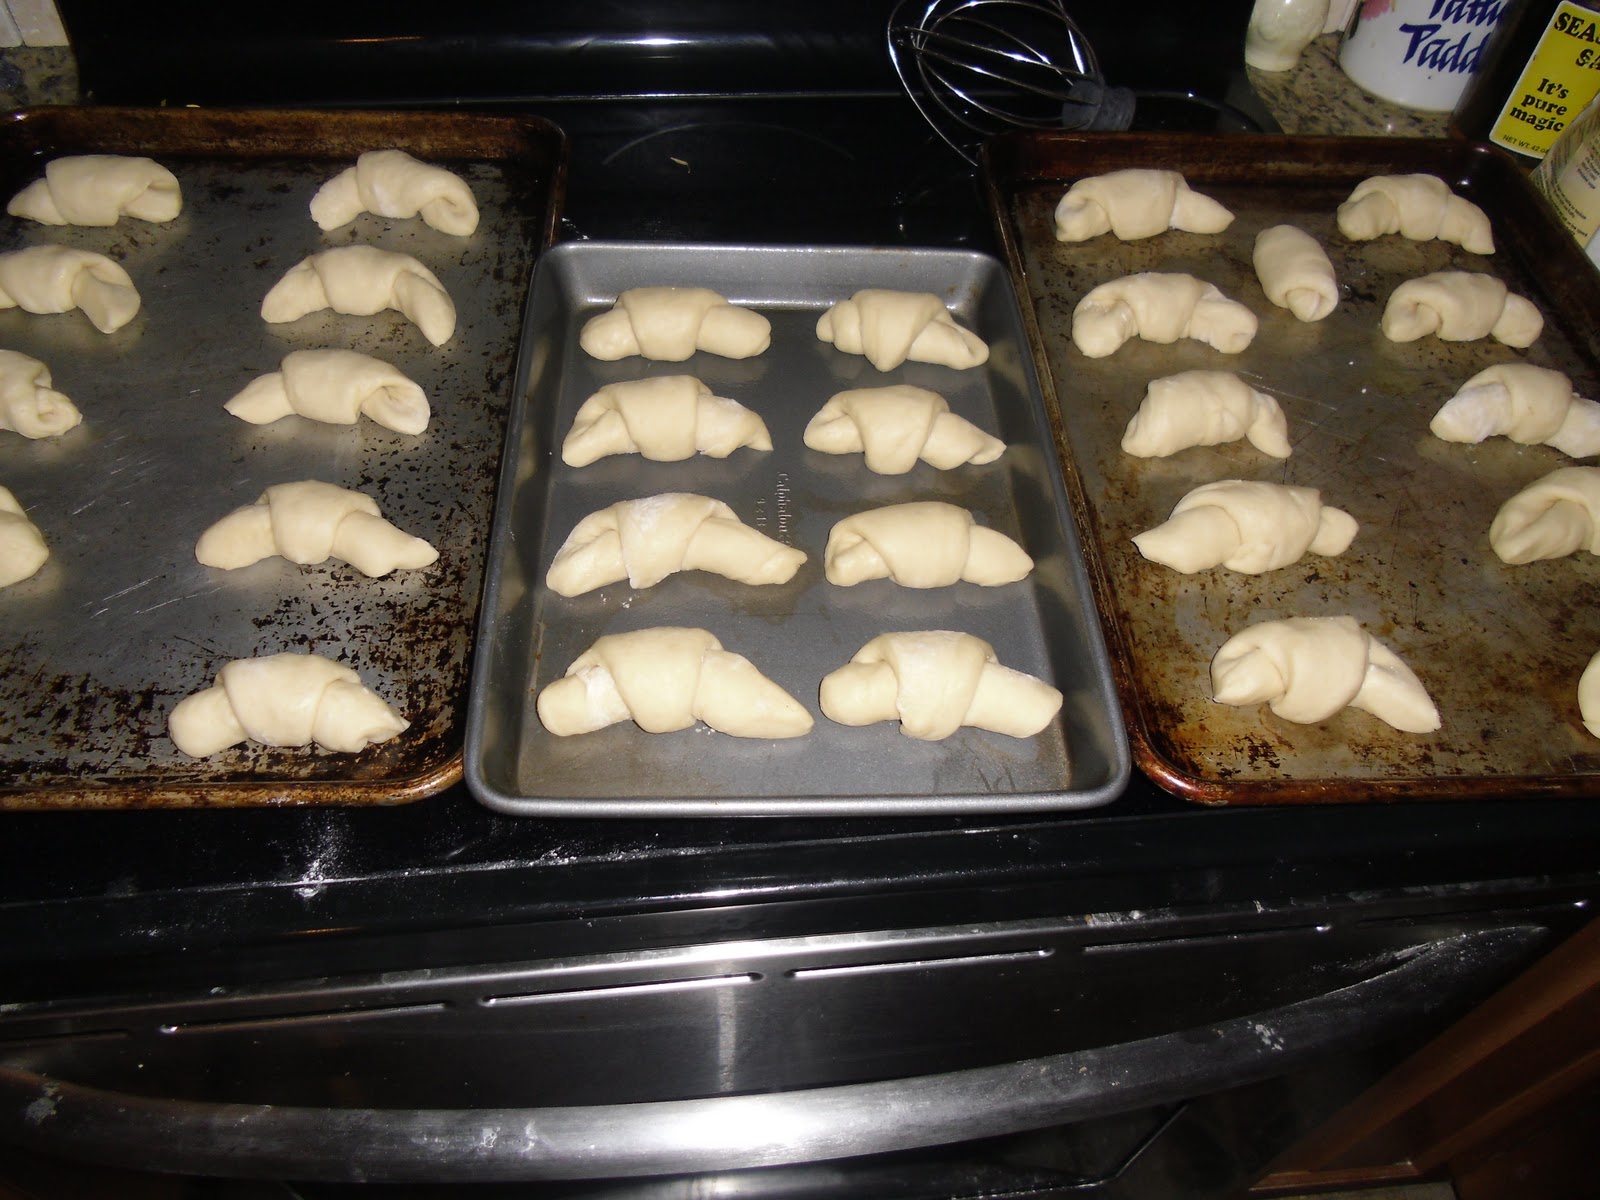
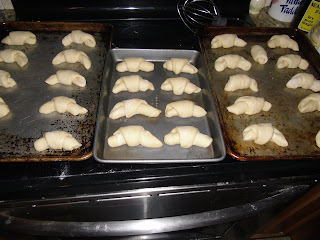
I made 4 pans of rolls, some had a dozen, others had 13…all in all I got  47 rolls from a double batch.

Then put 10 to 12 rectangles on a greased cookie sheet. I covered them with a dry towel to double in size. It will take 2 hours to rise again. I have friend who takes half her roll recipe and makes orange rolls from it.  Check out this blog for a great Orange Roll twist you could do with half your rolls  HERE at Simply So Good.

I made 4  pans full…so 2 pans or 24 rolls  for the single recipe above….

 I love orange rolls too. I bought some oranges but then thought about the pies I still have to make….so…maybe next time on the orange rolls. 😀

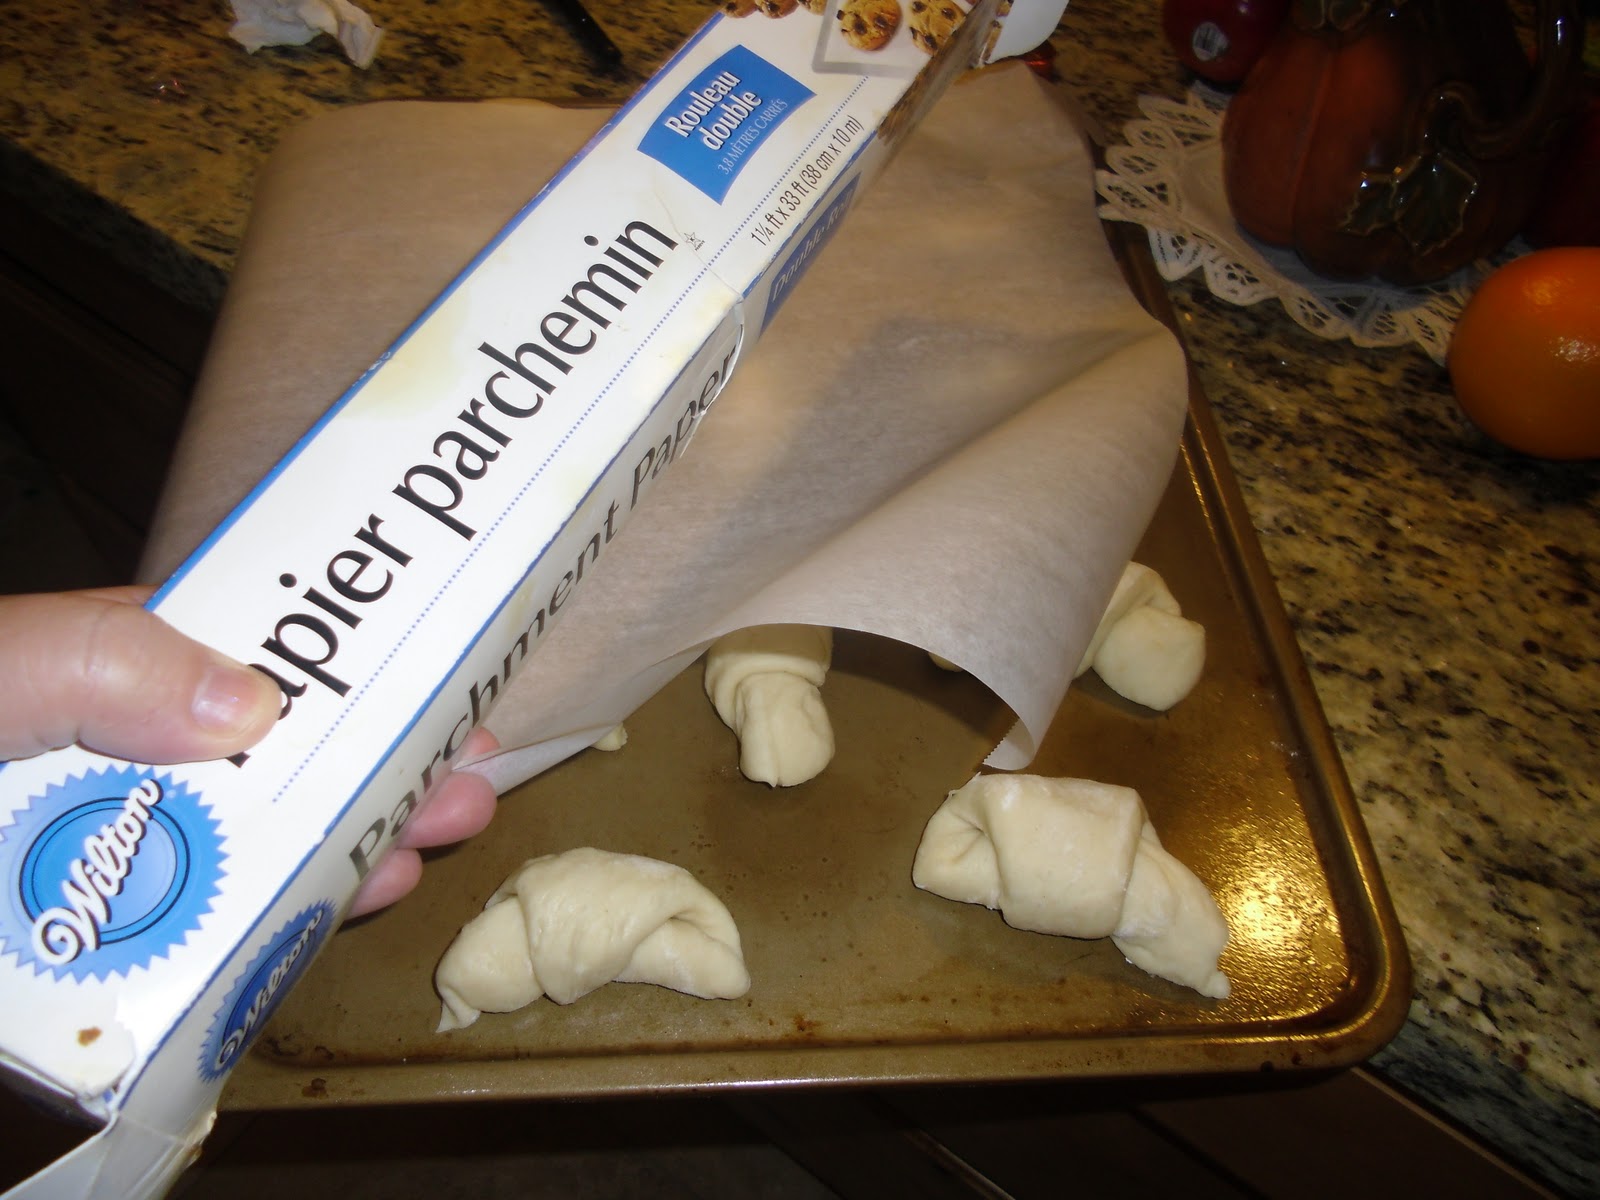
Here’s my 4th pan of rolls…..So then cover them wax paper or with parchment paper and a dry towel…

And  let those babies  rise for 2 hours.

When they look ready bake them at 375 for 10 to 11 minutes or so, until golden on the tops. They will rise a little more in the oven so they end up being huge and fluffy and yummy.

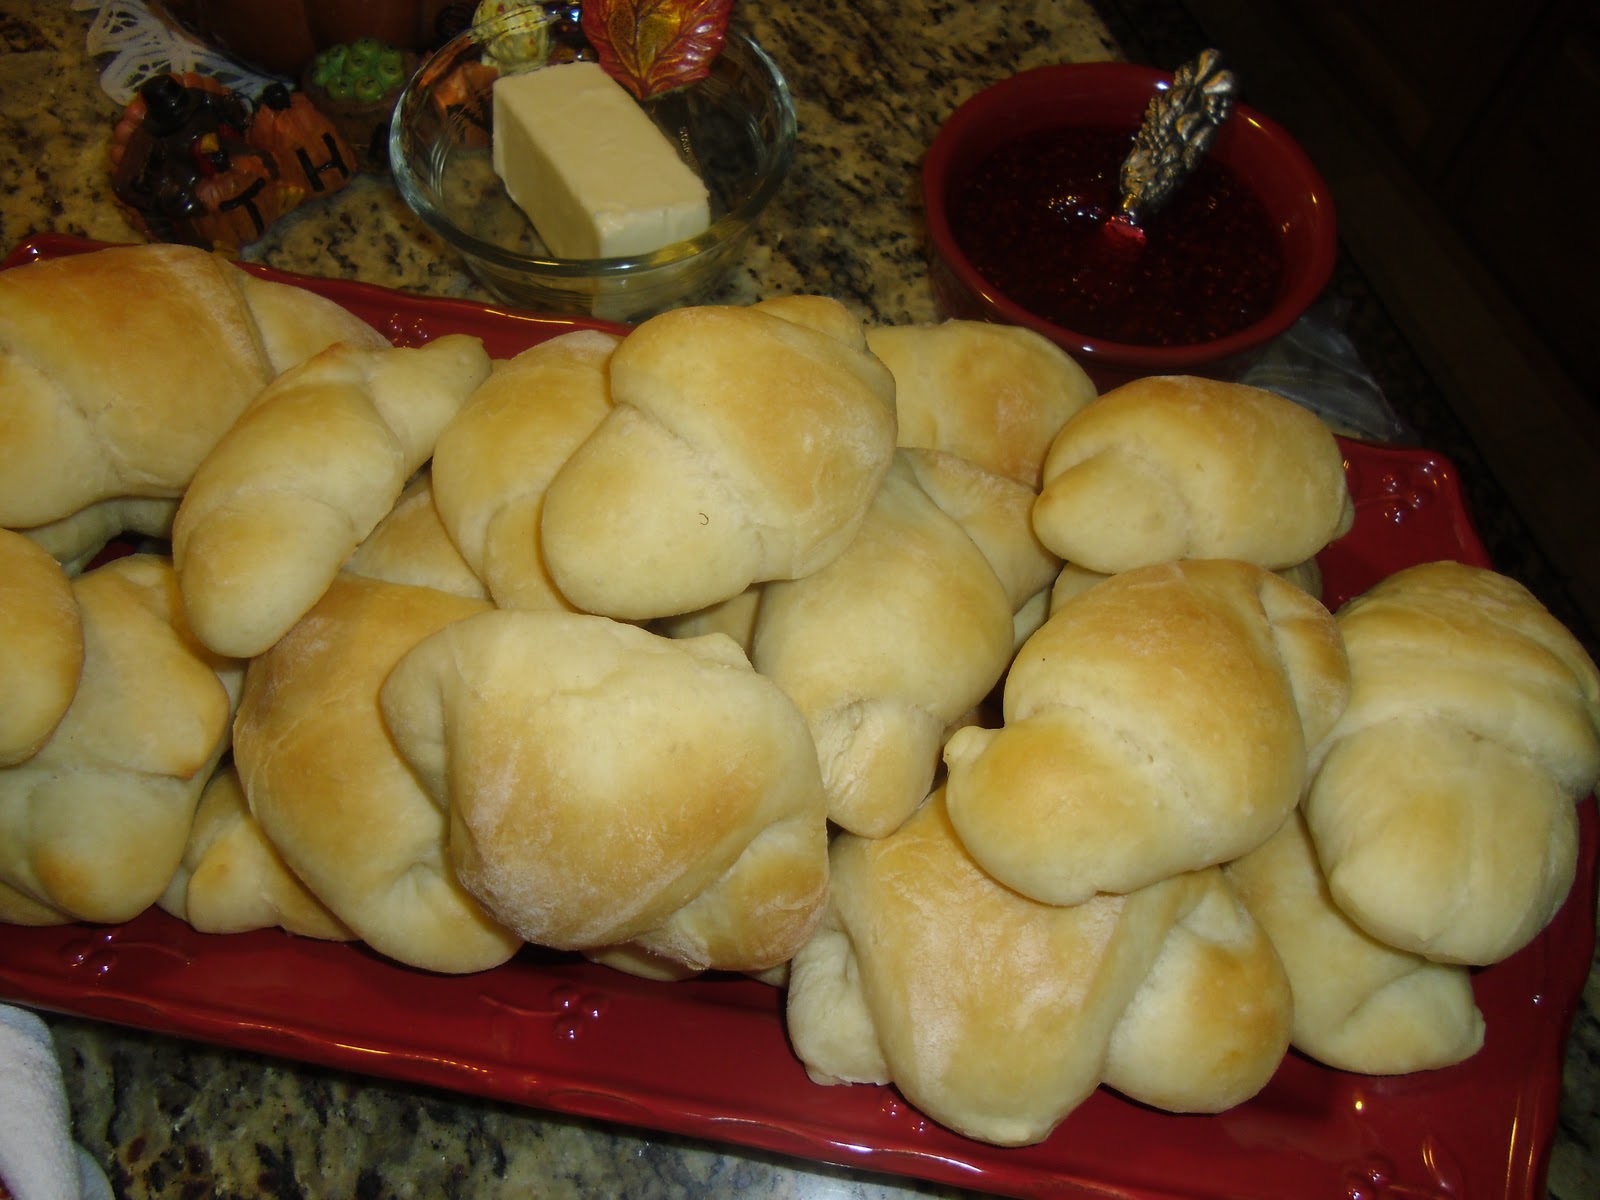
Don’t ya wanna taste my Hot, Buttery Dinner Rolls? Mmmmm…… 

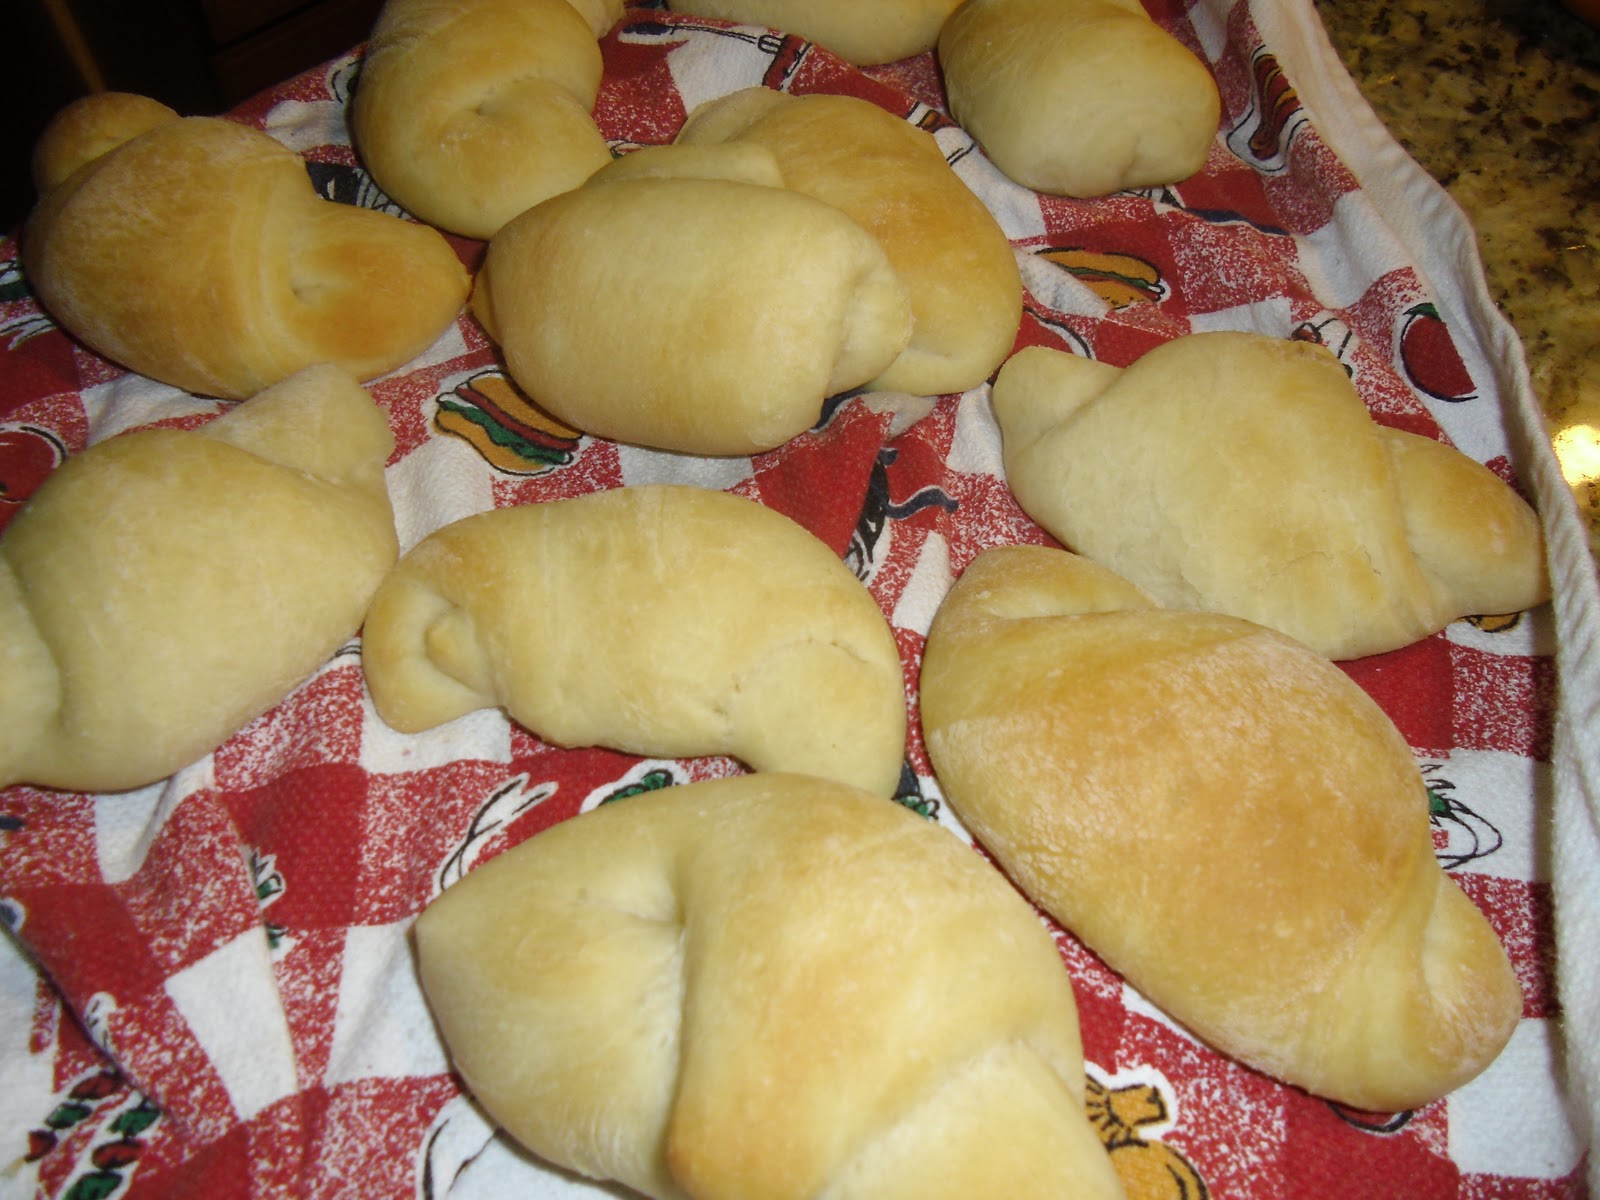
These are soft, light, really tasty and wonderful rolls! 

And Here’s my cooled and fluffy Dinner Rolls! 

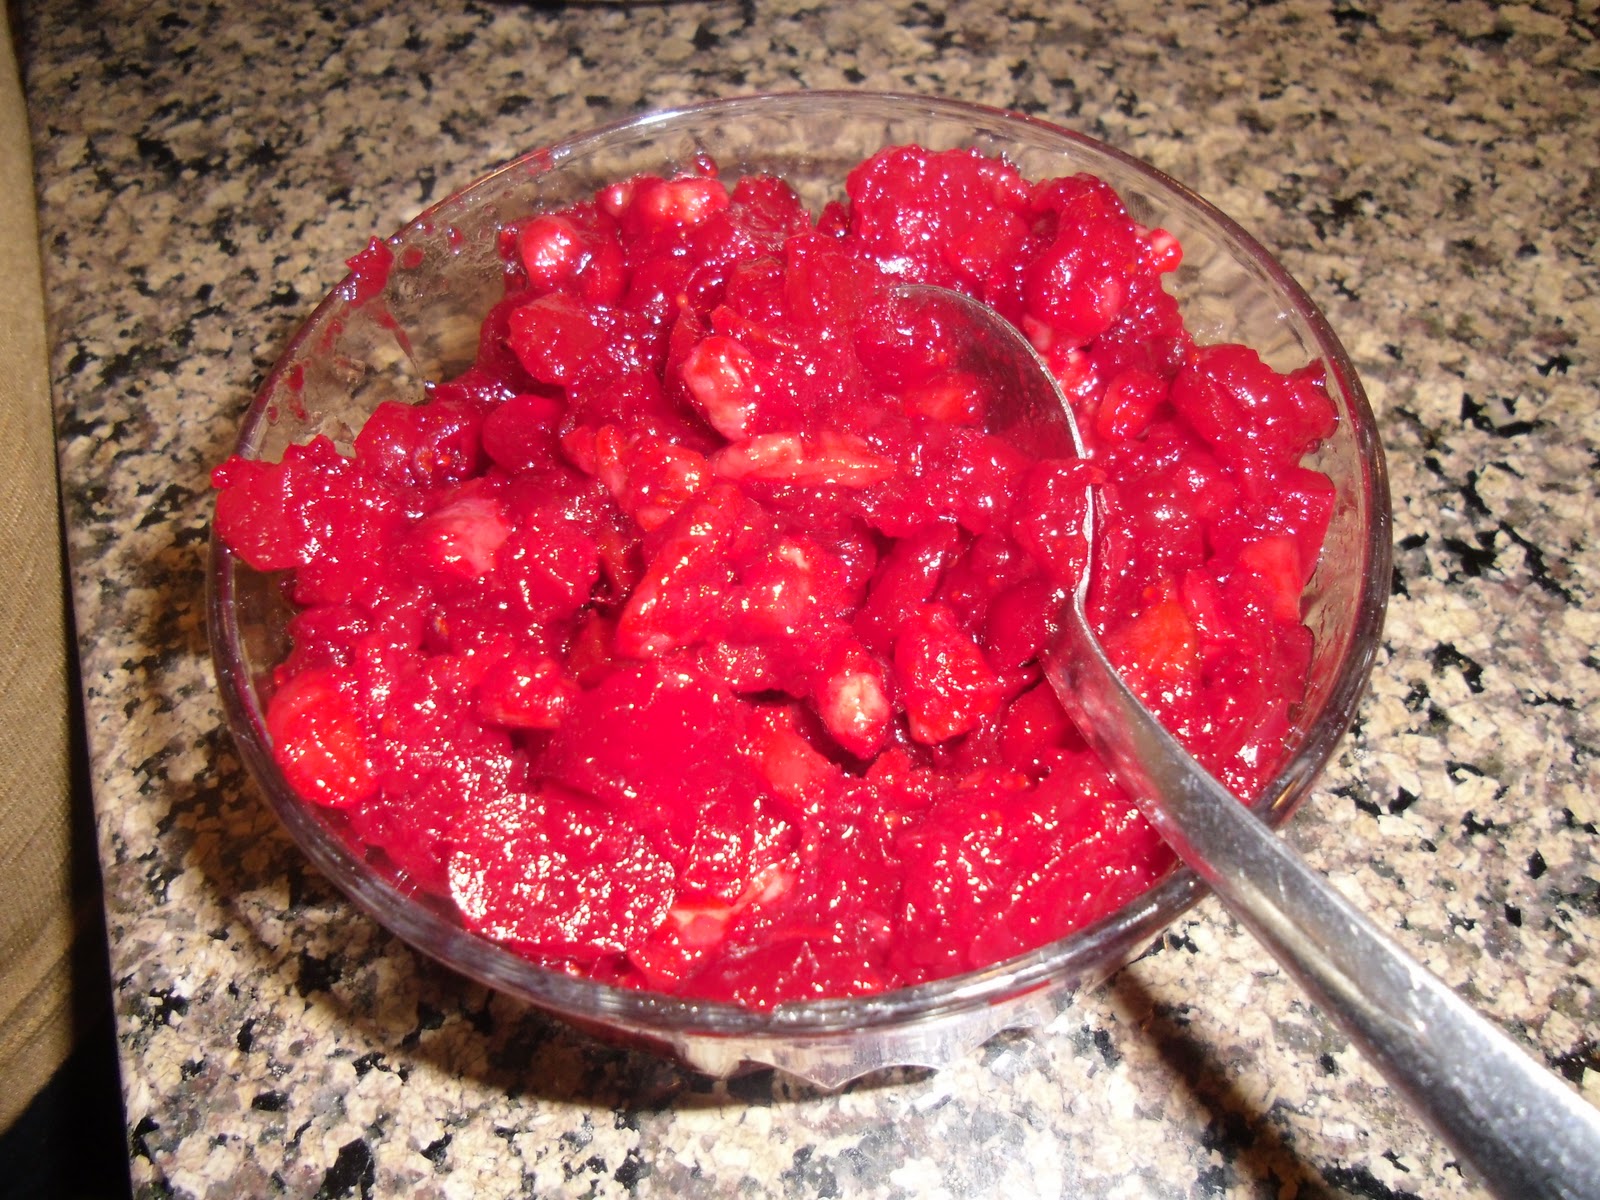
Bear Lake Raspberry Jam I got at the Raspberry Days Festival this Summer! 

Her’s my cute platter that matches the jam bowl…It looked cute on the Thanksgiving table…
Thanksgiving Buffet table…here’s my rolls with butter and jam…Yummy!

You HAVE  to eat one with melted butter on it.  Oooohhhhhh! Delicious.  This is what Thanksgiving Dinner is all about. Decadent yumminess. Yuuuuuhuuuummmm!

Cornbread Stuffing

My husband loves stuffing. All the years I’ve made it and it turned out too mushy, too dry, or just not very tasty, he always raved about it.  Yeah, that’s why I love him. He’ll eat anything and rave about how good it is.  That’s because he can cook very few things. Once he made John’s burritos; a hot dog in a flour tortilla with cheese. Yeah, he’s not known for his fetching menus. But he does a pretty good buttermilk waffle!

Mrs. Cubbison’s Seasoned Cornbread Stuffing…YUMMY! 

Over the years I’ve loved this Mrs. Cubbison’s Cornbread Stuffing Mix. It is mild flavored enough that I can doctor it up how I like it. But it has that cornbread taste which I love. I am the Weekday Chef. That means I’m no gourmet. I don’t have time to be. So shortcuts are always on the agenda. And this shortcut is easy and delicious.  So here is my stuffing recipe. It’s always good.

I use a Honeycrisp apple, sweet Vidalia onion (if you can find one) 
My Thanksgiving Dinner Table….super cute! 

Do all the chopping first….

Then melt your butter and add the apple juice
Thanksgiving kitchen decor on my kitchen island….

Then dump your veggies into the brothy liquid….

Lastly add your Mrs. Cubbison’s Cornbread Stuffing mix….no need to season! It’s already done! 

Stuffing Ingredients
1 1/2 cubes of REAL BUTTER (yeah, this isn’t a diet recipe folks)
1 sweet onion diced finely
1/2 a Macintosh or Honeycrisp apple, diced finely
3 stalks celery or 3/4 cup finely diced celery
1 carrot grated (optional)
2 cups of apple juice
3 bags (1 1/2 boxes) Mrs. Cubbison’s Cornbread Stuffing mix.
A shake of Lawry’s Seasoning Salt
1/3 to 1/2 cup additional liquid (water).

Cute Kitchen Thanksgiving Decor….

If it seems too dry add 1/3 to 1/2 cup water to the mixture… I like mine fluffy but not dry. 
Thanksgiving Decorations in the front entryway….

My cute little pilgrims….

I follow the directions pretty much on the label. I cut up all my veggies. Then I melt the butter and add the apple juice liquid. Then I add the veggies. Then when it’s hot I take it off the heat and add the cornbread mix. It may need a bit more moisture so you could add 1/3rd cup water to it while mixing. It should be all moist.  Then I put it in a casserole dish and cover it with foil.  Bake it 45 minutes to 55 minutes covered.

It’s easy and always turns out a crowd pleaser. And it’s even better the next day as leftovers! That’s the best part of having company over for dinner; you get all the leftovers! Yup! Happy Turkey Day!

Favorite Thanksgiving Dish

My favorite side dish for Thanksgiving I helped my mom make as a child. 
My sisters and brothers all make it as part of Thanksgiving too. 
It was a true family tradition.
Fresh Cranberry Salad.
It’s really good.
Thanksgiving side dishes….Cranberry Salad
Everybody in my family loves this salad too. My kids and grand kids all love it. Even my
husband who doesn’t like sweet stuff much, likes this salad. 
Fresh Cranberry Salad…my favorite Thanksgiving side dish.

You start by adding cupfuls of cranberries to your blender to quickly chop.

I put in about this much at a time…so easy and quick.

 I try to find a really pretty glass bowl because the bright red of the salad adds a lot to your Thanksgiving table and to your plate! You know us chefs, plating is everything…how does it look on the plate? Gorgeous! Yup.

Then dump in a can of crushed pineapple, juice and all! 

Then dump in a tub of Cool Whip…. and some mini marshmallows (I use ALMOST a whole bag, maybe leave 3/4 cup behind)

And then just let it sit in the fridge to let the flavors meld together…it’s fresh and crunchy and tart….

Best Thanksgiving Side Dish! Ever! 

One of my sons actually asked “Where’s the cranberry sauce?”  swatted him on the behind…yeah…and he’s 28!

 It was Devin’s birthday a week ago so I made a turkey dinner in his honor. He loves turkey and we didn’t know how many of the kids would be going to the in law’s house this year for Thanksgiving. So we did ours early. Too bad I forgot to take pictures of the beautiful turkey!!!

The girls “helping” Devin blow out his candles…So cute…They LOVE him! 

 I took pictures of the beautiful grandkids instead. he he.  And my handsome birthday boy. I have no more kids now, only adults! Waaaa…..

Isn’t this a sweet picture of Dev and the grand kids…I thought so too. 
Cute pine cone turkey place cards….a cute craft for Thanksgiving….

And Megan loved my little pine cone turkeys…Link   HERE at Weekday Chef  if you’d like to see the tutorial….

Happy Thanksgiving Everybody!