WHITE CHICKEN CHILI

Well Brucie? What are we gonna make for dinner tonight? I want something fast and I’m kinda tired because, well,  school started and teachers are ALL tired out from standing and talking ALL DAY! 
So let’s make some easy white chicken chili! 
Here’s all my ingredients…..2 kinds of white beans….onion….and some squash from my garden (optional) I’ve GOT to start using up my garden veggies. It seems like I get a new Zucchini every day! 
Chop up a cup of onion and a 1/2 cup of celery (and I added 1/2 cup yellow crookneck squash) 
You could also use a 1/2 cup of frozen yellow or white corn just as easily…both optional.
A small can of chopped green chili peppers go GREAT in white chicken chili….
I used these spices….dash of lemon pepper, parsley, chili powder, onion salt, and Season Salt.... And I added 2 slices of lightly microwaved bacon….

 Well, and of course the chicken broiled and then diced up….I added a few cups of milk and dumped the beans in after the veggies were tender….it’s so easy…takes about 20 minutes to make.   And it’s great with hot bread sticks!

  WHITE CHICKEN CHILI

 Recipe for White Chicken Chili
3    chicken breast boiled and cubed
1    cup sauteed onion in butter
1/2 cup chopped celery boiled for 10 minutes
2    cans white beans any variety, butter, limas, great northern (1 use 2 varieties) add the liquid too.
1    small can chopped green chilis
1/2 cup yellow squash or frozen corn (optional) I just did this to use up my garden veggies….
2    dashes of spices to taste  (onion salt, chili pepper, lemon pepper, parsley, Seasoning Salt)

2 -3 cups of milk
2 slices of microwaved bacon

After onions are sauteed and celery and chicken are boiled and chopped add them to a pot of beans, chilis, milk and then add the spices. Boil for about 10 minutes. Serve with bread sticks and a salad.

We saw a marvelous balloon launch at a park practically in our backyard…..it was really cool…..
I’ve never seen one before….but it is so exciting and beautiful to watch!
Here’s my hubs. I’m taking a picture of him taking a picture….snicker….
I got a close up view to “feel the heat”….It is awesome! But I don’t think I would try it….
There they go! It was all over in 10 minutes…..Bye guys!  

Philly Cheesesteak Sandwiches

I like kind of soft inside crusty outside bread for my cheese steaks….

I had a package of steak in the fridge I was going to have John do on the BBQ this afternoon.  But I had all these tomatoes turning ripe from my tomato vines too. So I was thinking it might be fun to do Philly Cheese Steak Sandwiches instead. I love them and they are really, really easy to make.

Philly Cheese Steaks are really easy if you find sirloin steak on sale….

The trick is to slice the raw steak really, really thin with a sharp knife. That is kinda tedious. It is easier if the steak  is still a little bit frozen.

Slice it thin…season it….fry it up in a frying pan…that’s it! 

They are good with tomatoes too and I have like a gazillion in my garden ready to eat. And luckily I had a big onion ready to pick too. So that’s what we are doing today.

These tomatoes and the big onion are straight from my garden!

I sliced the steak really thin on the cutting board and seasoned it with Montreal Steak Seasoning. Then I fried it up in a fry pan with a little olive oil. I fried the onions in butter and olive oil with a shake of garlic salt until they looked caramelized and soft.

Coarsely chopped onions
These are from my garden! 
They’ll be great on Philly Cheese Steaks! 

I just buy a big loaf of french bread for the Philly Cheese Steaks! 

Then when both were about done I put them in a pan and added the provolone cheese, just like 6 slices all around the top of the meat and onion mixture.  Then I got my french bread ready. The sandwiches really are better the more cheese you add…I know that’s not very healthy, but it is the truth.

Now don’t those Cheese Steaks look super yumm?

I really like fresh tomatoes on mine….these tiny ones are the newest ones ripe off the vines in our  backyard garden. 

You could add sauteed green peppers to this sandwich too and sliced tomatoes like we like it. That is just personal preference. But you could just go with the steak and cheese and onions on your rolls.

I don’t think these are low calorie…but they are so delish!  Just try not to think about it…..

I always look for some steak on sale and this meal is really yummy but very inexpensive too.
Here’s our Tuesday night Cheese Steaks!  I made some strawberry shortcake too. I had to do
something with all my frozen strawberries I’ve been keeping!

Philly Cheese Steak Sandwiches….yummy and easy! 

They take literally 10 minutes! 

Next time you are at the market get a small steak and try making your own. You will love them.

Apricot Glazed Pork Roast in the Crockpot

Sunday Dinner Menu:
Apricot Glazed Pork Roast in the Crockpot
Sweet Potatoes
Corn on the Cob
Salad with Mandarin Oranges, Strawberries, sliced almonds
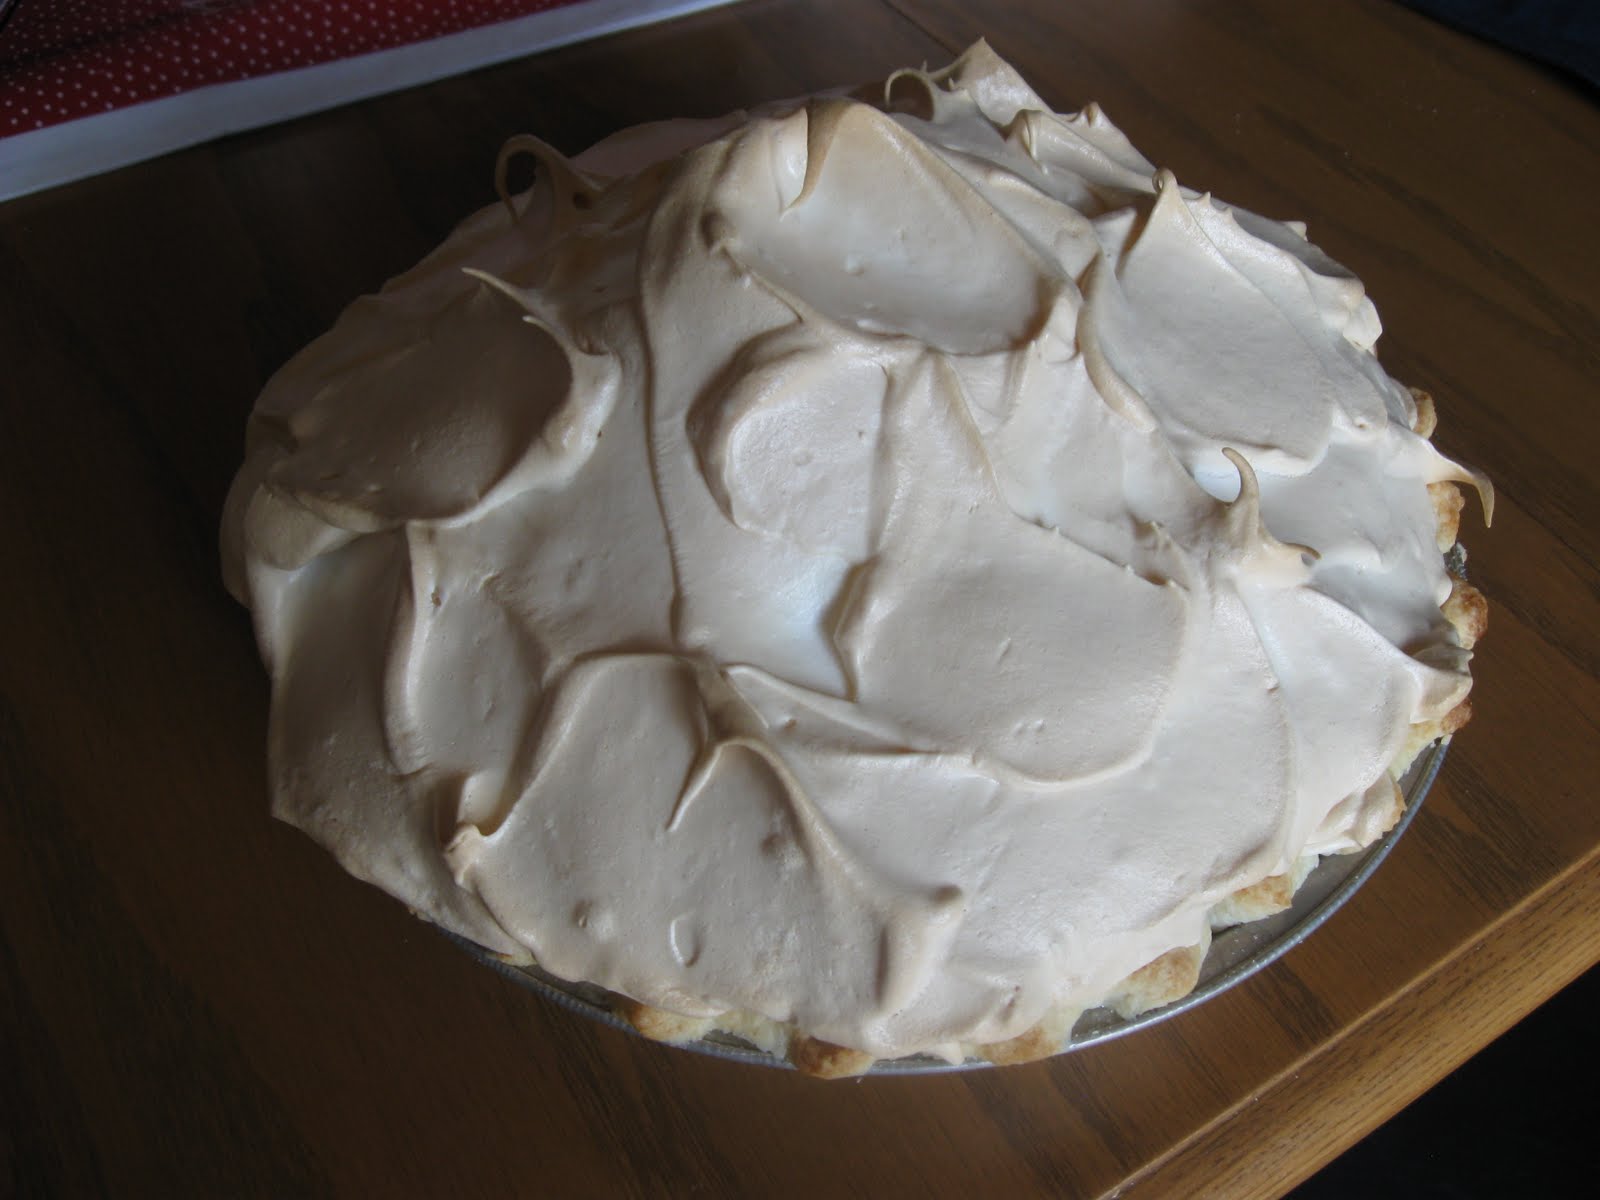
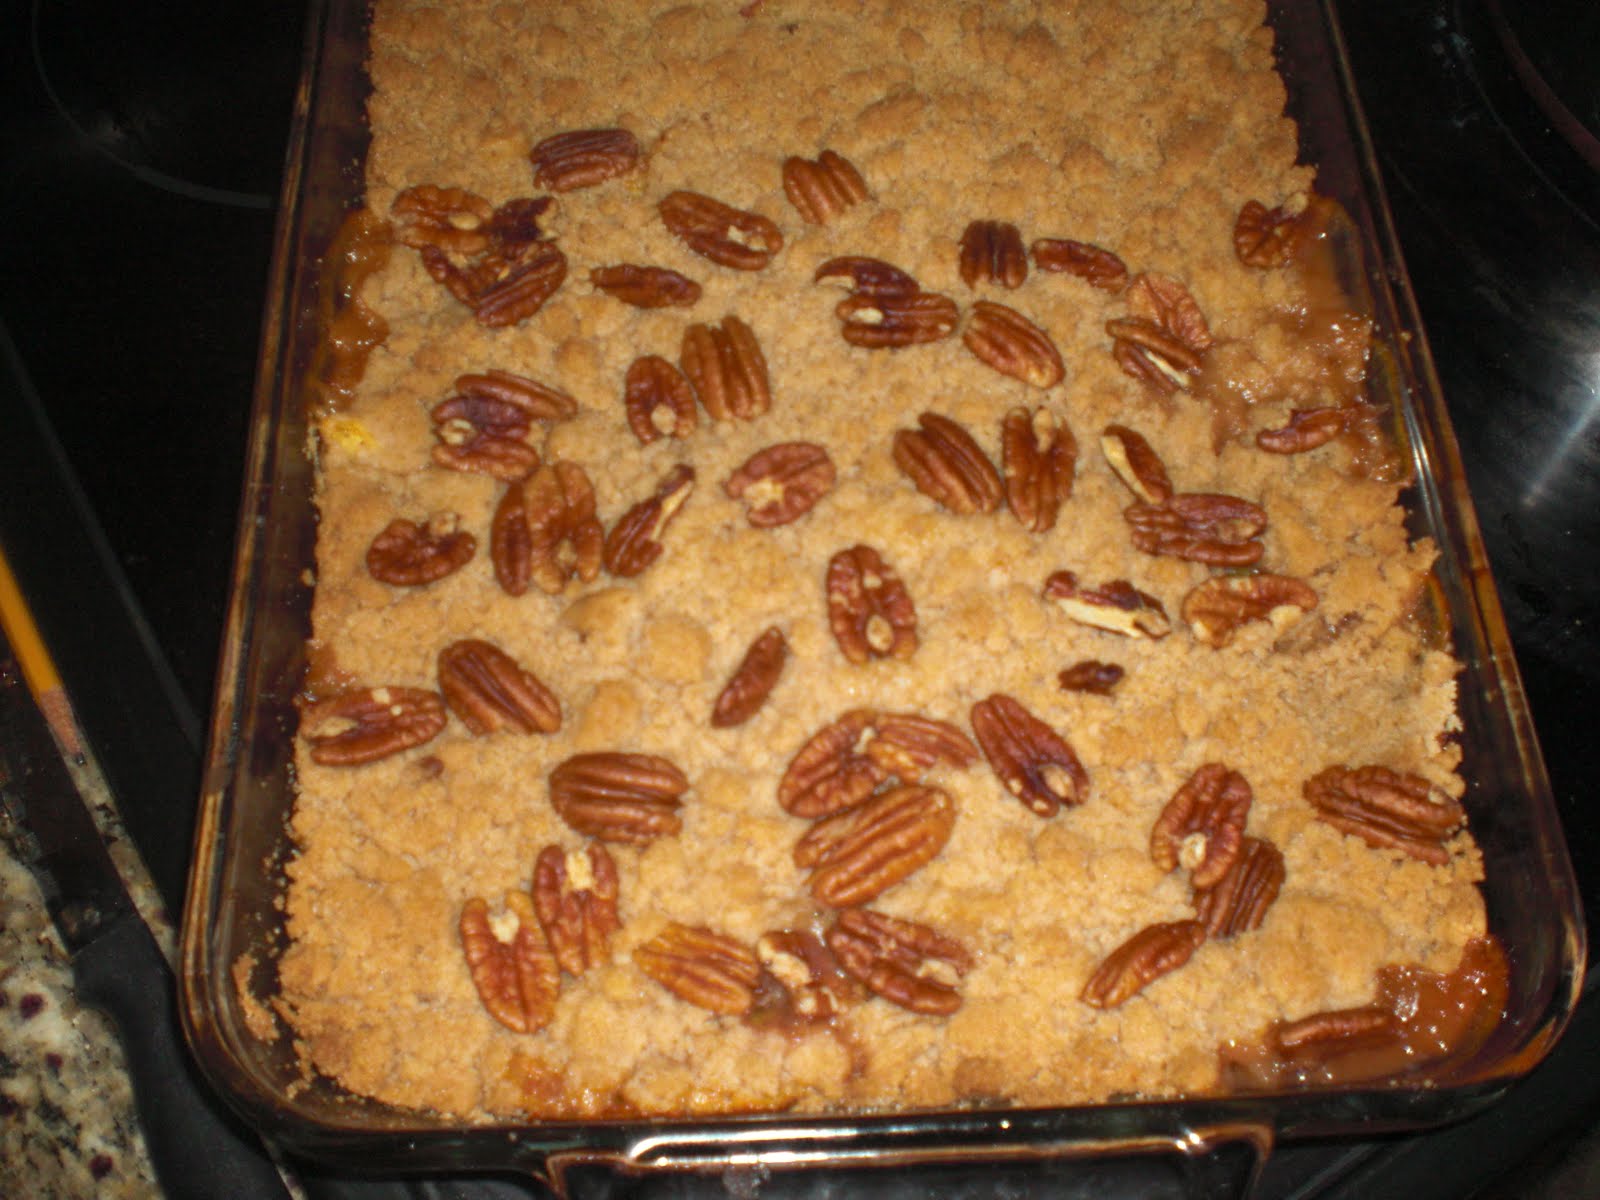
Dessert:
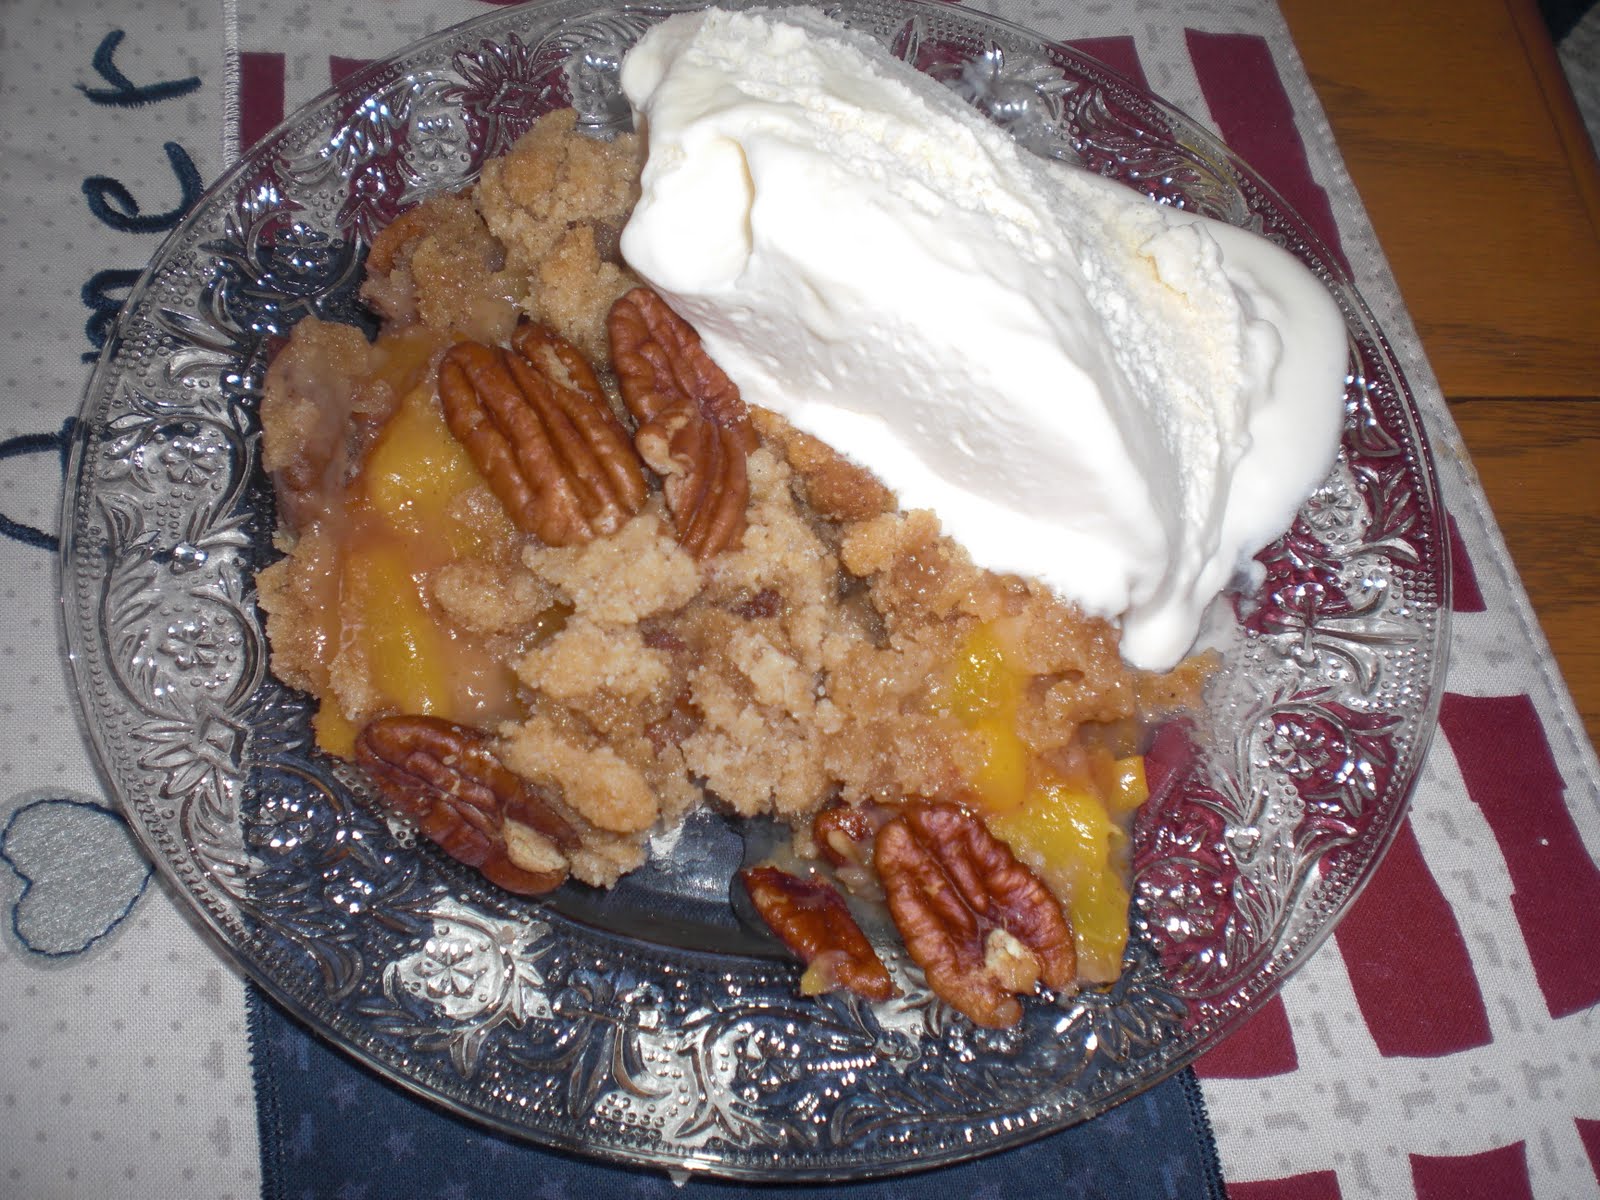
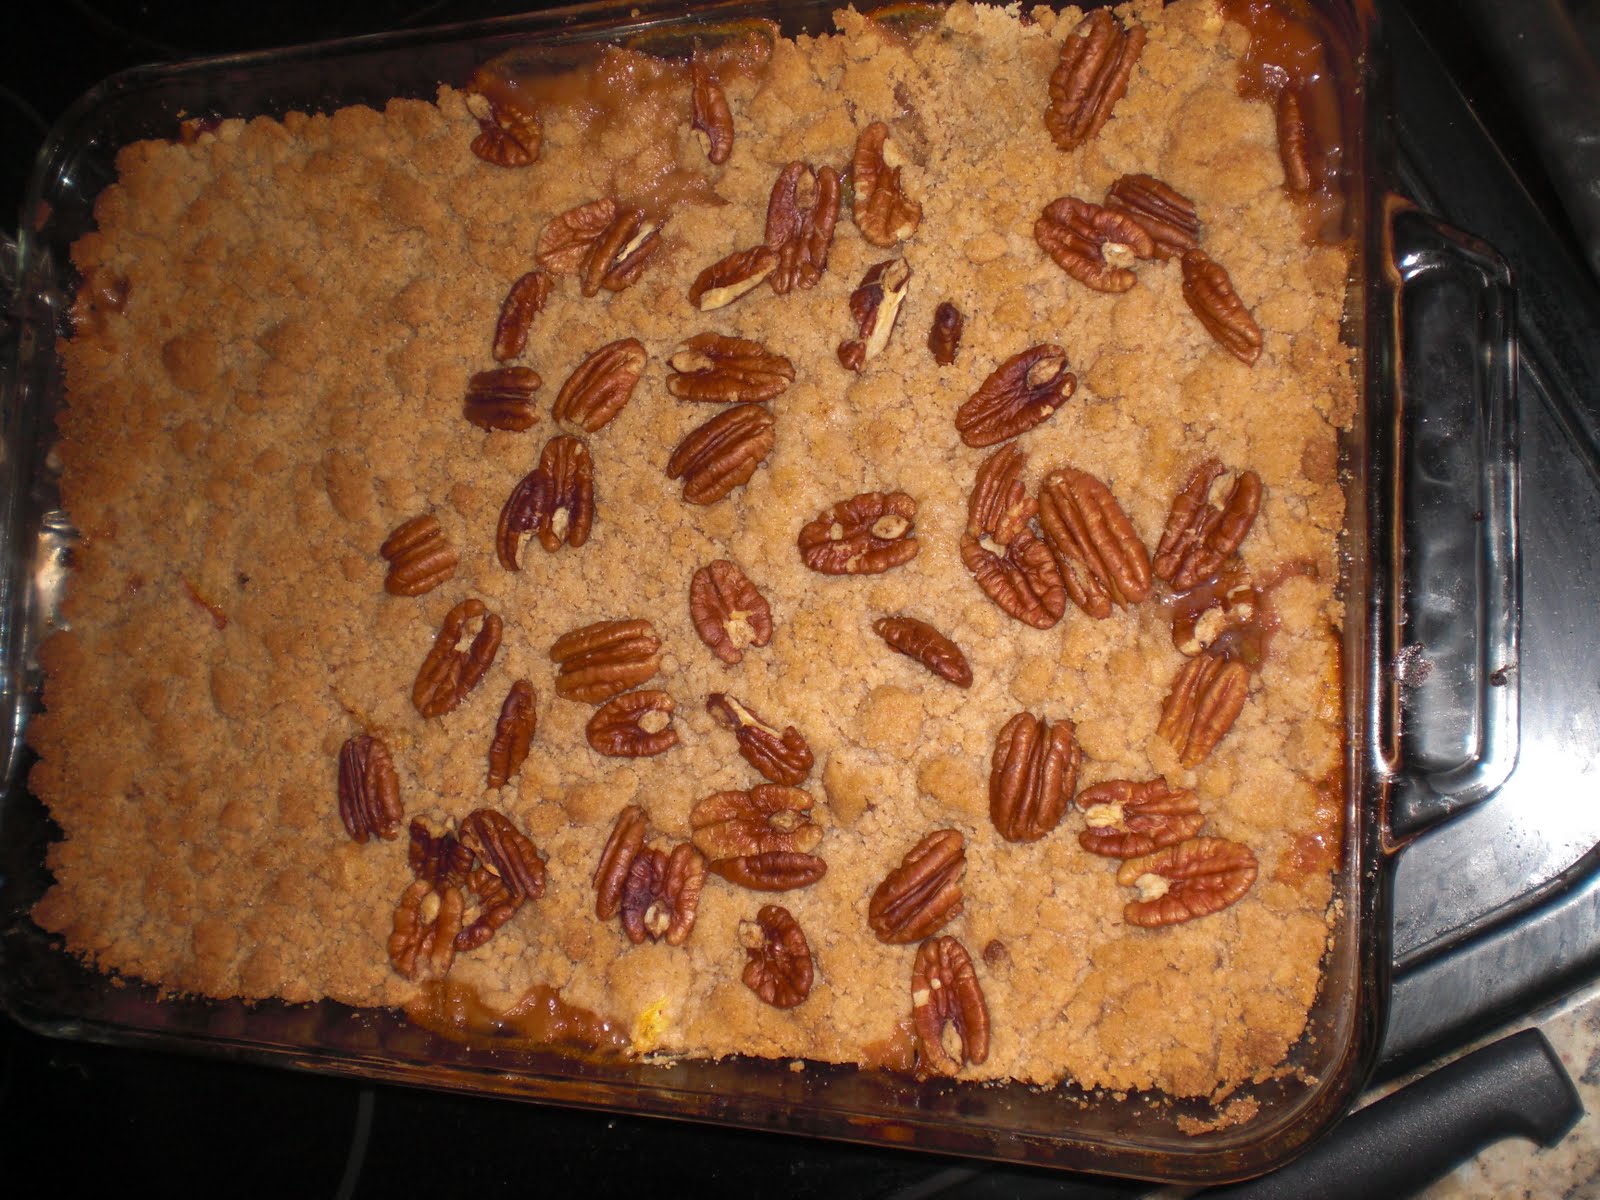
Peach Crisp with whipped cream 

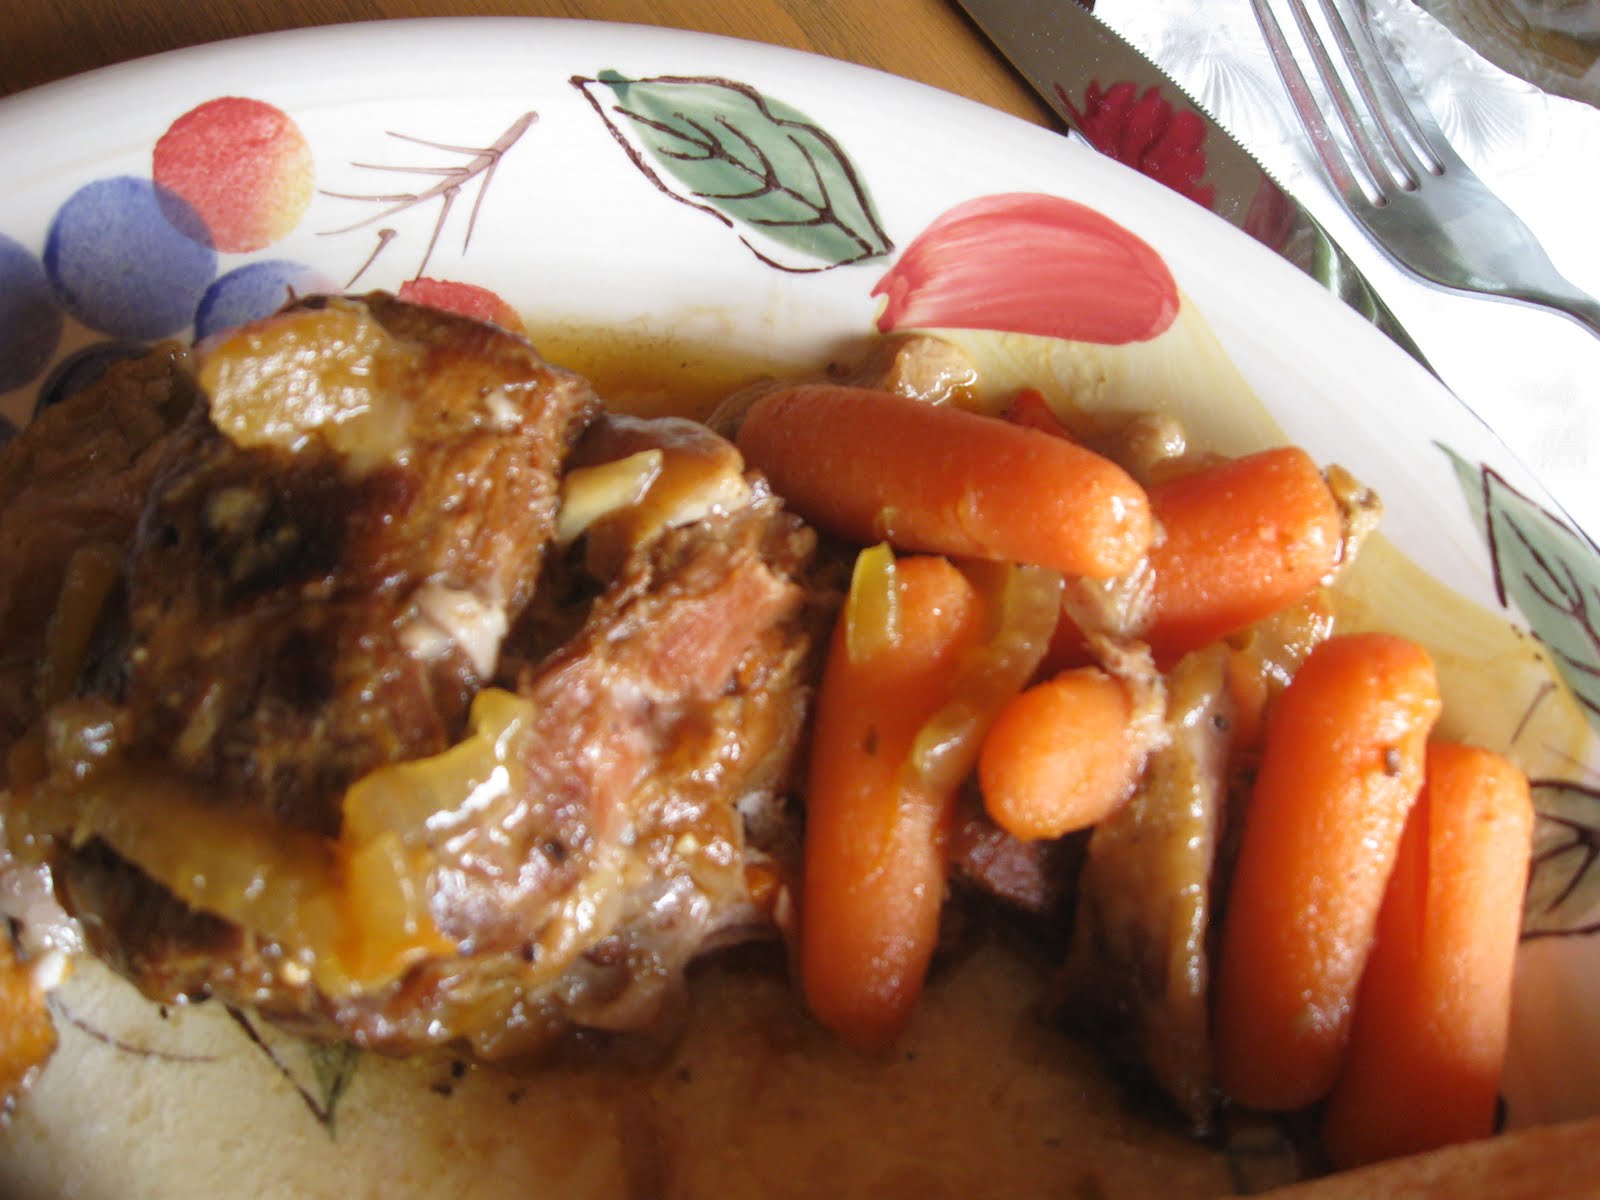
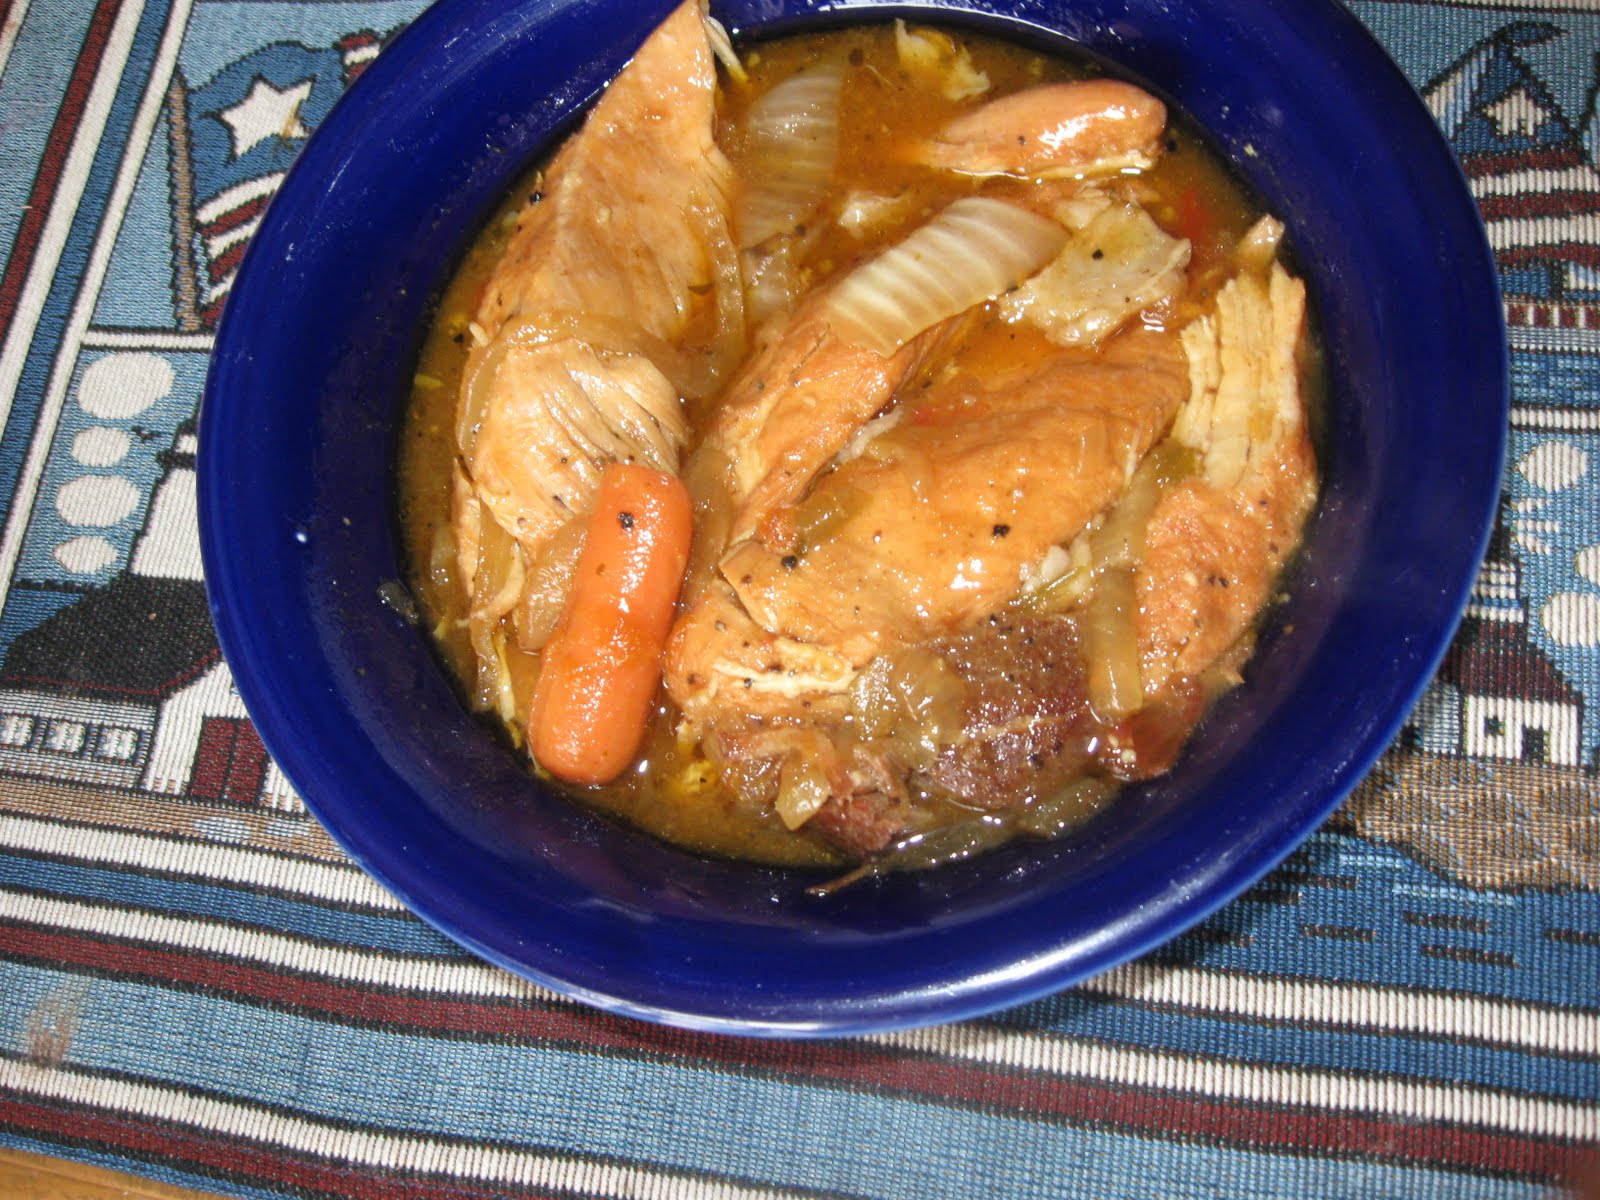
Finished Pork Roast with baby carrots and sweet onions….

I LOVE my new Crock Pot. I bought it for myself as a gift last Mother’s Day. I told Johnny he just bought me a very nice cooking gift. snicker…..It is giant and can fit 2 little roast beefs inside. I don’t know why I still cook for a crowd but I do. And then we have tons of leftovers. I should work on that…..

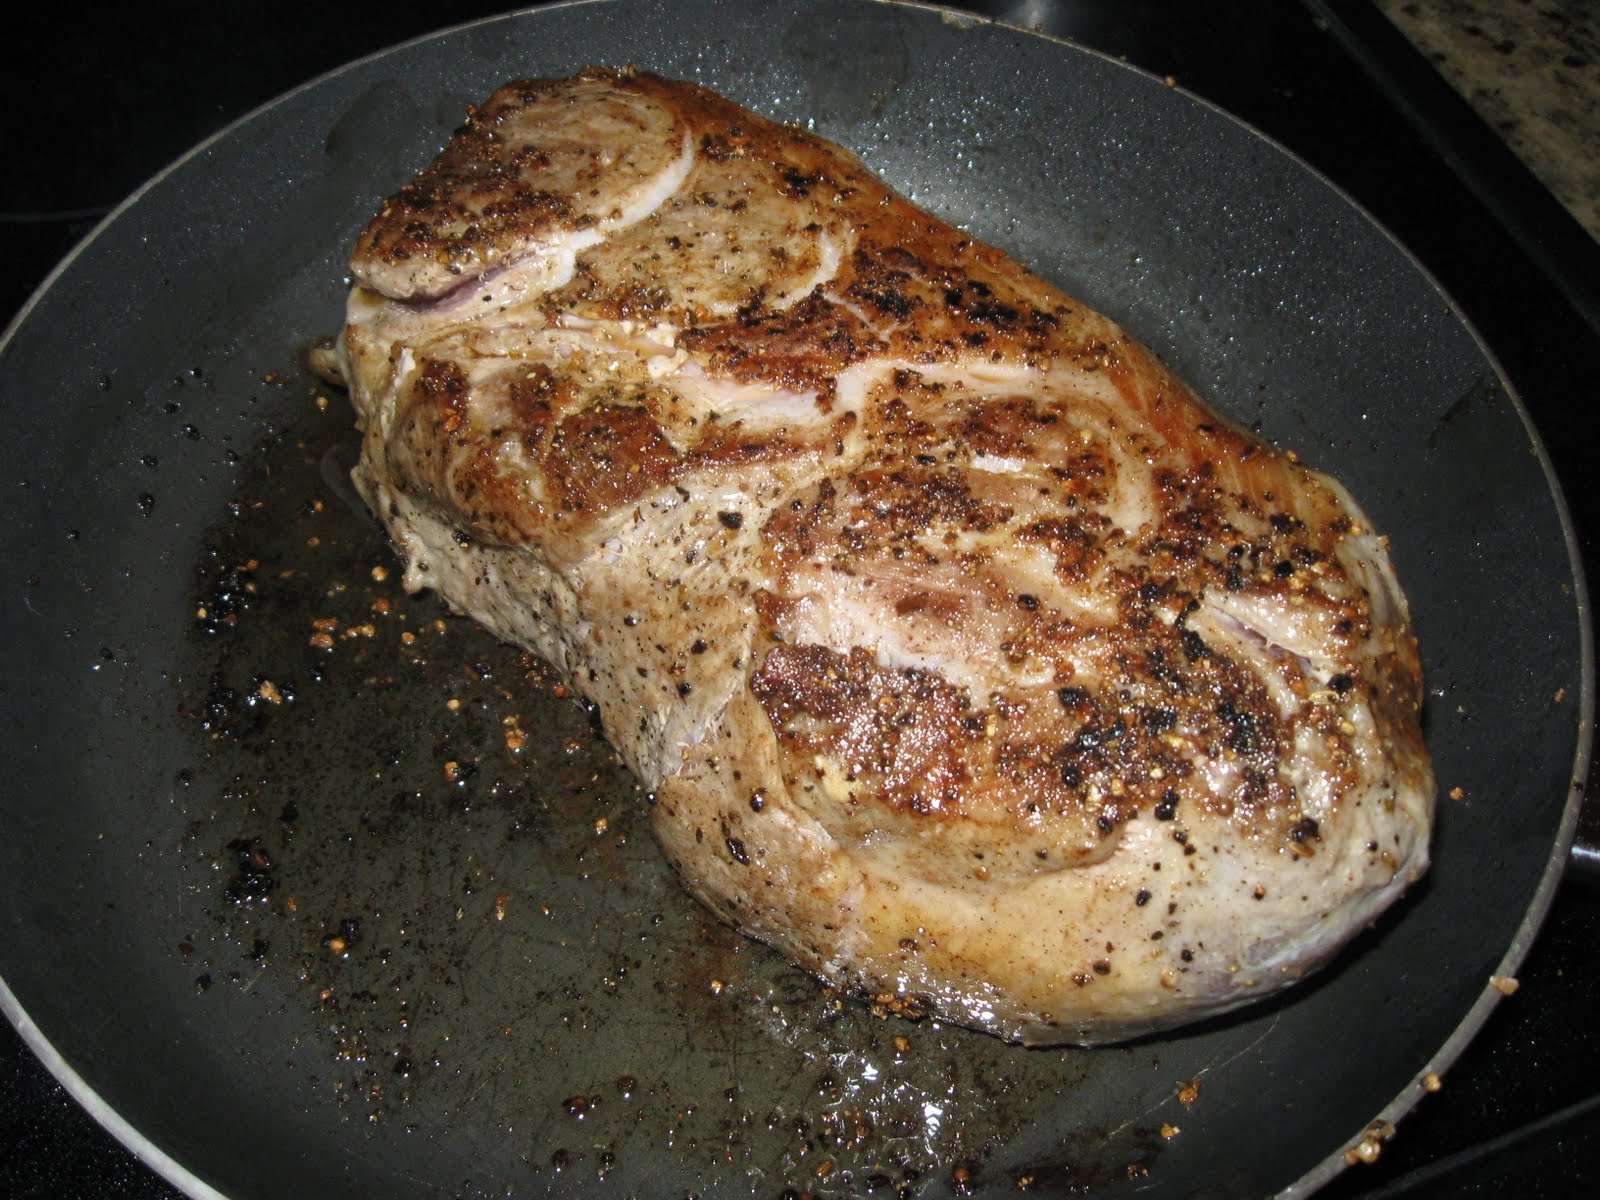
So here’s my pork roast being seared on all sides by me and my trusty frying pan.

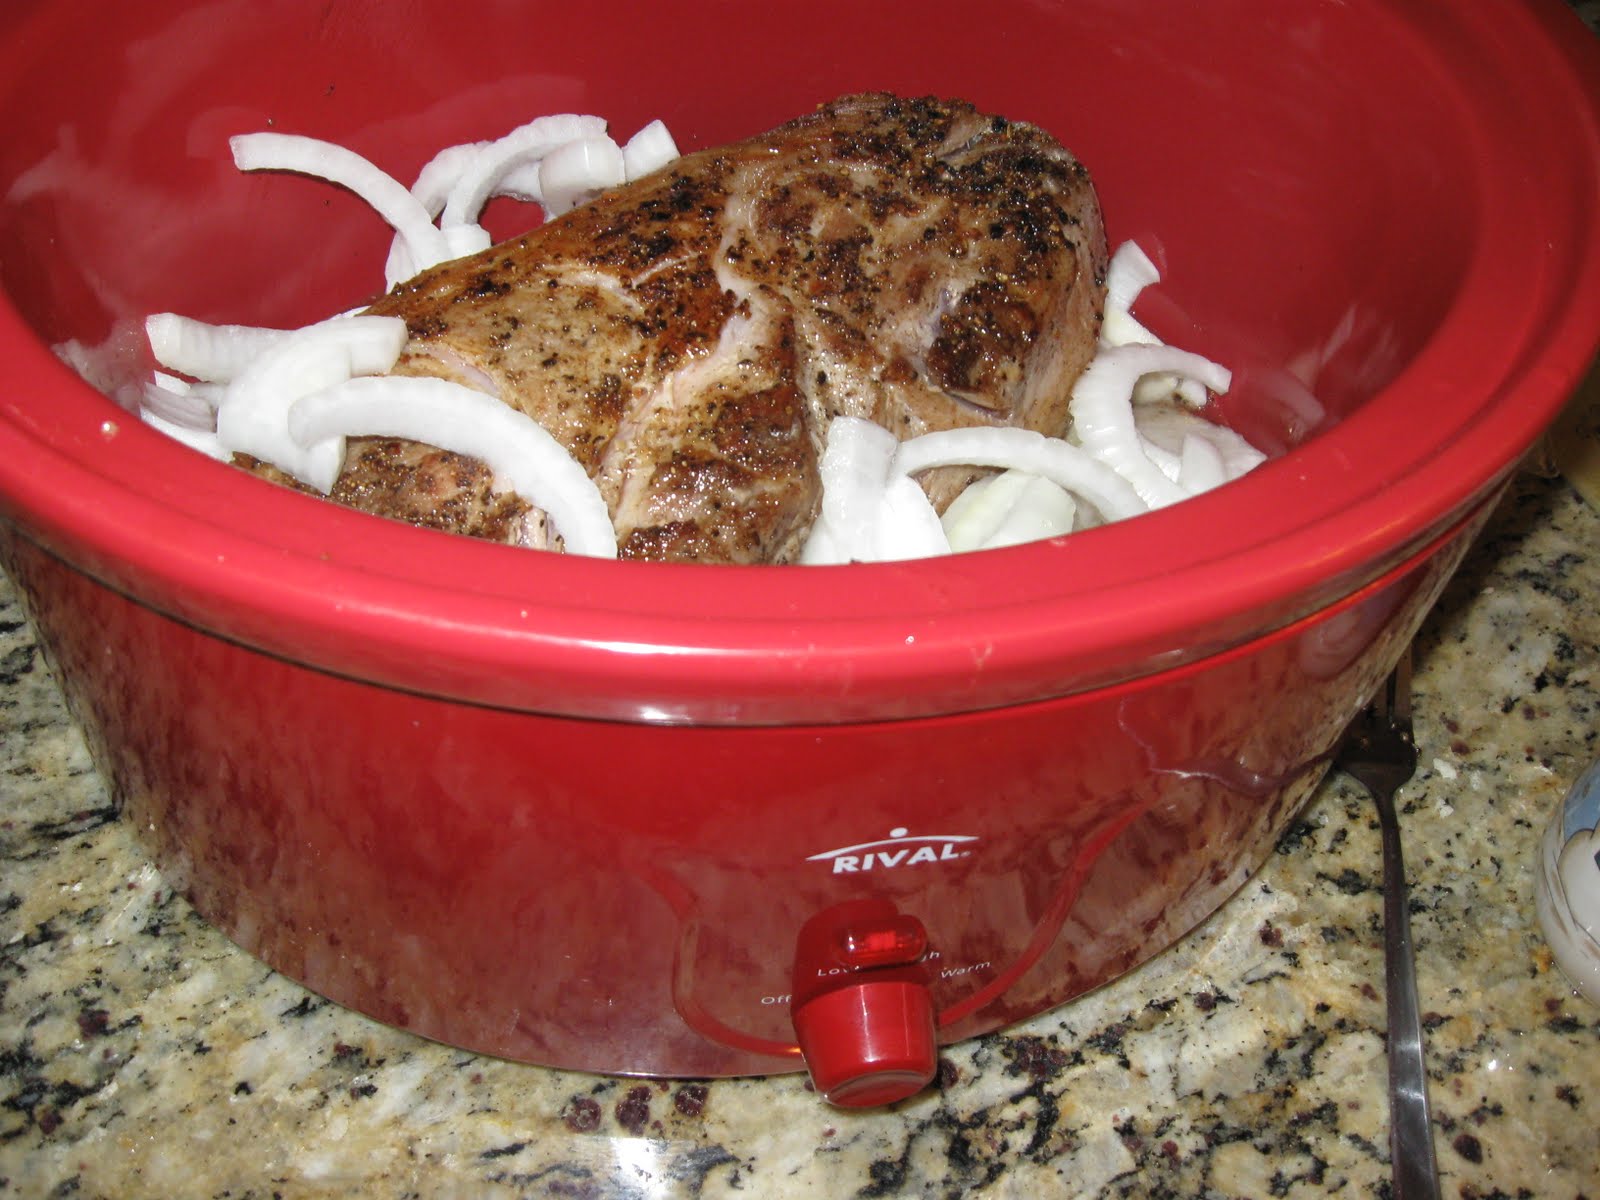
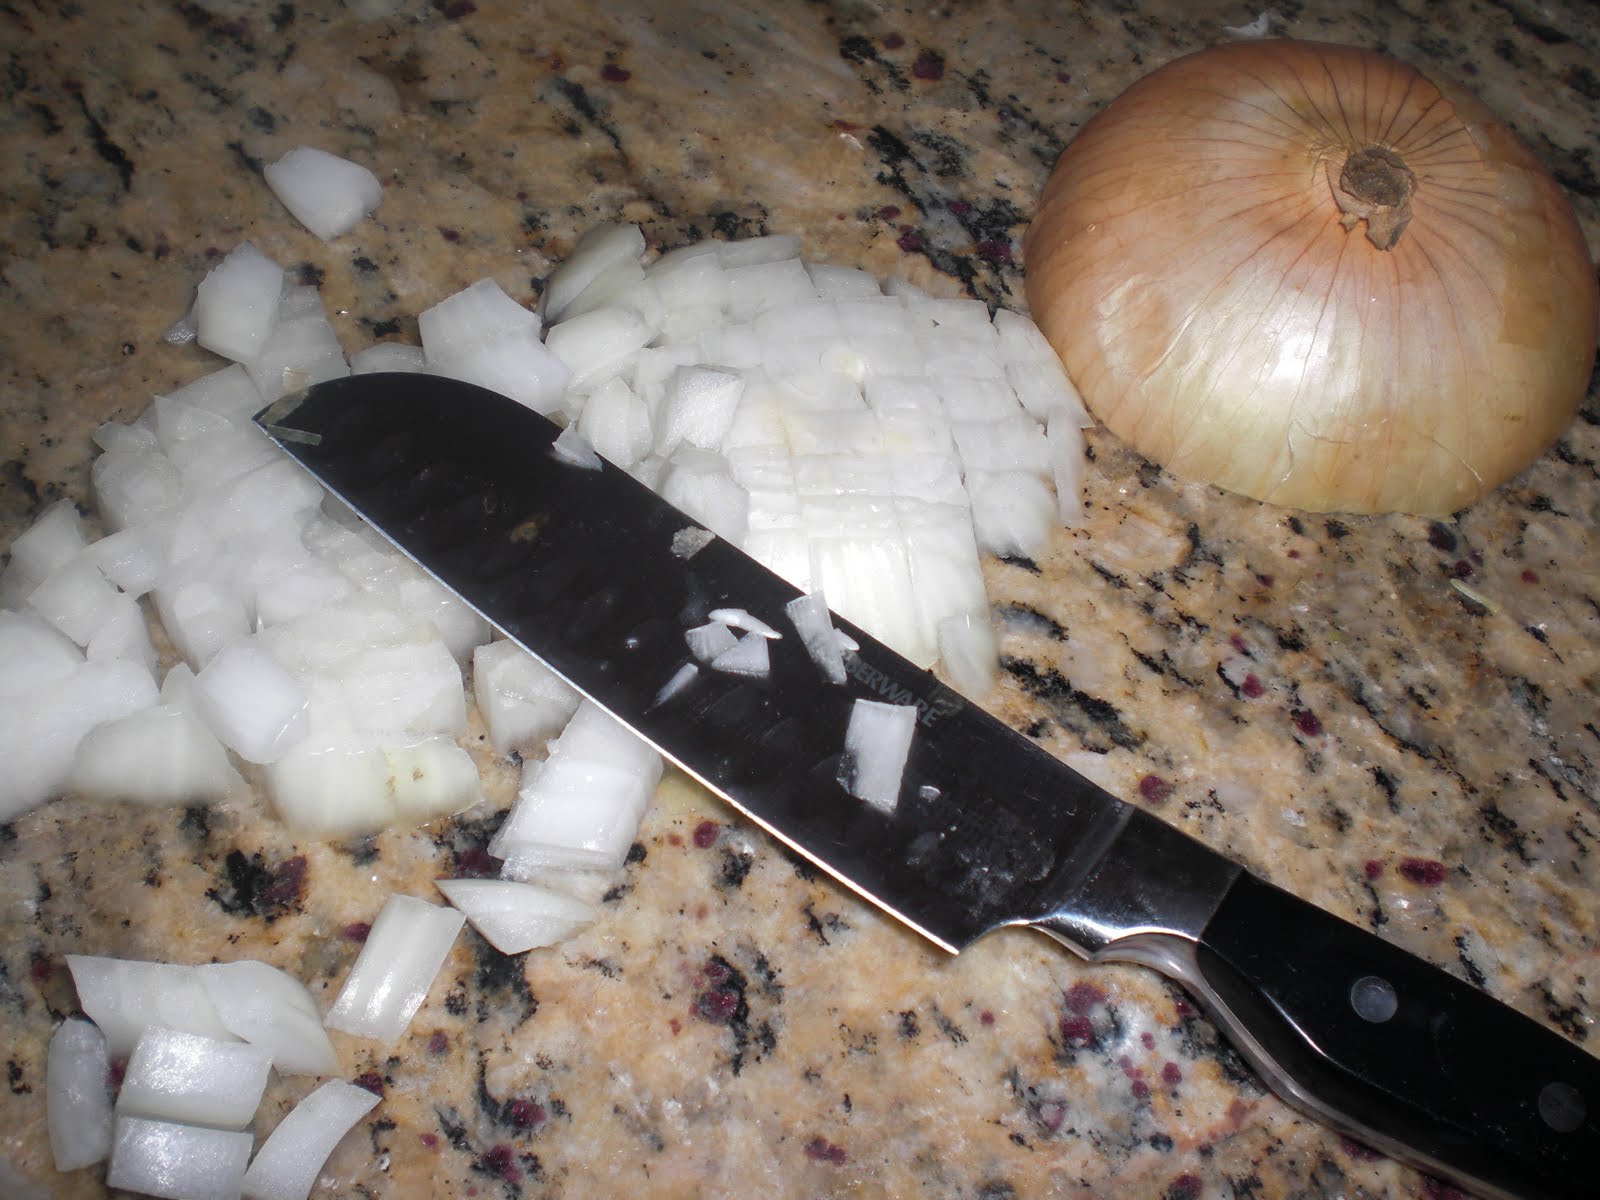
I added a bunch of onion slices and a few little “SHAKES” (like 1/2  teaspoon) of Mesquite seasoning packet from GRILLMATES 

PORK ROAST CROCK POT RECIPE:
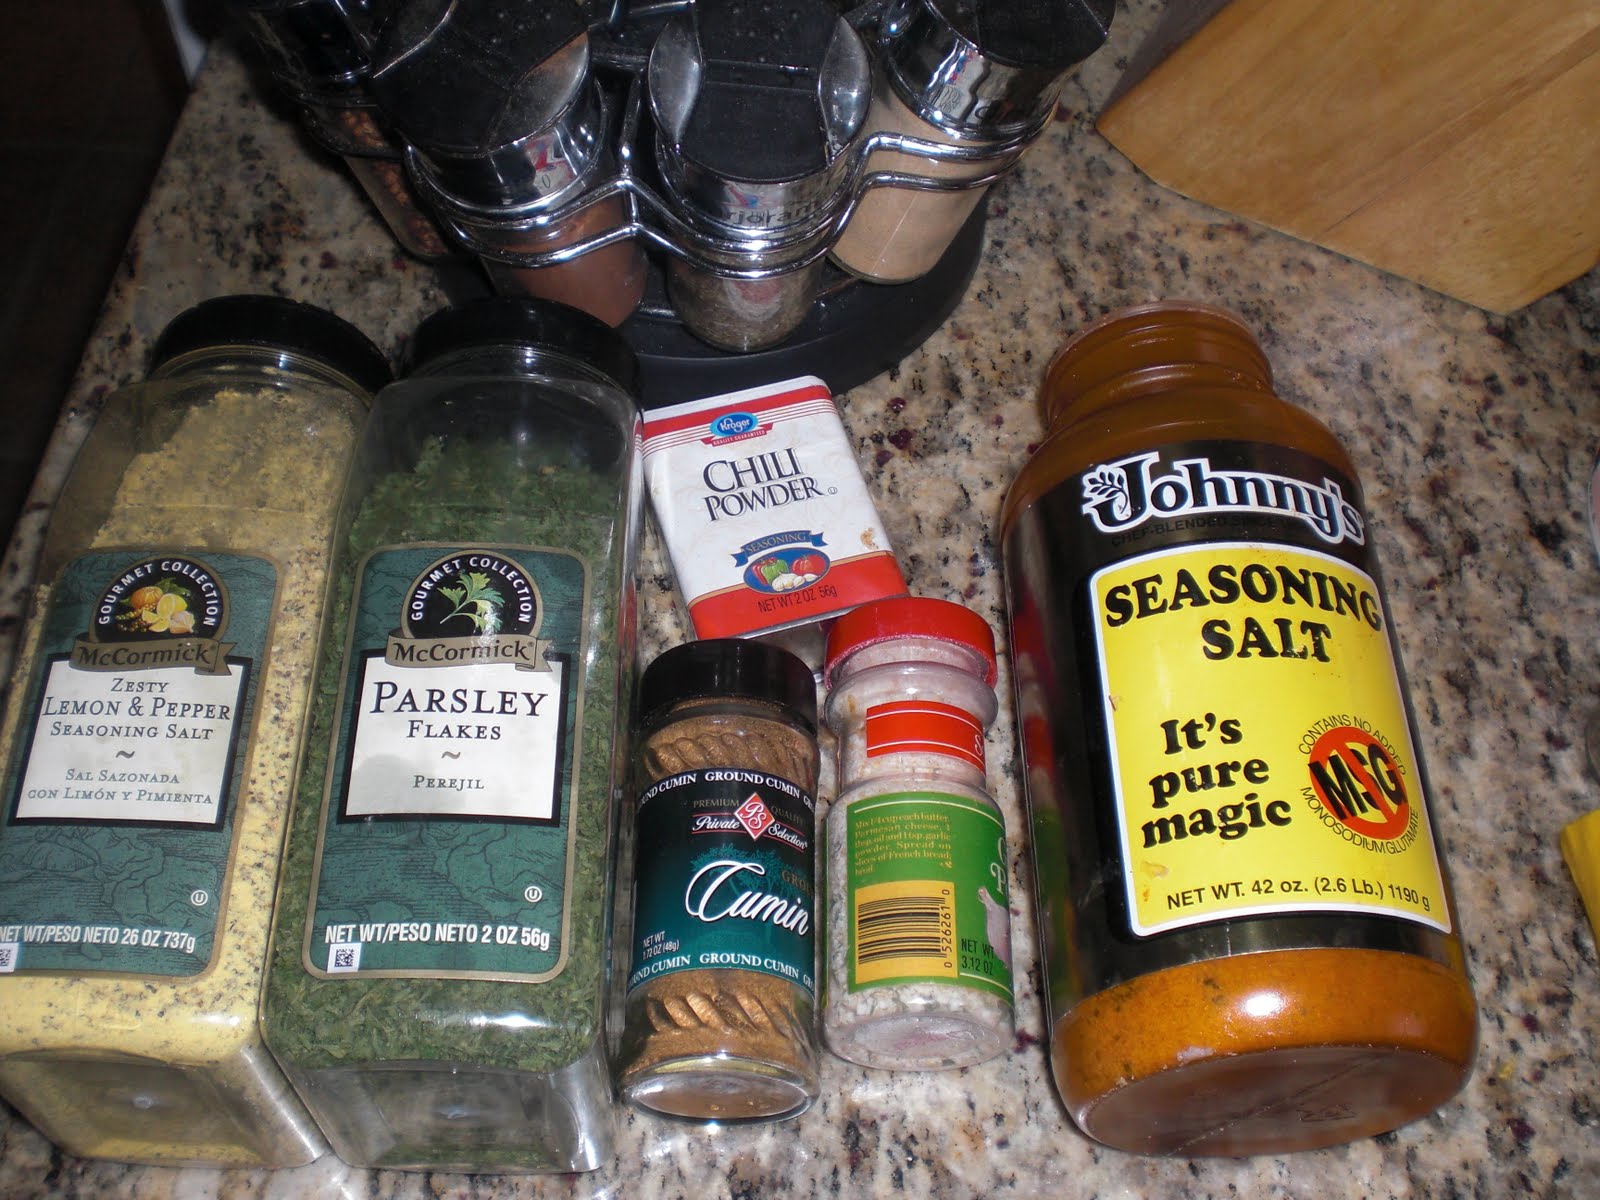
Season with Montreal Steak Seasoning (seared on high in a frying pan)
1 cup apple juice, 1 cup chicken broth or 2 cups either
1 small jar apricot preserves (I’ve used peach also)
1 1/2 teaspoons dijon  mustard
1 teaspoon cornstarch whisked in
1/2 sliced vidalia or other sweet onion
A pinch (1/2 teaspoon) Mesquite Seasoning from Grillmates
Bake for 6 to 7 hours on medium in a crock pot
 I like to put Montreal Steak Seasoning all over it before I sear it. Then I just put it in the crock with 2 cups apple juice, 2 teaspoon Dijon Mustard, and 1 small jar of apricot preserves. It ends up with a kind of sweet and tart glaze.  I also add some sliced Vidalia Onions sliced thick. And some mesquite seasoning packet, I just used a few shakes….it is very spicy.

Spicy but delicious stuff…..for a kick….

  I may add some carrots to the roast when it’s close to being done if I have any baby carrots left in the fridge. Candied Carrots are so nice with this recipe. If you want a thicker glaze when the roast is done add some more cornstarch whisked in to the leftover glaze to thicken it up. 

Here’s a close up of this delicious meat…the apricot preserves give it a sweet glaze…the mesquite gives it a spicy kick…

Next I will make the salad with sliced strawberries, mandarin oranges, sliced almonds with an orange or raspberry vinaigrette salad dressing. I’m just using the bottled varieties today. Sundays are lazy days. 

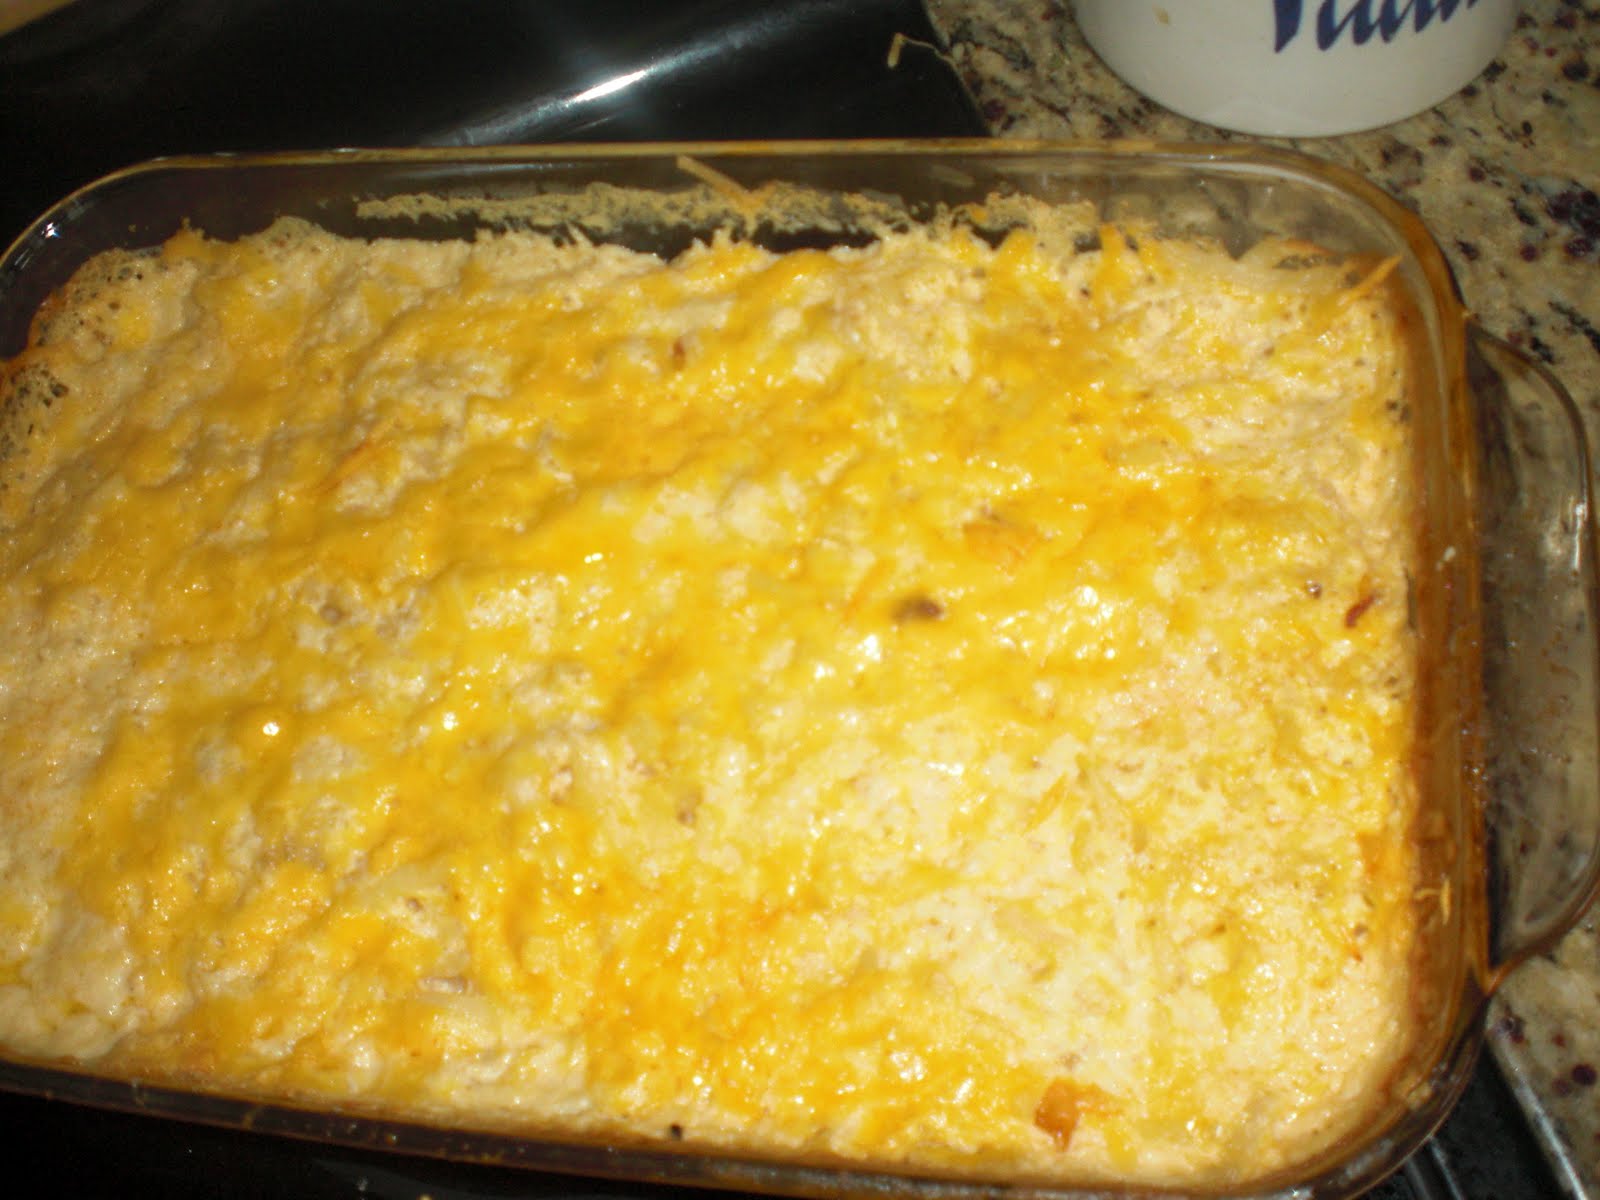
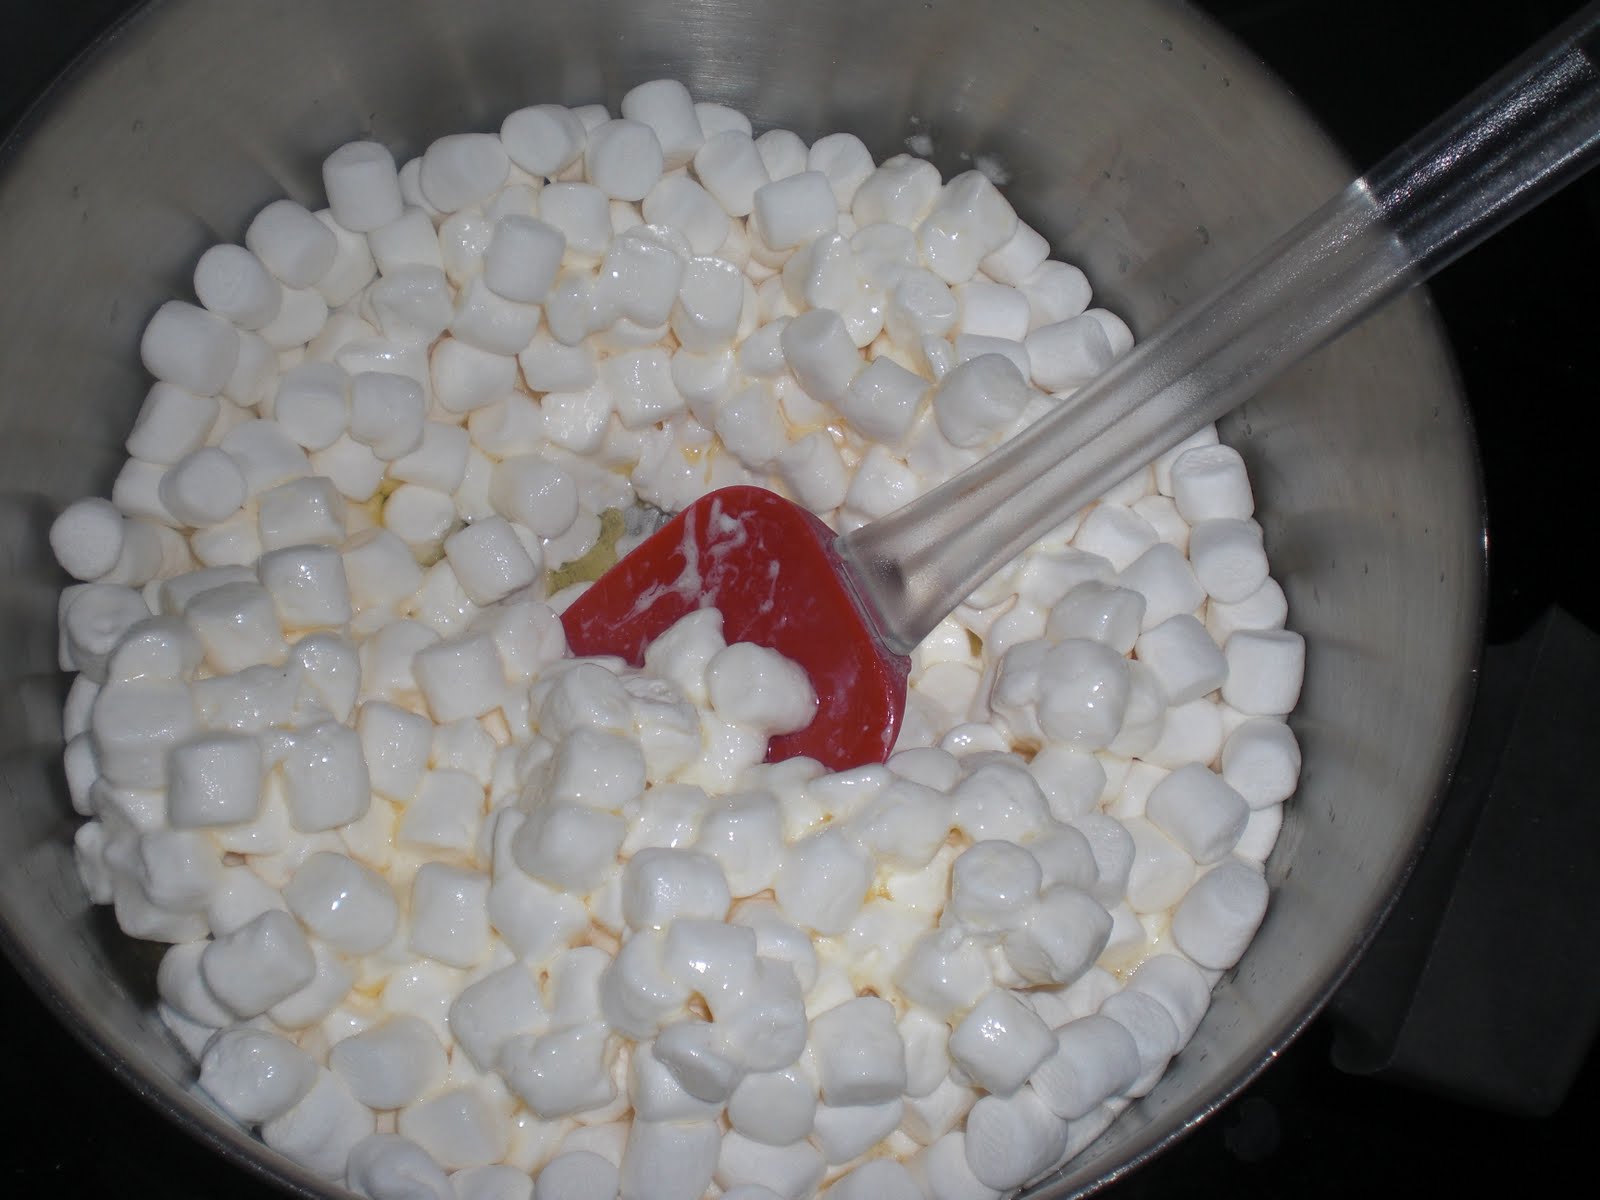
Sweet Potatoes I just microwave them and add real butter and if I feel like doctoring them up I’ll add some brown sugar and a sprinkle of cinnamon. But they are delicious just with butter too. 

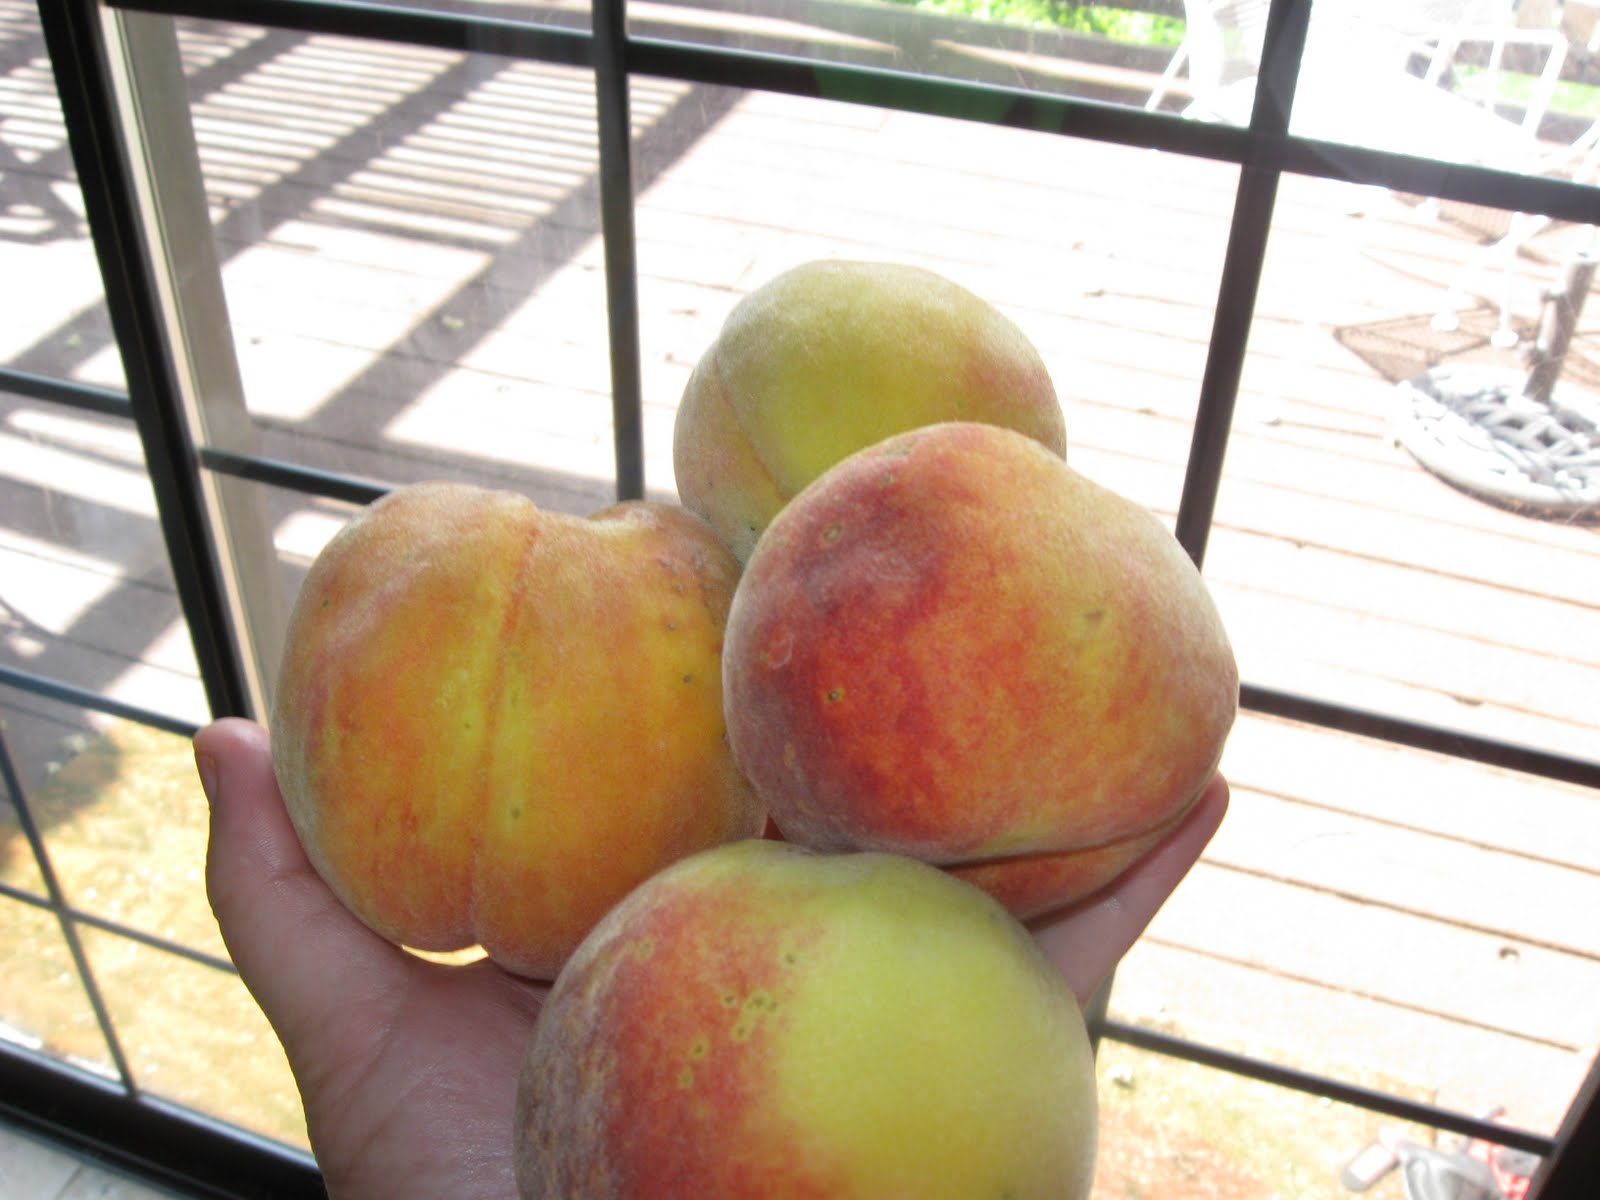
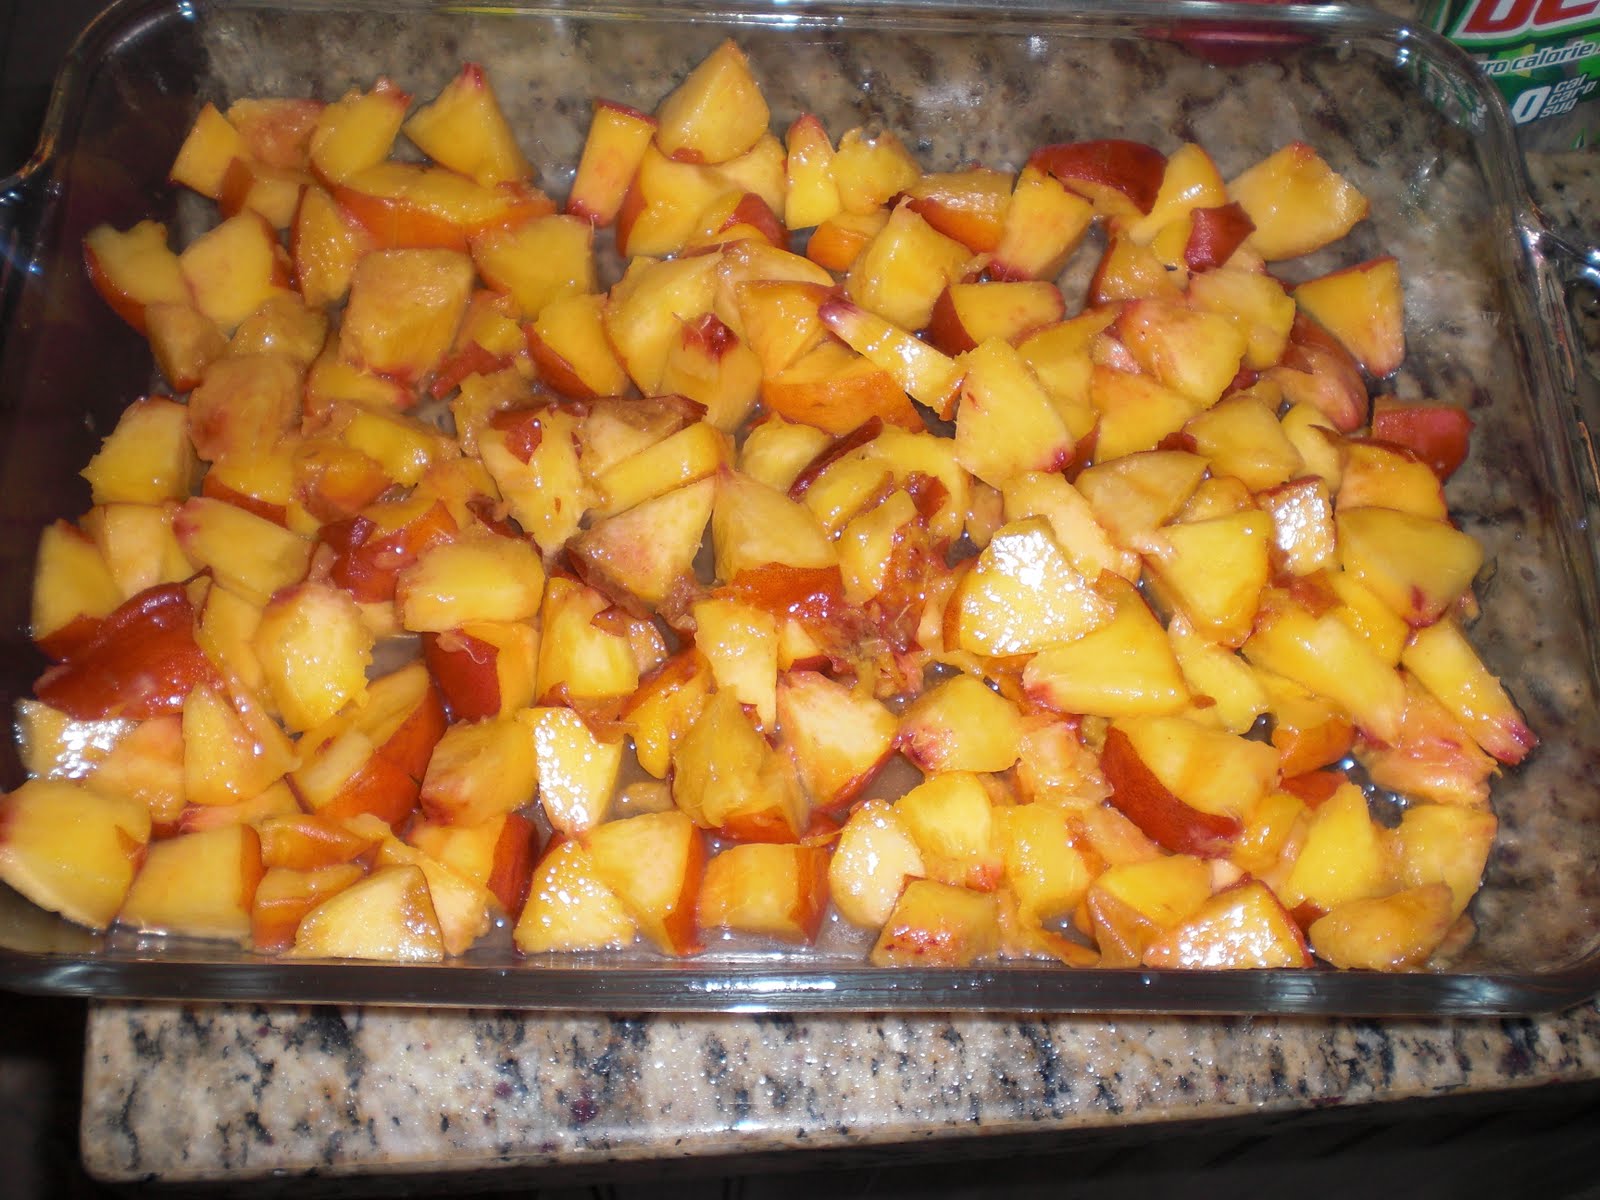
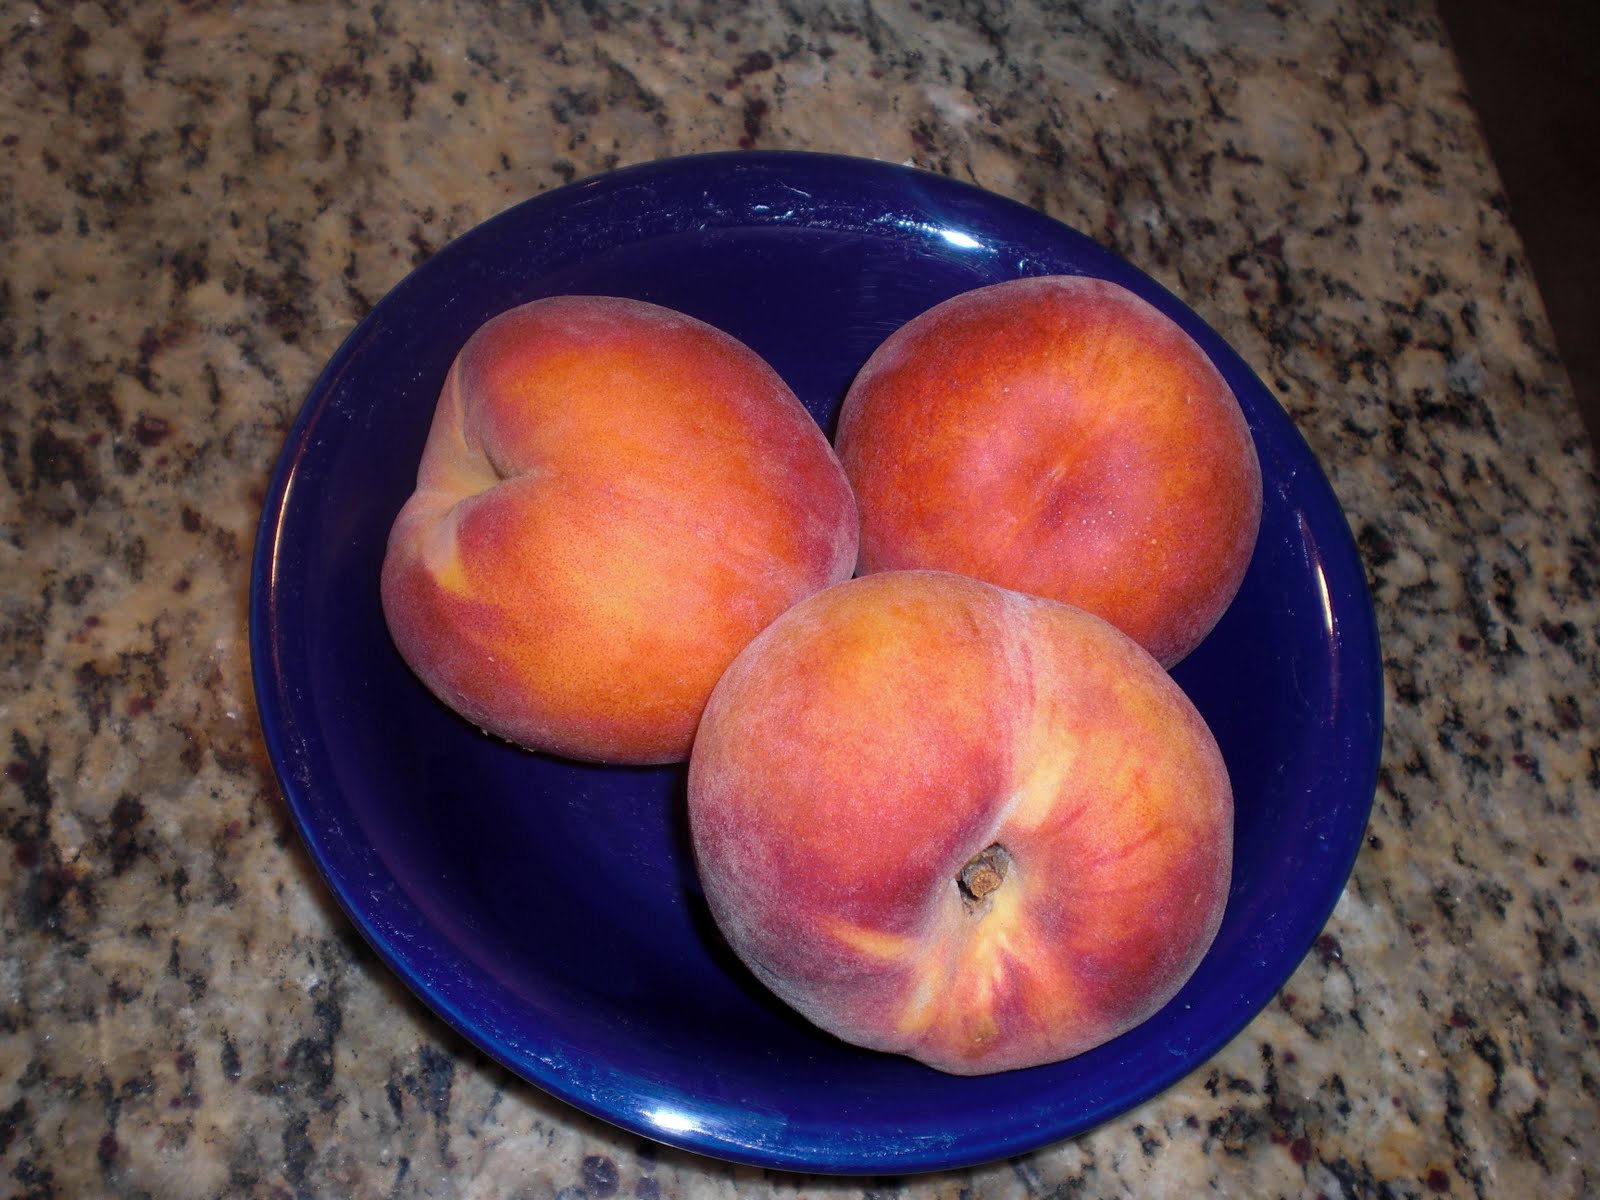
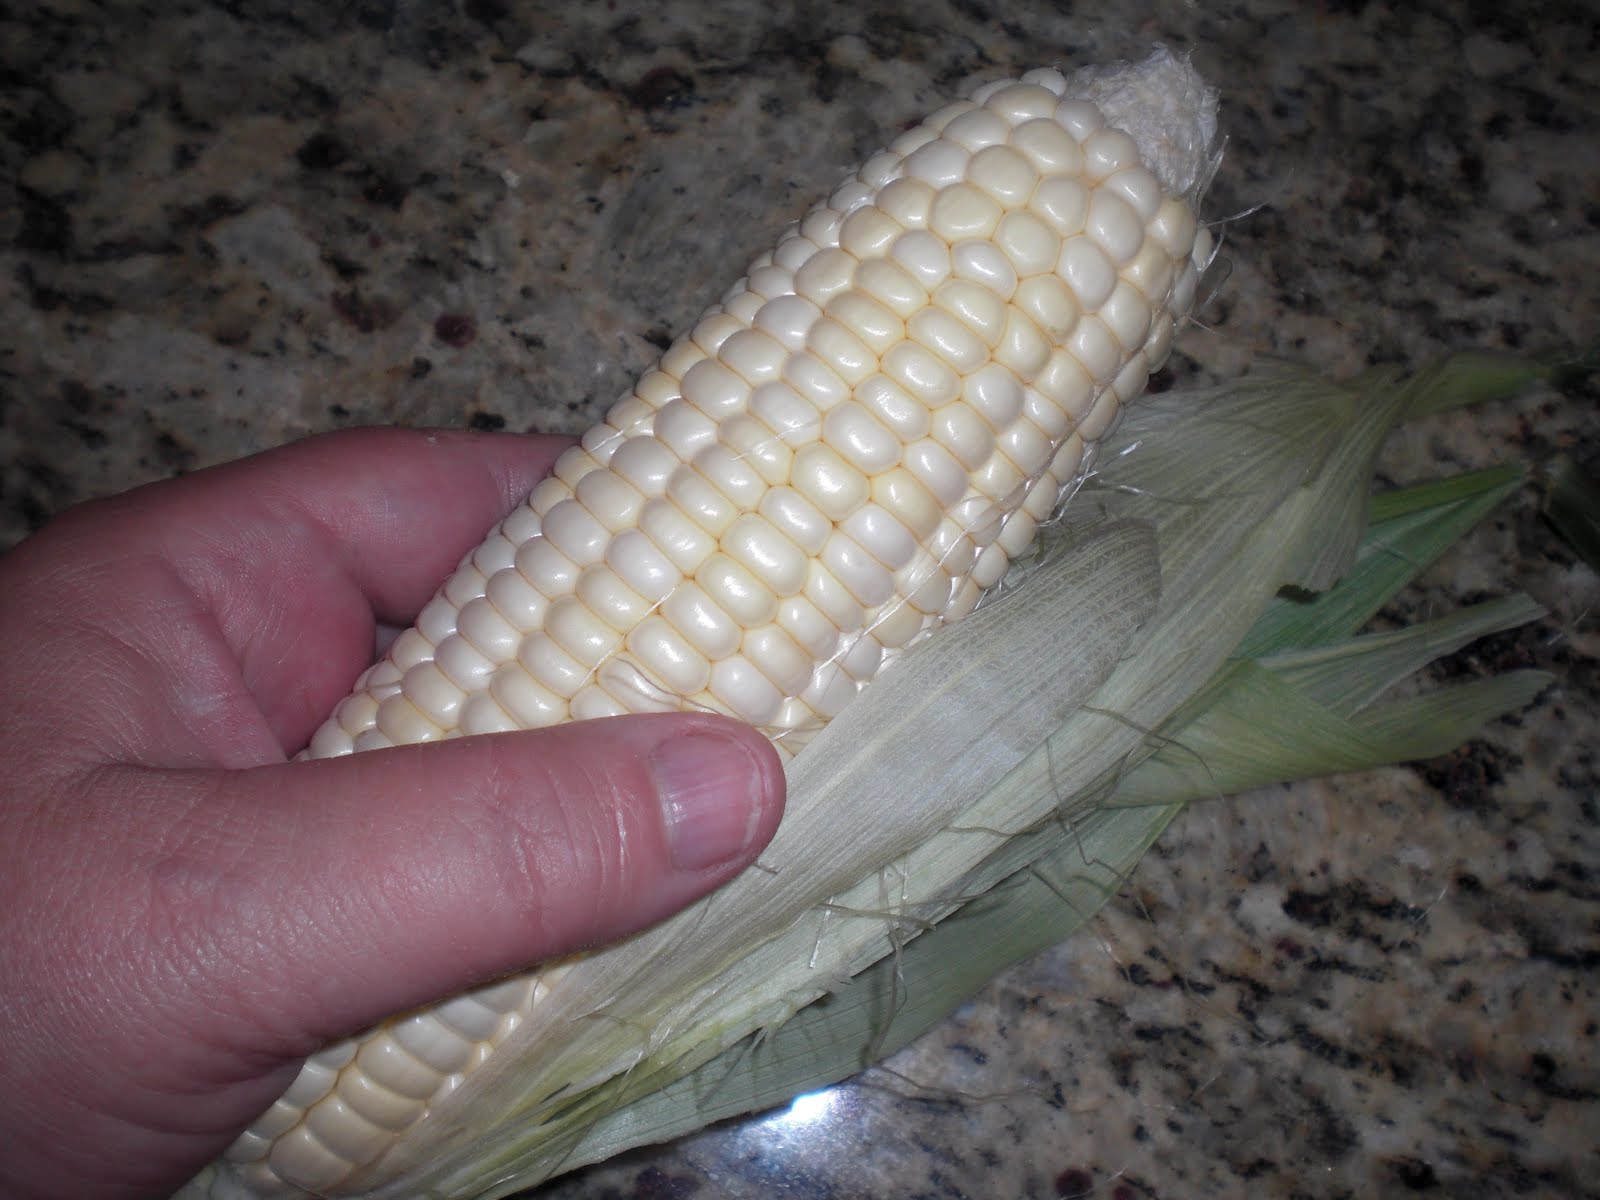
I hope this fresh, white corn is as good as the roadside stand variety. I just picked it up at the market so we will see. I thought I’d make something with these peaches we just picked off the tree too…They taste divine!

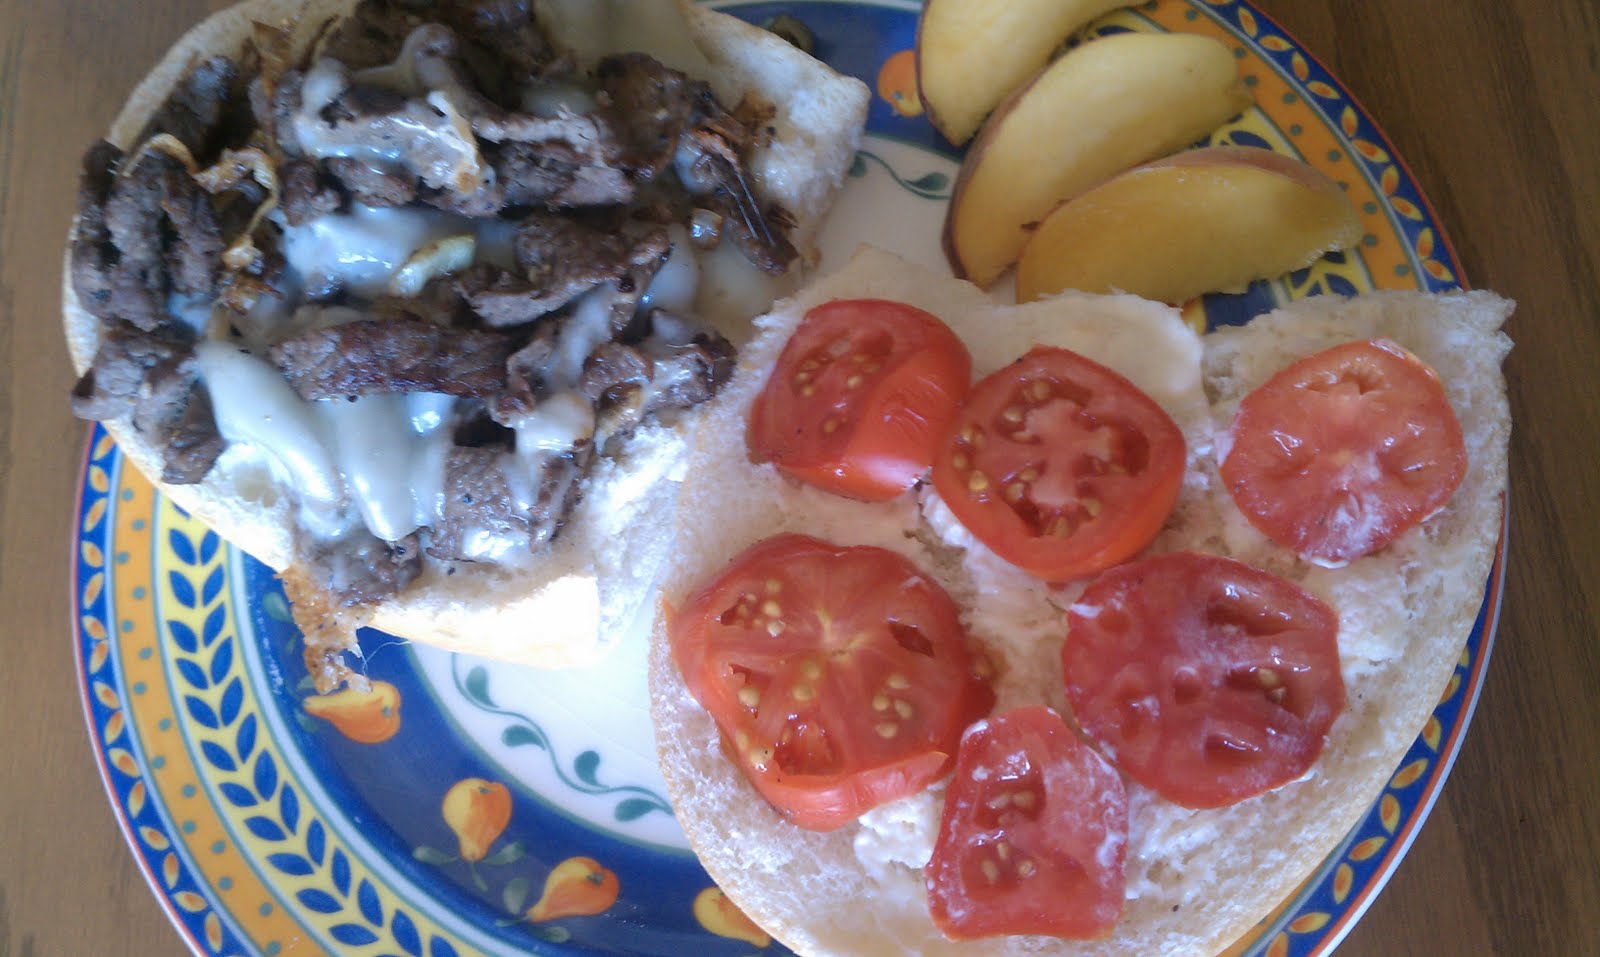
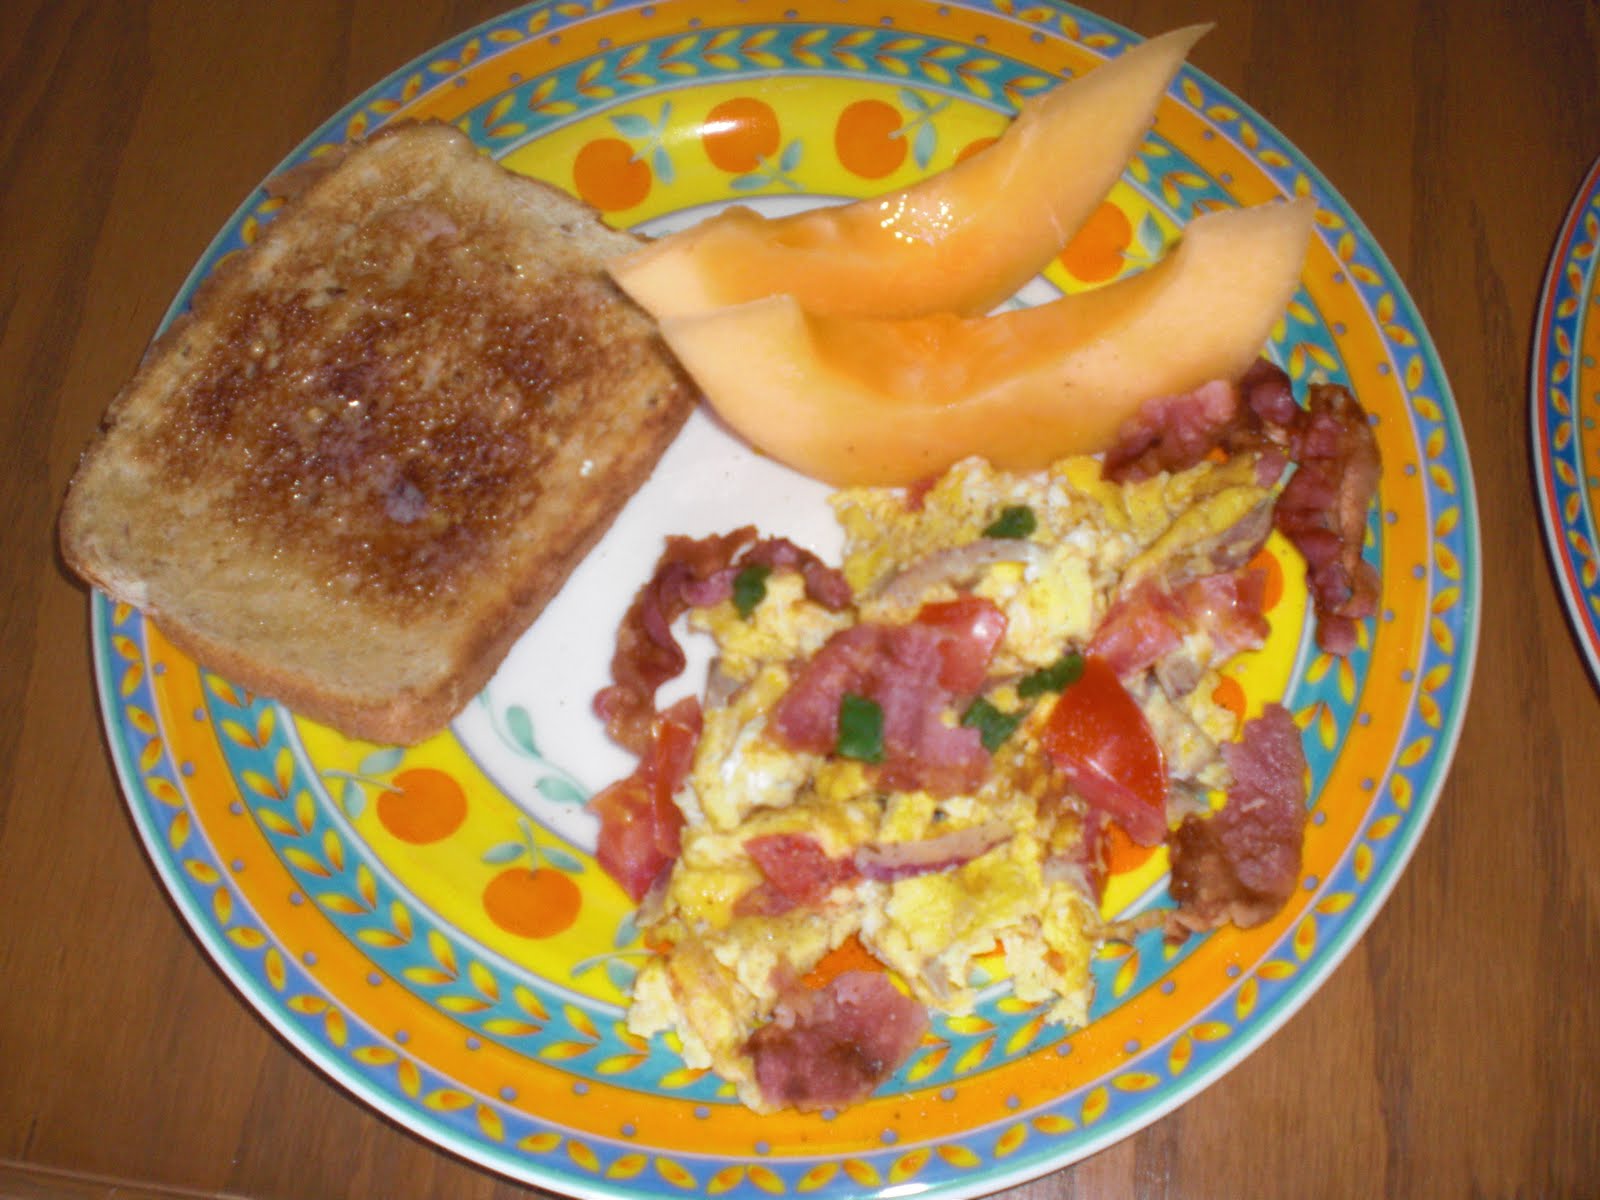
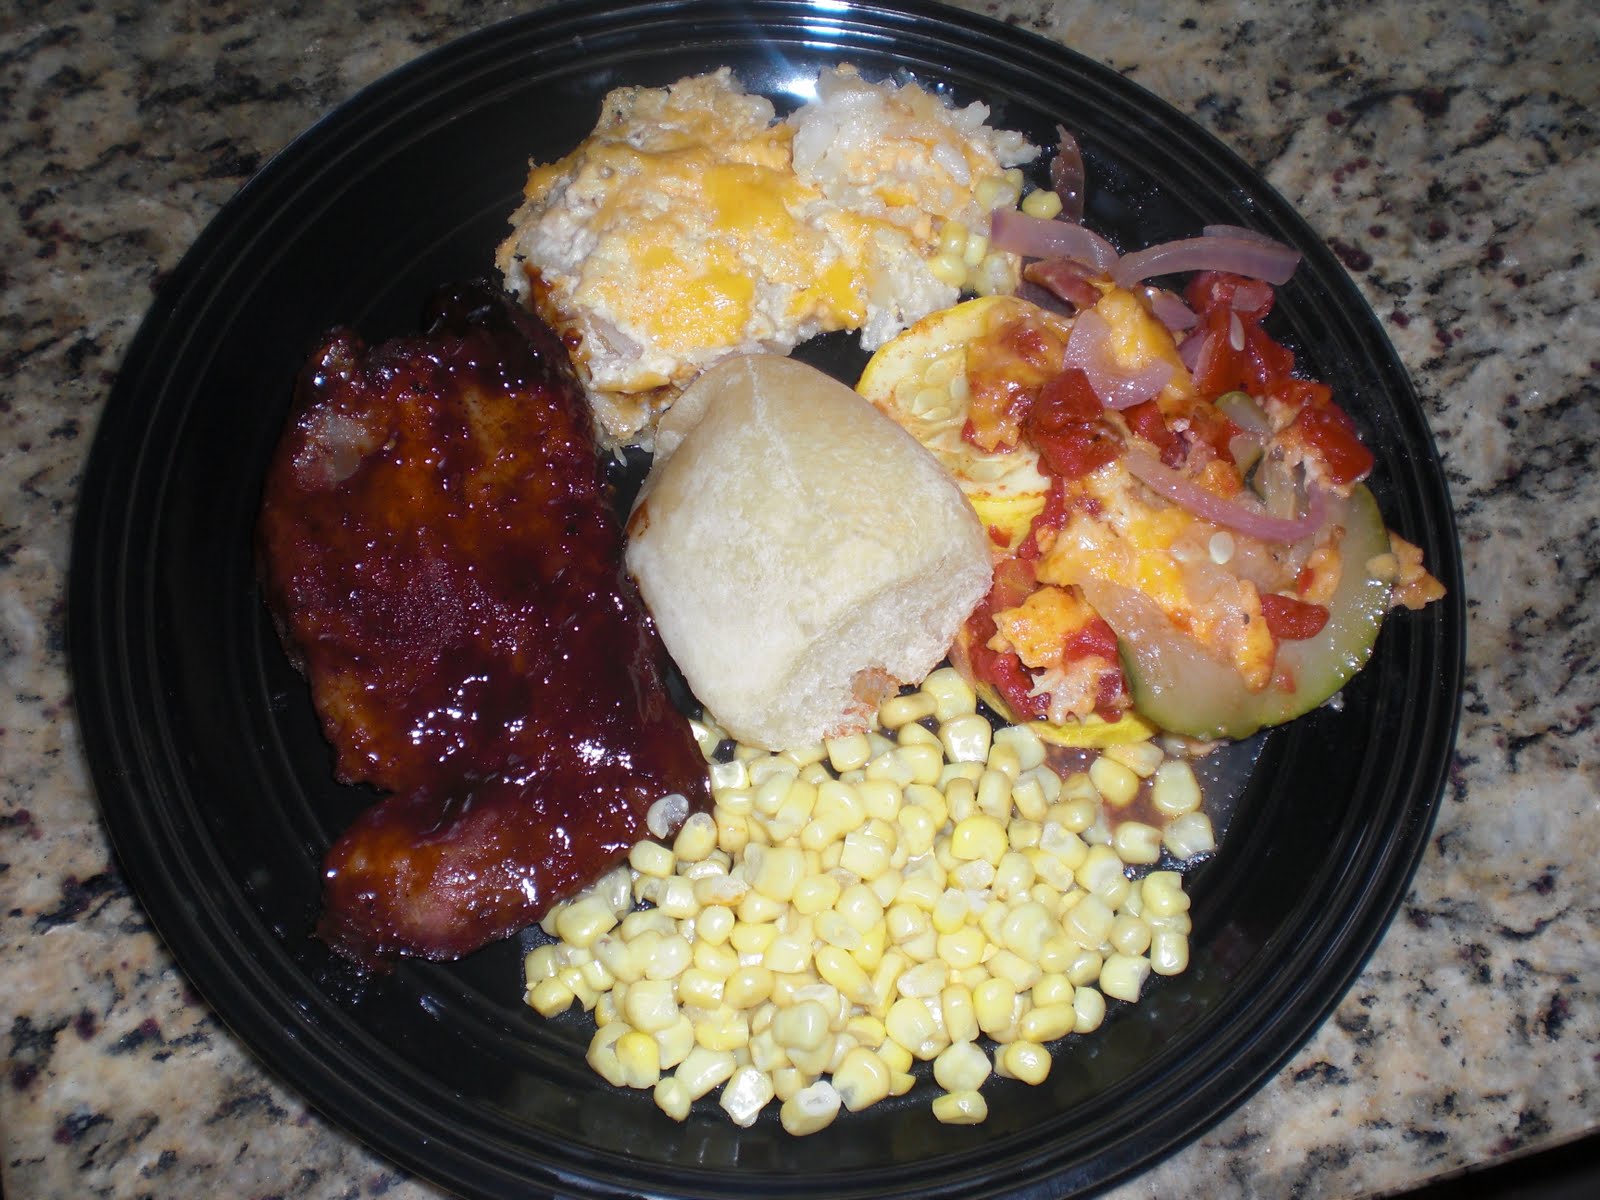
Here’s my finished Sunday Dinner.  And how do you like my new, light fruity stoneware? Yeah it’s only a buck a plate at the Dollar Store! I also bought some light blue ones at Smiths Marketplace!  Now I’ve got black AND blue AND fruity stoneware to add to my plate stock. Can’t wait to use those black ones at Halloween. Mmmmhmmmm……That’ll be fun. 

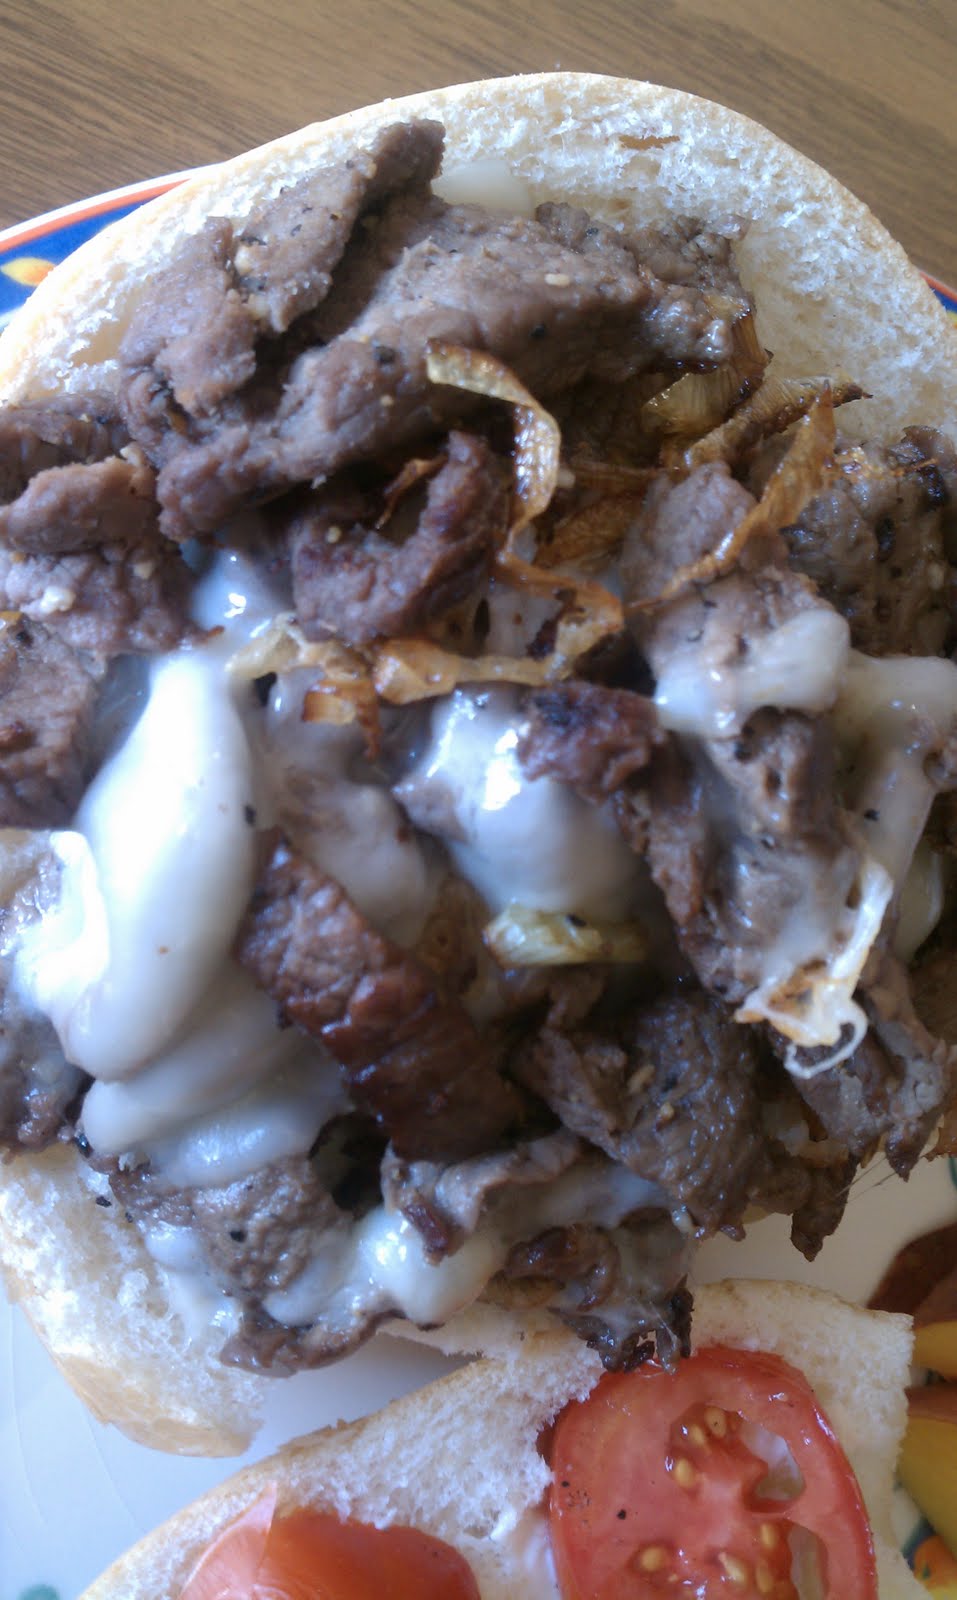
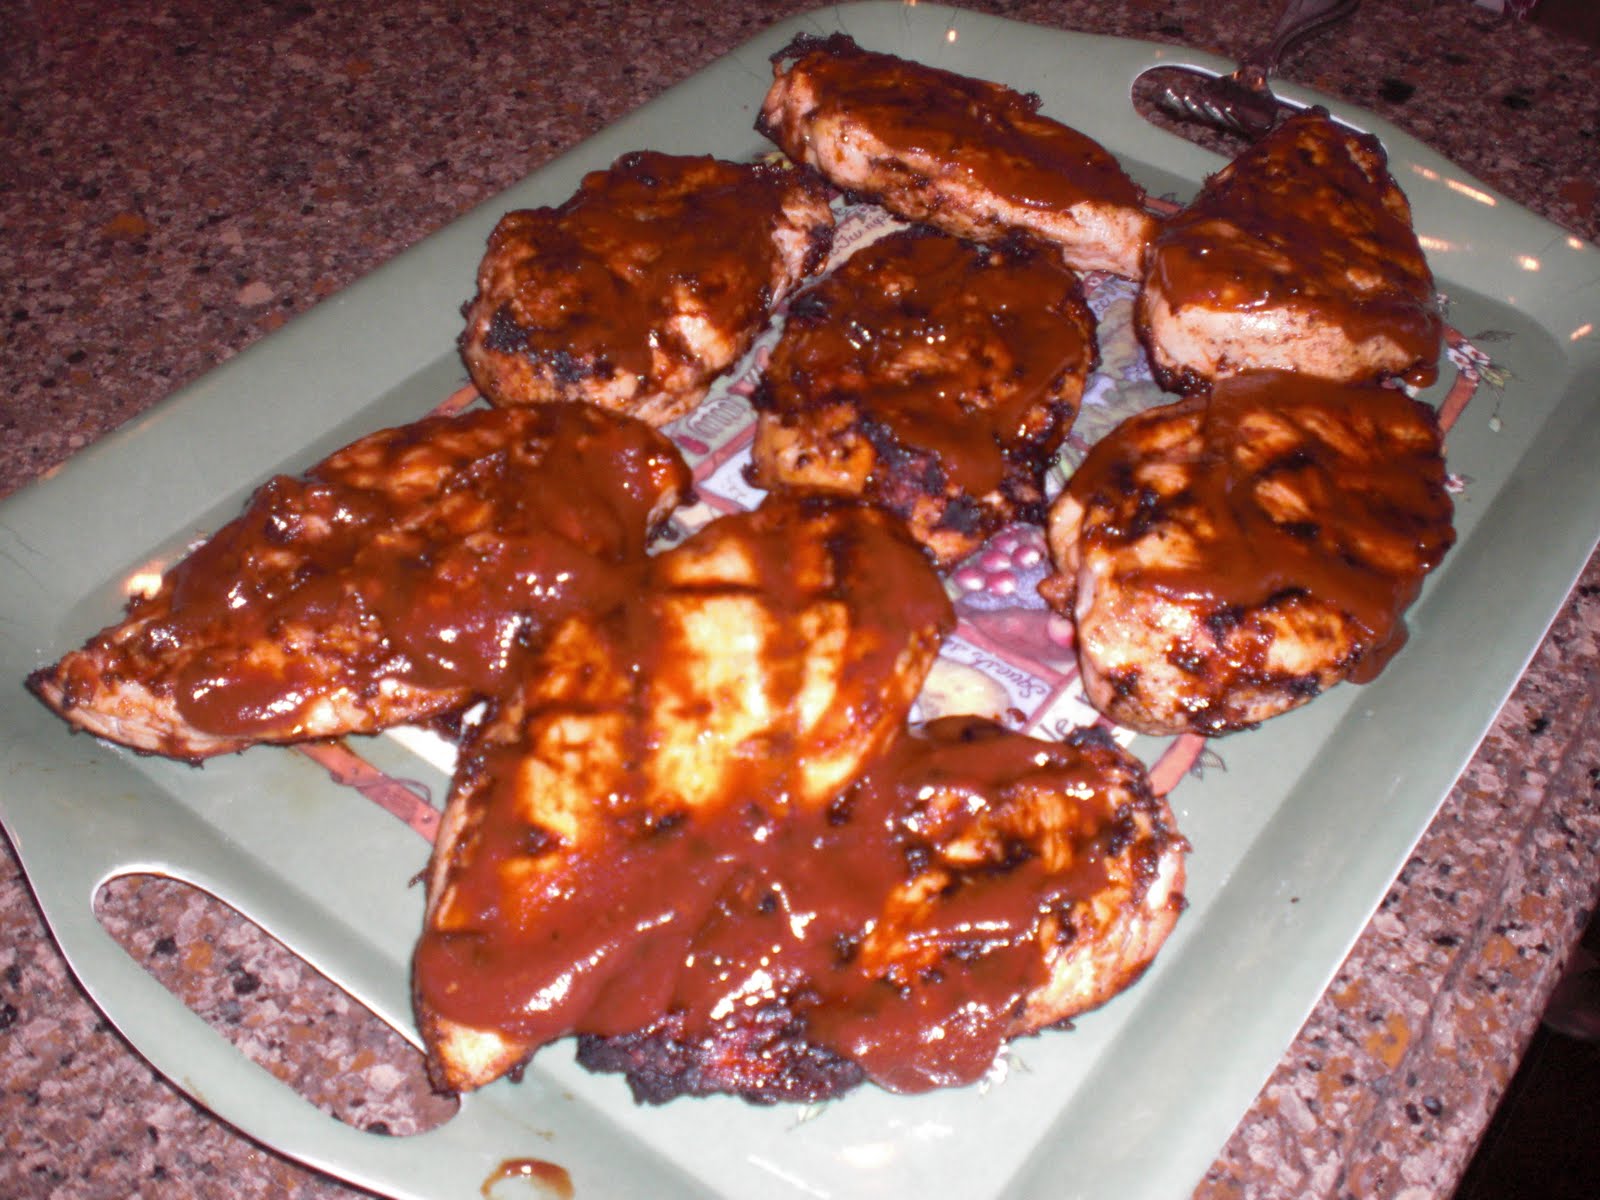
I had 2 chicken breasts that had been thawed and I decided to drop them in the crock pot drippings the last hour and a half  when the pork roast was almost done. It will make some tender chicken pieces  for tomorrow night’s dinner.  They were flavorful,  divine, and very tasty, the next day. Yum.

Monday night dinner was yummy too….

Master Chef Cookbook

Well last night was the finale of MASTER CHEF.  I LOVED it! I thought the last 3 finalists; Adrian, Jennifer and Christian were all superb cooks and their final dishes were so beautiful and creative.  I felt sorry for the judges having to pick a winner. I’m glad Gordon Ramsey had to do it and not me.

master-chef-gordon-ramsey
Gordon Ramsey chose the Master Chef winner! 
Master Chef finale was so good! But Gordon is always mad about something….isn’t he?

I really thought the cocky Christian was going to win. He didn’t have as many mystery box challenge wins as some but he won 2 and he just reminded me of Chef Ramsey with this cutting cocky style. I did think Jennifer was an excellent cook and she definitely had the most personality, but I thought Adrian outdid her in the final challenge. His 3 dishes looked better than hers. But maybe hers tasted better than his. I’ll give the 3 judges the benefit of the doubt. Maybe they were looking for another Rachel Ray; somebody with skills AND a sparkling personality….and looks.

Jennifer was the winner of Master Chef.….she deserved it after putting up with Christian all these weeks! I thought she should win…or else Adrian…I couldn’t decide. I’m glad I didn’t have to. Leave that to Gordon.

I got so excited watching this season that I went online and bought the cookbook! Yes I did! I got the Master Chef Cookbook.

Master Chef Cookbook….It has lots of the fun recipes with pictures I’ve seen in past seasons….

It came in the mail the same day as the finale. Now how is that for Karma? Bodes well for my future cooking doesn’t it?  I hope so.  The recipes in there look fabulous. I think I will post one new recipe a week that I try.  I bet I will learn a lot.

Lemony Lemon Meringue Pie

I LOVE lemon meringue pie. I bought a few lemons last week on a whim and now I had to do something with them ….

Soooooo……I decided to make a LEMON MERINGUE PIE! yUmMLy!!! 
Doesn’t it look good? Well it all started with a few lemons…..
So I squeezed them and zested them!  SLURP! 
Mixed them up with egg yolks and sugar SWEET! and cooked them!

And poured them in a pie shell I baked up….

Ingredients

1 finished pie crust (I use real butter in mine)

  • 1 1/4 cups white sugar
  • 1/2 teaspoon salt
  • 1 1/2 cups water
  • 1/2 cup cornstarch
  • 1/3 cup water
  • 4 egg YOLKS ONLY (Separate the whites and set aside)
  • 1/2 cup lemon juice
  • 1 teaspoon lemon zest
  • 3 tablespoons butter
Then I whipped up the 4 egg whites….

Meringue 

4 egg WHITES ONLY (be sure no yolk gets in)
  • 1/4 teaspoon salt
  • 1/2 cup white sugar

Combine 1 1/2 cups sugar, salt, and water on high heat and bring to a boil. In a separate bowl mix cornstarch and 1/3 cup water and whisk adding it into boiling sugar mixture. Stir until thick and clear and take off stove. In a small bowl, whisk together egg yolks and lemon juice and little at a time whisk egg yolk mixture into hot sugar mixture. Return pan to heat and bring to a boil, stirring constantly. Remove from heat and stir in lemon zest and butter last. 
Let it set till you are ready with meringue. Pudding should still be semi warm.


Meringue


Boy it sure made a lot of meringue! 

Then I topped the pie with the fluffy stuff and baked it! 

Mix the 4 egg whites and 1/4 teaspoon salt in a clear glass bow and whip it up till it looks kind of foamyl. Be sure nothing extra gets into the egg whites or they won’t peak. Gradually add the 1/2 cup sugar as you whip till it forms stiff peaks. Add a little 1/2 cup of meringue to your lemon pudding. Then pour it into a pie shell that has been cooked. Add the rest of the meringue to the top of the pie up to crust edges. Bake in preheated 350 oven for 10 or so  minutes until peaks look golden brown.  Set it set for 1 hour before serving.   


And it turned out pretty! 
And it was delicious too.  Yummly!   SO…… That’s what I did today! 

Zuchini Sausuage Casserole

Here is a great way to use up your garden zucchini that has been multiplying.  It’s great for a side dish and doesn’t take too many ingredients. You can even eat it as a main dish.  It is delicious and whips up very quickly.

I’ve tried shredding the Zucchini for the Zucchini Sausage Bake but it is NOT as good….chunks are much better.

Zucchini Sausage Bake

Ingredients

  • 4 medium zucchinis, thinly sliced
  • 1 cup buttermilk baking mix (like Bisquick)
  • 1/2 cup chopped onion
  • 1/2 -3/4 cup grated cheese (jack,  mozzarella or cheddar-save for top)
  • 3/4 cup browned sausage diced up (I like the Jimmy Dean chub)
  • 1/3 cup vegetable oil
      • 4 eggs, beaten

  • 1/4 cup of milk  
  • Bake at 350 for 30-40 minutes depending on your oven

Jimmy Dean Sausage Chub looks like this.
I think I used a sweet Vidalia onion for Zuchini Sausage Casserole, and it turned out great! I have also added red peppers before and they are great too. 


Spray a 9 x 9 pan with Cooking Spray. Layer the zucchini sliced and quartered in the pan. (remove seeds if you are using a giant zucchini). Then mix the other ingredients and pour over the top. Save cheese and top last of all. Bake at 350 for about 30 to 40 minutes until it looks golden on top and the inside middle is fully cooked. 


Here’s the Zucchini Sausage Bake…it’s delicious with or without the sausage…

It’s a great thing to do with all those gazillions of zuchinis that are growing out your ears from the garden. 


My Black Berries from my garden along with some cherries are a great summer side dish. I love those summer fruits, don’t you? Yum. 
BBQ Chicken hot off the grill! Thanks uncle Rob! Isn‘t he the best BBQ King ever?
Sometimes I have added some red pepper or mushrooms if I have some leftover and it just adds to the flavor. Try to cook it in one of those stone brownie pans that come in the 9 x 9 size. Occasionally the middle takes longer to bake and you don’t want it to be mushy in the middle.
Chocolate cake (check it out) for dessert!  I know, I went overboard. No wonder I’m a chub. But oh Heavenly Yum!  This dinner was so delish for a foodie. Are you a foodie too? 

Fresh Peach Crisp

This is one of my favorite desserts to make in the summer. It is quick and easy, and hot from the oven topped with vanilla ice cream it is always a crowd favorite.  It’s fresh peach crisp!

I don’t bother peeling the peaches for the Peach Crisp…they are yummy either way so why bother?
These were some of the beautiful peaches I used for my Peach Crisp.

I start by finding the best, most ripe, giant peaches I can find in Utah. Fresh Market usually has good produce, as does the farmers markets around here. I try to get to those every few weeks. My peach tree has about 7 almost ripe peaches on it, but it wasn’t a good year for peaches at my house.  (Thanks SNOW IN MAY for squelching all my fruit trees this year!) 


Warm Peach Crisp with pecans and French Vanilla ice cream.


Peach Crisp
4 cups of peaches (I used 4 large or 6 medium and I didn’t even peel them, just cut them up)
     or 1 29 oz. can of peaches in off season
2 cups of flour
2 cubes of real butter
3/4 cup brown sugar
3/4 cup regular sugar
1 1/2 teaspoons cinnamon
1 pinch of salt
pecans on top

I left some pecans off about 1/3 of my Peach Crisp for those who  don’t like nuts


Spray Pam in a 9 x 13 pan and then cut up your peaches. Mix in a separate bowl all the other ingredients cutting in the room temperature butter. (microwave it for 10 seconds if it is straight from the fridge). Then pour over the top smoothing it out evenly. Add pecan halves to the top. Bake for about 30 to 40 minutes in a 350 oven until it looks bubbly and golden on top.Top with vanilla ice cream for a decadent, foodie experience!

Breakfast for Dinner (Veggie Omelettes)

Don’t you just love Breakfast for Dinner? So do I. Especially when I haven’t gone to the market in awhile and I’m too tired to really do much cooking. Omelettes are always easy and healthy to whip up for an easy dinner. And leftover bread that is getting stale is always good as French Toast!

I usually have leftover veggies during the summer since we grow a large garden in the backyard. This year I didn’t have a great crop of yellow or green peppers but my tomatoes turned out good and my green onions were the best. So I added  some fresh mushrooms, tomatoes, green onion, and red peppers. It makes for some colorful eggs.

I was lazy this time and only made buttered toast. Still good.  And don’t you love my Target plates? 
So cute. I got them last summer. Each one is a little different with fruit around the inside rim. I love them! 
I threw bacon pieces  into my omelettes this time.

I got some yummy cantaloupe from the farmers market a few days ago and it was perfect. YES PERFECT. I hate when I get one of those melons home (especially watermelon) and it is not at all ripe. Now I just get the fruit man to pick them for me and I have much better luck.  I learned that doing some catering. The produce man always knows his melons!

BBQ Ribs with Ribs Dry Rub

Tonight we had Devin and Caitlin over for dinner as they were stopping through on their way home from St. Louis. I knew they would be tired. So I made yummy BBQ ribs, cheesy potatoes, corn on the cob, zuchini casserole, rolls and Peach Crisp for dessert. And I only had 2 1/2 hours from they time we talked till we sat down to dinner. I was a cooking machine I tell ya!

Here are my BBQ Ribs dry rub seasoned  on both sides.

DRY RUB YOUR RIBS FIRST!
I used 1/3 cup of brown sugar and 1/2 teaspoon of paprika, 1/2 teaspoon chili pepper and a few shakes of onion salt and Johnny’s Seasoning (From Costco….It’s so Yummy added to just about anything!) Then I rubbed it on the raw ribs I had cut into 3 riblets. Don’t forget to tear the membrane off the back of the ribs. It’s easy to put a knife underneath to start it and then just grab it with a paper towel and it comes right off.

Easy to make your own homemade rib rub….these are my ingredients…

 I really like the “New Orleans Style” ribs the very best. They are meatier than the “Baby back ribs” and I think a little longer. I would choose them every time in a restaurant and at the grocery store. They are very popular. I had one long $12.00 section of ribs. Cut up into 3 ribs each I had 5 slabs to total 15 little riblets. Only cut them individually when they are all done cooking or they will dry out.

I baked them at 325 degrees for 2 hours covered tightly with foil. Then I pulled them out of the oven and added a generous dose of BBQ sauce after 2 hours. I just poured it on each rib and rubbed it around. Then I baked it for another 30 or so minutes. They were tender and delicious. They could actually have been cooked another 20 to 30 minutes for “fall off the bone” tenderness.
           

We had a taste test on BBQ sauces one weekend at our cabin. Cattlemen’s BBQ sauce was the winner. I get lots of compliments using it. It was my husband’s favorite restaurant growing up. But Famous Daves was 2nd place and 3rd place was Sweet Baby Rays (It’s very sweet and some people don’t prefer that sweet taste as much). So choose one of those if you are lazy like me and just want a good rib sauce without having to make if from scratch.

We also had cheesy potatoes…..yummy…..

We had fresh from the roadside stand “Darn Fresh Corn” too! Best in UTAH!
I wish I could grow it as good as they do!

My garden harvest this week…Great for Zuchini Casserole
And This yummy side dish recipe can be found HERE for Zuchini Casserole link.

It’s made with our garden tomatoes, zuchini, red onion, bacon and cheese on top. It’s super yummy and super easy too. And I used some yellow squash I had just picked too. Look at my veggie garden picks for today!

The travelers….they’ll celebrate their 1st anniversary this weekend!

Beginnings of yummy fresh peach crisp….I’ll do a later post of how.
I topped more than half the peach crisp with pecans…but left some without…we have mostly “nut lovers” in our family…..but some “non-nuts” too. 😀

I made them some yummy dessert too. It was fresh peach crisp.  I’ll do the recipe on a later post. But with fresh peaches, boy was it good! We topped it with vanilla bean ice cream.  What a finger lickin good night of eatin!

My finished BBQ Ribs, potatoes, zuchini, corn and Rhodes rolls….mmmmmm….

Rice Crispie Treat Pops

Here’s my Rice Crispie Treat Pops…with M and Ms

Want to make a fun treat for summer backyard BBQs? This twist on the Rice Crispie Treat is so easy yet packs more of a punch for a kid’s party. They just have a WOW factor! The recipe is easy too.


Here’s how I made my cool Rice Crispie Treat Pops
Heat up 1/4 cup or 1/2 a stick of butter with a 10 oz. bag of marshmallows in
a pan on the stove or in the microwave.
Then when it is white and melty mix in 6 cups of Kelloggs Rice Crispies

I looked on the rice crispy website for some creative things to do with rice crispy treats. I followed their recipe which is HERE at the Kelloggs website.
They had some cute pops using colorful Popsicle sticks. But I was out of them.

I poured all but about 3 cups into a 9 x 9 buttered pan and topped with M & Ms…yum!
Rice Crispie Treats!  
Then I melted 1/3 cup of white candy melt discs in the microwave for 1 minute

Then I buttered my hands and formed the rest into 4 balls. Then I dipped the ends of them into the melted white chocolate and sprinkled the colorful toppers on as well as some M & Ms for my Rice Crispie Treat Pops. 
The M and Ms kept sliding off the balls….It may have been the slippery butter! So
I pressed them into the white candy melts before they hardened…NOT easy to do!

I didn’t have any Popsicle sticks so I cut some BBQ skewers and  curled some ribbons and tied them on.

Then I poked the wooden skewers into those cute Rice Crispie Treat Balls and here
they are with their curly ribbons decorating them!


Then I had to sit back and taste-test my Rice Crispie Treats …..they were yummo!

My granddaughters LOVED them! Who can resist anything with M and Ms? Hmm…..?
Rice Crispie Treat Pops. Do them for the next family gathering with kids.

 My older granddaughter said, “These are delicious!” So cute! They loved my little rice crispie treat pops.  I love them! 😀