Light Wheat Bread

Grandma Merlene’s 90th birthday was yesterday. So I decided she might like some homemade bread.

Here’s grandma Merlene, 90 years old today! She’s holding her light wheat bread

I have an old Amish white bread recipe that I love. But I want to get a little healthier. So I often put in a cup and a hlaf of wheat flour to the recipe so it is like a light wheat bread. It is not too heavy, but it has a hint of wheat to it,but still light and fluffy like a good homemade white bread should be.  Not too dense, if you know what I mean.

Warm water mixed with the yeast….then add sugar after it foams up a bit….

I was going to use honey in this recipe but I used sugar instead, but I used
both kinds of flour.  
I used the Wesson canola oil for my bread….

Then add the oil and salt. 

RECIPE FOR LIGHT WHEAT BREAD
2 Cups warm water
1 1/2 Tablespoons active dry yeast
1 1/2 teaspoons salt

2/3 cup white sugar
1/4 cup oil
1 1/2 cups wheat flour
4 to 4 1/2 cups white flour

In a large bowl yeast in water, then add sugar to feed yeast.  Allow to foam up. Add salt and oil and mix up. Add flour 1 cup or so at a time. Knead dough until smooth 3-4 minutes. Place in oiled bowl for an hour to rise and Cover with a damp cloth till doubled in size. Divide dough in half and form into loaves and place in 2 9 x 5 inch loaf pans. Allow to rise for 30 minutes or until dough has risen 1 inch above pans.  Bake at 350 for 30 minutes. Makes 2 loaves.  Can make all white by substituting wheat flour for white and it is just as easy and yummy.

Cute flour and sugar holders…..I need some of these…

You could use your dough hook, but it seriously takes about 3 to 4 minutes to get it all ready  to rise!  I just
do it by hand because it is so easy to clean up. 

While it was baking I thought I’d put up my St. Patrick’s Day stuff.  I only had enough for the front table….

My St. Patrick’s Day front entry table….I made the leprechaun a few years back with my class.
We used empty lamination rolls for the body.  It took me a year to save up enough at my school! 

Anyway, Grandma Merlene loves homemade bread.  I hope she liked mine. 

And I had to have a few slices too….good thing this recipe makes 2 loaves!   
Anyway,  this wheat bread is real easy, yummy, and good for you! Wanna bite? 

Turkey and Veggie Wraps

Try these easy turkey wraps for a quick lunch or  a healthy dinner! 

I love the Ranch salad dressing you can get in the big jug at Costco. It is really creamy and delicious. And I’m trying to cut down on my fat because my skinny and red-headed doctor told me to. I guess I eat too much yummy stuff. (go figure) and my lipid profile is high (what in heck is a lipid?). So he said “Don’t eat anything yellow  (Huh?), greasy or fried!” What the heck? What does that leave?  (Well, chocolate isn’t yellow…hmmm…)

 Anyway,  I decided to make a healthy dinner (for a change). Here is my yummy, veggie and turkey wraps. I started to put mayo on them and realized (Eek! MAYO is YELLOW! CRAP!) So as depression started to settle in, I opened my fridge and found the ranch dressing. He he….it’s not technically yellow!  (But the mozzerella cheese is!) Okay, so it’s not completely fat free, but what in the world IS?

My ingredients (I forgot to picture the avocado too) and also salt and pepper….

Turkey Wrap ingredients

These are the ingredients in my easy and very yummy turkey wraps.  I like Oscar Meyer Deli Fresh Turkey meat because it is kind of dry for deli meat and it is smoked and delicious.  I hate deli meat that is really wet and kind of slimy, ya know what I mean?

Best of the Deli meats is Oscar Meyer Deli Fresh Turkey…

So I either get it from the butcher (Target’s Archer Farms turkey is really dry and good) or else this is the brand I like.  Costco has a prewrapped deli turkey that’s good but we never finish a package, they are all so huge. So my vote is for Oscar’s brand, you know….I still have love in my heart for the little weanie the drives all over America….so….Oscar Meyer Deli Fresh turkey it is.

Spread the ranch dressing on a flour tortilla…..

Add the Oscar Meyer Deli Fresh turkey, then cucumbers (sliced thinly) and tomato wedges…(I used Romas)

Some sliced olives and a little grated  Mozzerella cheese on top….(or your favorite cheese) unless
you have the same cheese hating doctor I’ve got….notice how sparingly I spread the cheese? 

Some slices of fresh, red peppers and some avocado, and salt and pepper, DONE! 

 I usually buy the bigger flour tortillas that you can actually wrap around the veggies a few times. But these smaller 10 inch tortillas were on sale for $1.00 at Walmart, so...whateva…..  Spread a teaspoon (or more if you don’t have my doctor…or my lipids) on the wrap with a knife.  Then add the veggies of your choice. I add cucumbers, tomatoes, red, sweet peppers, olives and avocado, salt and pepper to the turkey. Then wrap it up!

Turkey Wraps….so fresh and yummy! (not to mention EASY and HEALTHY!)

It’s delicious with some baked Tostitos and maybe some fresh fruit.  That was dinner last night. I just realized as I went to make a piece of toast this morning that …..oh NO!  BUTTER IS ALSO YELLOW!  Oh MAN that’s a bummer! Whaaaa!

French Baguettes

Last Saturday I went to a great cooking class and listened to a master teacher named
“The Food Nanny”. She was just delightful and fun to listen to. She had so many food stories I could have listened to her for hours.   Here is her book. It is less than $20.00 on Amazon.
The Food Nanny Rescues Dinner: Easy Family Dinners for Every Day of the Week by Liz Edmunds (2008, Paperback) Image

  I didn’t have my purse with me so I didn’t get an autographed copy of it! DARN! But I can get it on Amazon!  And I DID get her to take a picture with me, when I told her I had a food blog. Isn’t she cute?
It’s on my other camera and I left it at work….so I’ll add our cute pic later….

Me and the Food Nanny…yeah we are real tight….snicker….

She’s a mom and a grandma too! (and she loves being a grandma best!)

Here she is answering questions after her presentation….

She made pizza dough and french baguettes both in under an hour….

Anyway, she gave us all this fantastic recipe for French Baguettes!  It takes literally 5 minutes to make. She showed us this cool baguette pan too. I ran right over after the lunch class and bought one at Spoons and Spice….. my fav cooking gadget store.

My finished french breads…..Don’t they look great?  They are crunch on the
outside and soft in the inside…perfect to my taste…..

French Baguette recipe….totally easy and seriously yummy! 

Then I went to work. A half hour later here were my baguettes.  They taste just like a crusty french bread should. And no fat!  She gave us all kinds of tips about meal planning that I thought were fabulous! In a nutshell here is her plan….
Sunday is traditional day…roast beef, chicken, those kinds of things.
Monday is Comfort food…chili, mac and cheese, easy stuff like casseroles….
Tuesday is Italian night….she does all her pastas here…she has tons of varieties….
Wednesday is Meatless night….soups, salads,Fish, or Breakfast for Dinner, waffles, french toast, pancakes bacon
Thursday is Mexican Night. Tacos, Enchiladas, mexican casseroles
Friday is Pizza night and all the kids invite their friends over for her out of this world pizza varieties.
Saturday is Grill night. They do a lot of hamburgers or chicken on the grill.

Doesn’t that sound fabulous and fun?  I thought so too.   Gotta give that plan a try. The thing she stressed, that I really liked was how she said it kept her family together while her husband flew planes in the military and later for an airline. He was gone a lot. She was like a single parent. And dinner around the table every night added structure to her day and a bonding with her kids. They still all come back for Pizza night. She has many gourmet types of pizza as you can imagine. Her favorite is arugula, fresh mozzerella, cherry tomatoes and olive oil on thin crust. I’ll do that on a later post.

Yeast mixed with warm water and sugar…..let it foam up a bit…..

Then add the flour and salt and mix up with warm water….a little at a time until it is a nice ball….Then knead
for a minute on the counter….

Here are mine kinda kneaded and waiting to be put into the pan….took 5 minutes to make and roll!  

I went over to Spoons and Spice to see if I could find a “Baguette Pan” 

 HERE is a page full of coupons to Spoons and Spice. It’s a really fun place to browse around if you are a foodie like me.

You can see it says “Italian Bread Pan”  Hey! I thought it was French Bread?! 

Anyway it looks cool….it’s 2 long u shaped pans for breads….

The food nanny makes this bread and gives it away for people’s birthdays and special occasions. What a great gift idea and so quick. Who wouldn’t love some hot french bread homemade by you?

Here’s the Baguette pan.  It was only $5.99!  

Recipe for French Baguettes… SO EASY!
1/2 Cup Warm Water
1 1/2 Tablespoons Yeast
1 teaspoon sugar
1 teaspoon salt
3 1/4 cups flour add a cup at a time
Add up to one cup warm water to get perfect consistency

Mix up first 3 ingredients in a small bowl and let sit for 2 or 3 minutes. Then in a separate bowl add salt and flour and then warm water. Mix and then knead for a minute. Roll out in 2 loaves and lay them on greased baguette pan and let rest for 15 minutes under a towel (it will rise a bit).  Then bake 450 for 15 minutes or until golden colored.   This whole french bread takes about 35 minutes total to make and bake.

So here they are before the 15 minutes rising time…..Both have their own tube to sit in….

And here they are after the 15 minutes rising time….I put a line down the middle of each with
a sharp knife just before popping in the oven….it will look just like french bread when it has been baked! 

Wha la!  Ready for a hot 450 degree oven for about 15 minutes….watch it the last  minute or so…..

And here they are, hot out of the oven! French Baguettes are light and crispy! 

Well, they are just plain DEEE-LISH!  That’s what they are! My hubs liked them
a lot. And I sent one down to my friend Lauri down the street. Spread the lovin!   
Then Spread some REAL butter and dig in!  mmmm….Yummy! 

Cranberry Salsa Dip with Cream Cheese

I went to a Valentines Dinner Party the other night and I tried the most delicious dip! It was with fresh cranberries and cilantro with a little jalapeno, lemon juice, sugar and cumin. It sounded so easy. I hung out by this dip the ENTIRE night!  It is embarrasing when I find something I love I just can’t stop eating it!  That’s my downfall! FOOD!  go figure…..

Oh YUMMY is this stuff heavenly!  I could stand here and eat it all day!  

Cranberry Salsa Dip with Cream Cheese

INGREDIENTS:
12 ounces or about 3 cups fresh cranberries chopped in blender or chopper
1 green onion, VERY finely minced (I used mostly the green ends)
1/4 cup chopped fresh cilantro leaves, finely chopped
1 small jalapeno pepper, seeded, cored,  and finely diced (cut it in half if you don’t like some HEAT)
3/4 cup sugar (you can add a whole cup but it is very syrupy and sweet…I’d knock it down to 3/4 cup)
1/2 teaspoon cumin
2 tablespoons fresh lemon juice (from about 1 large lemon)
1/8 teaspoon salt
2 (8 ounces each) packages cream cheese, light or regular, softened
Wheat Thin Crackers, for serving or Tortilla Chips
Chop about 3/4 cup at a time in your blender on “pulse”…or use a food processor for speed….
You can freeze fresh cranberries in the bag to use all year…did you know that?  Yeah,
the cranberry salsa keeps in the freezer too….so I put half of it away in a tupperware for another party!  
It looks like a lot of cilantro when you are done…so you could go less on it if you wanted….
The sugar is really sweet….It would taste okay to use less if you are watching sugar intake….

My hubs bought the jalapeno and it was large so I only used about half of it
and saved the other half for chili I made the next day….

I didn’t have a lemon so I used lime juice….It was okay but I think lemon tastes much better…
but lime will do in a pinch for sure! 

DIRECTIONS:
Pick over the cranberries looking for smashed or bruised ones. Then use your blender for the cranberries or a  food processor and  coarsely chop about 3/4 of a cup at a time.  Put into a bowl and add the sugar. Then chop the green onions, cilantro, jalapeno and add them in and mix up. Then add cumin, lemon juice and salt and mix. Transfer the mixture to a covered bowl or tupperware and refrigerate for 4 hours (or up to overnight) so cranberries lose  their tartness.

When ready to serve, put the block of cream cheese on a really pretty plate.  Top with the cranberry mixture.  Surround the plate with wheat thins crackers.  So very Yummy! 
I really like it with Wheat Thins because chips fall apart when you try to push them
into the cream cheese….it may be better with soft whipped cream cheese…but it wouldn’t look as pretty on the plate…..

You could line the pie plate with cream cheese and pour the cranberries over it…
but I think the block looks so elegant and pretty spread with the cranberry salsa…..

I wonder if it would be good on a fresh turkey sandwich…hmmm….I’ve got a
turkey in the freezer too…I think I’ll have to experiement on that!!  

My friend Debbie shared the recipe with me at the Valentine party.  It’s a great appetizer for any get together. The thing is we have to stock up on those cranberries when they are out in the produce section.  I happened to have a bag I had stashed away in the freezer. So lucky day for us!

Valentines Dinner party….for the fam…. I got some cute,
glittery red candles for each of the adult girls in the fam…you
can see them on their plates with a note.  

My Valentine Dinner table…so cute, right?  I love the hanging heart ornaments hangin
from the chandelier….

Here’s my granddaughters at their little Valentine kiddie table with the heart plates….aren’t they sweet?  

And the hubs got me some Valentines flowers….I forgot to take a pic
till the little baby roses were kinda wilted….oh well…it’s still a fun memory…

I love that guy still after 30something years….

Texas Sheet Cake for dessert…..done by cute Caitlin and Devin…the newleyweds…

And yummy German Chocolate brownies…done by my daughter Tiffany….

And cute Valentines Strawberry cupcakes….the kids loved these….

And we played this very fun game….check it out sometime!  

  It’s a great Valentines Day dip for a fun party or for anytime! 

Valentine Cupcakes

Cute girls who LOVE cupcakes….my granddaughters! 

I’m looking through Pinterest and online to find some easy “kid friendly” ways to do really cute decorated cupcakes for my little 7 year old students and also for my grand kids who are 4, 3 and 1 1/2.  They have to be really cute but REALLY easy too.  Here are some that I found….that I loved…..

These cute designs are from Dessert Deli…but they look kinda hard to do…..I need EASY!  

Cupid Cupcakes
I like these because the design is all in the cupcake papers and the cute candy on top….We can all find CANDY for VALENTINES DAY!   That would be easy….and just some cherry flavored pink icing! 

These Darling Cupcakes are from Cutest Food. The link  is HERE. She has LOTS of cute designs!  And I could do a few of these using a pastry bag with red icing on pink or white!  Maybe even the stripes and dots….with some pink and red M and Ms to dot all over the tops! 
I found some cute stencils at Michael’s from WILTON for decorating cupcakes.  They are very cute too, and they look kinda easy.  Maybe my classroom kids could even do them.  My granddaughters get a little carried away shaking sugar on cookies and cupcakes.  So I came upon a plan for next time.  I will use a small piece of tape and tape all the holes on the inside of the shaker except for one.  That way they can’t dump the whole mess of sugar onto only one cupcake!   
Valentine Cupcake and Cookie Stencils
Easy WILTON stencils…kids can do these really easily….just don’t let
them overdo it on the sugars…..I’ve done THAT!  


Notice the cookies are only iced with white or pink icing and the decor is all from red or pink sugars! Easy! 
An easy video for decorating CUPID CUPCAKES can be found HERE at Cupcake Decorating Ideas.

Bulletin board at school….I’m all ready for Valentine’s Day!

Here was our fun decorating table last year for the Valentine Sugar Cookies….I found these cute  melamine plates at the grocery store for 99 cents!  We did pink icing and had lots of candies and sprinkles….the kids LOVED it! 

Sugar Cookie Masterpieces from last Valentines Day…..  

But this year let’s do some Cupcakes!  

I’ve got lots of sprinkles and candies on hand……

A cute pan to make some candy toppers too!  This is from WILTON!  
I HAD to throw this goofy pic of my son in here…..so funny! We are
eating dinner at my favorite place….TEXAS ROADHOUSE!  And this
is my darling grandbaby Josie, and her cute mom Wendy…  Yeah…Jeff’s gonna kill me for this…hehe….
And we can’t forget some conversation hearts….kids LOVE them!  

I loved the colors on these….that HOT PINK IS SOOOOOO PINK!   And it looks really good with chocolate sprinkles….
and I HAVE some of those!  Cool!  
These are from the Treat Boutique….I love how they added edible glitter to the tops….I’ve gotta try that!  
These cute ones are from Clarissa’s Creativity Space…..They’d be cute as “LOVE BUGS” for kids I think…..don’t you?
And how hard are some dots and stripes?  The little heads are mini oreos with some white dot eyes and smile….EASY!
There’s that HOT PINK again….CUTE!  
These cute ones are from Mel’s Sweet Treats…..The toppers are simple to add…the rest are just icing and sprinkles….VERY simple even for kids to create!

I have GOT to make some cupcakes today! 

Super Bowl Party Foods

Which team will win the Super Bowl on Sunday?  There are always some sports fans among my classroom kids who know the players and the teams. They even knew the team colors, can you believe that?  They all love Tom Brady and think he’s going to be on the winning team.


We each cut out a football to “VOTE” for our Team! Go Team!

Well, we shall see.   I have a fun little challenge for my classroom kids.  Those who predict the winner correctly will win a football sweatband for their wrist.  Those that predict incorrectly get to do 12 pushups.    I have lost in years past. It wasn’t pretty watching me trying to do PUSH-UPS EITHER!

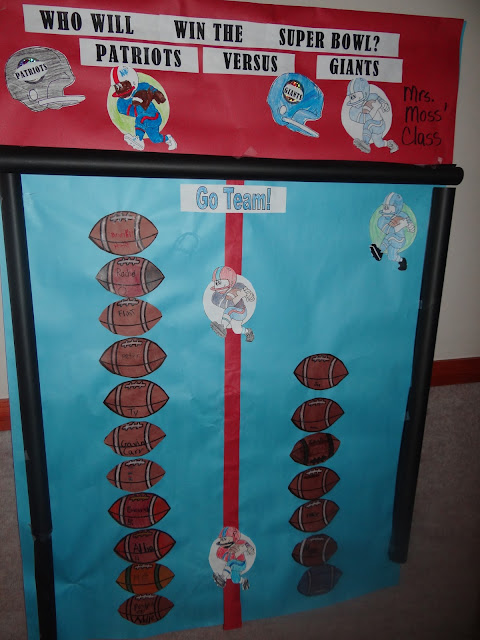
Our class graph….looks like the Patriots might be the favorite!  

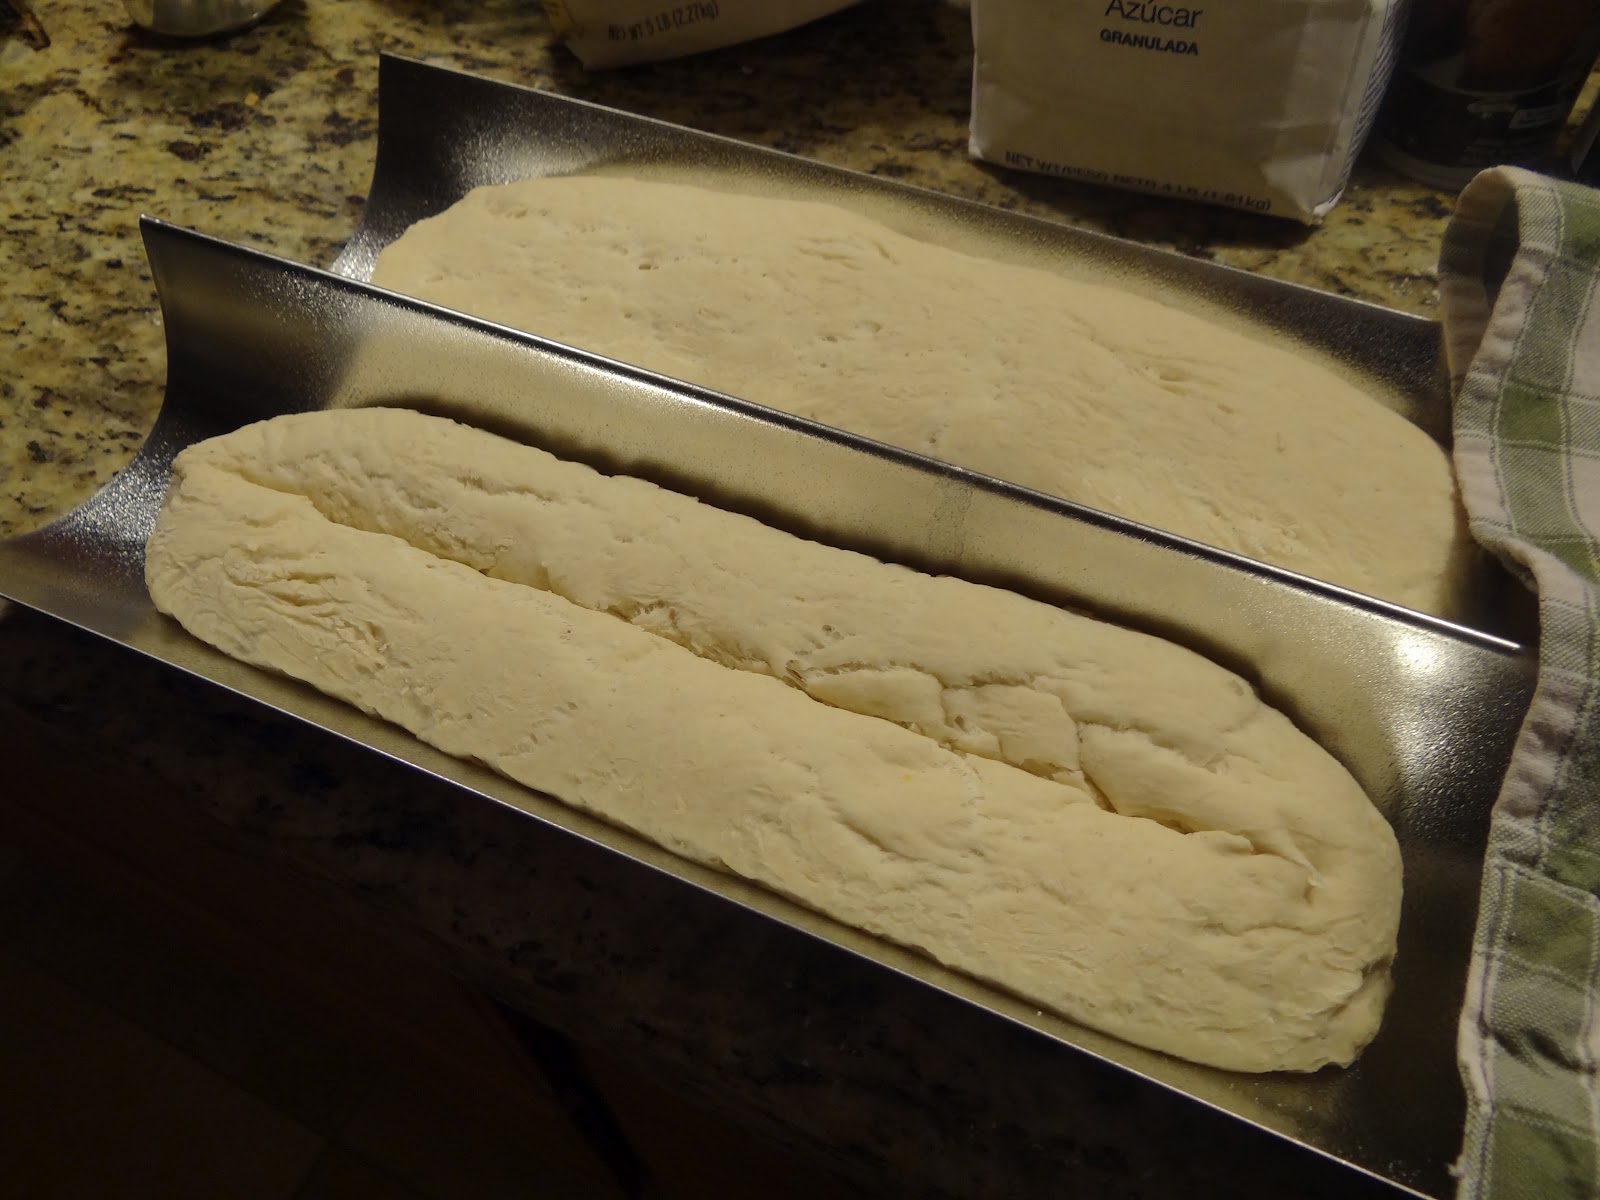
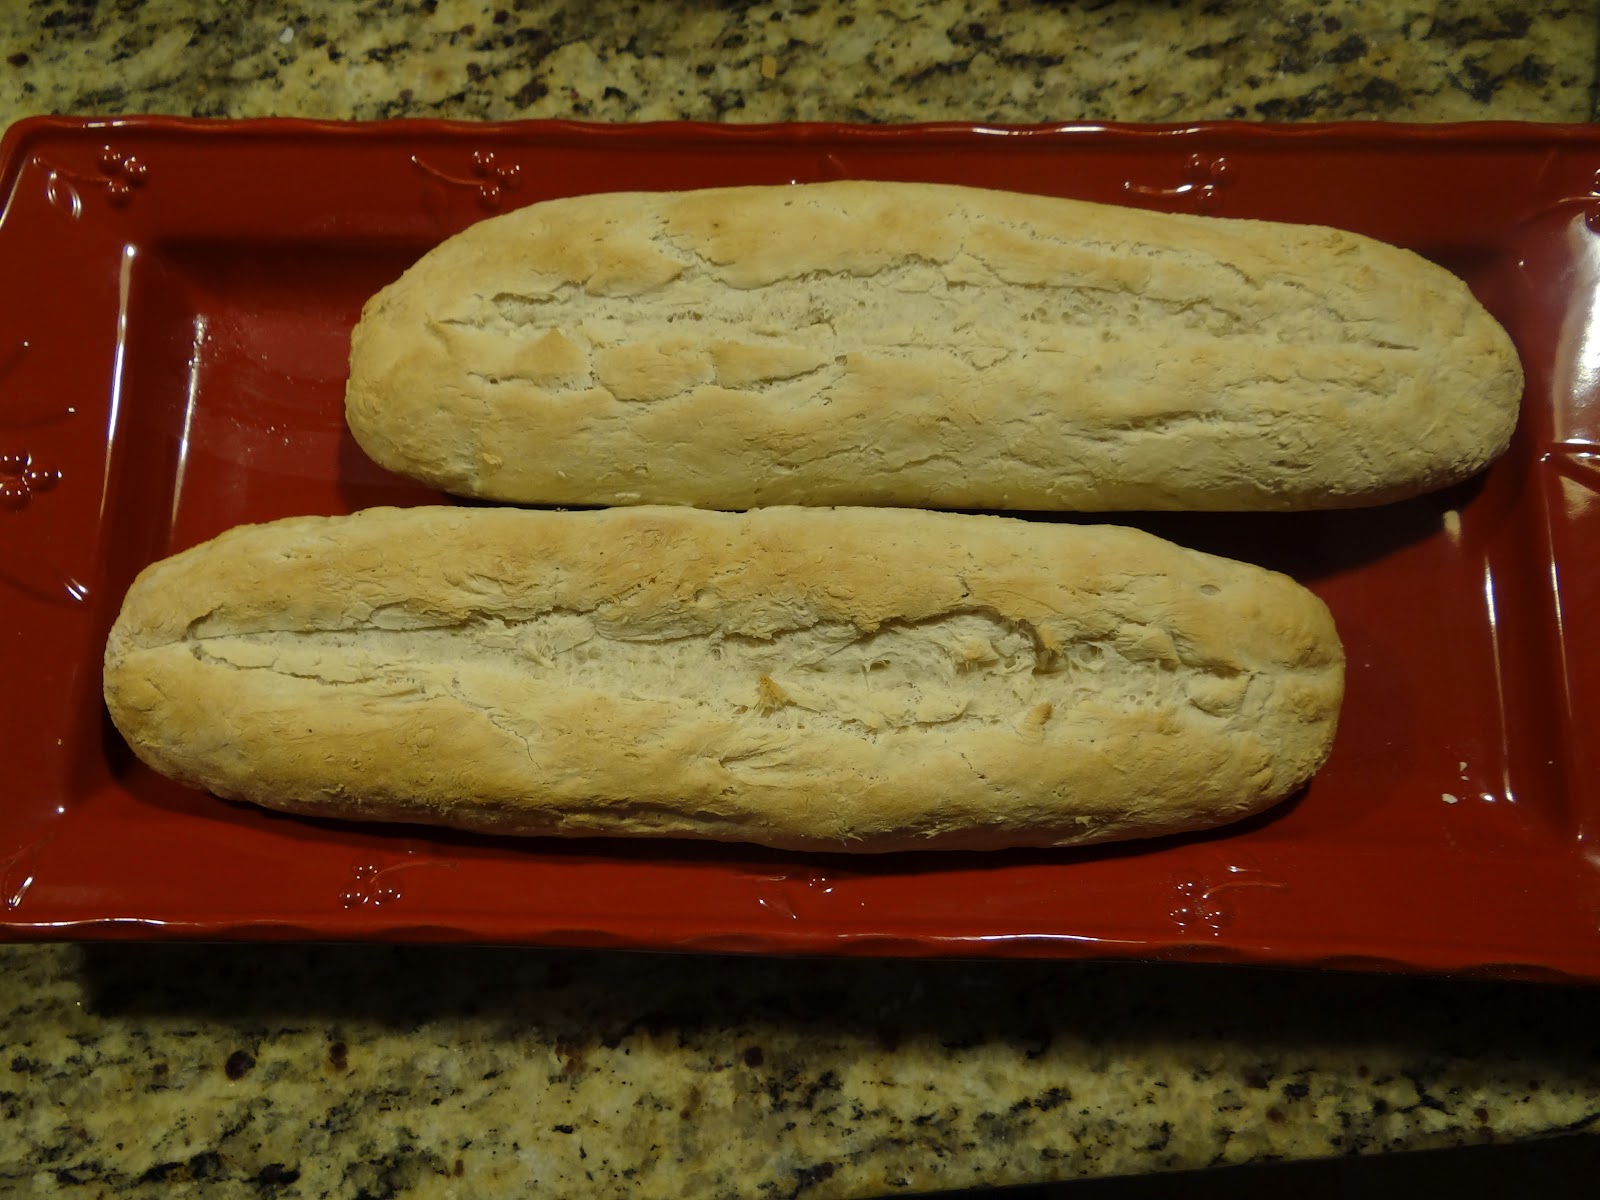
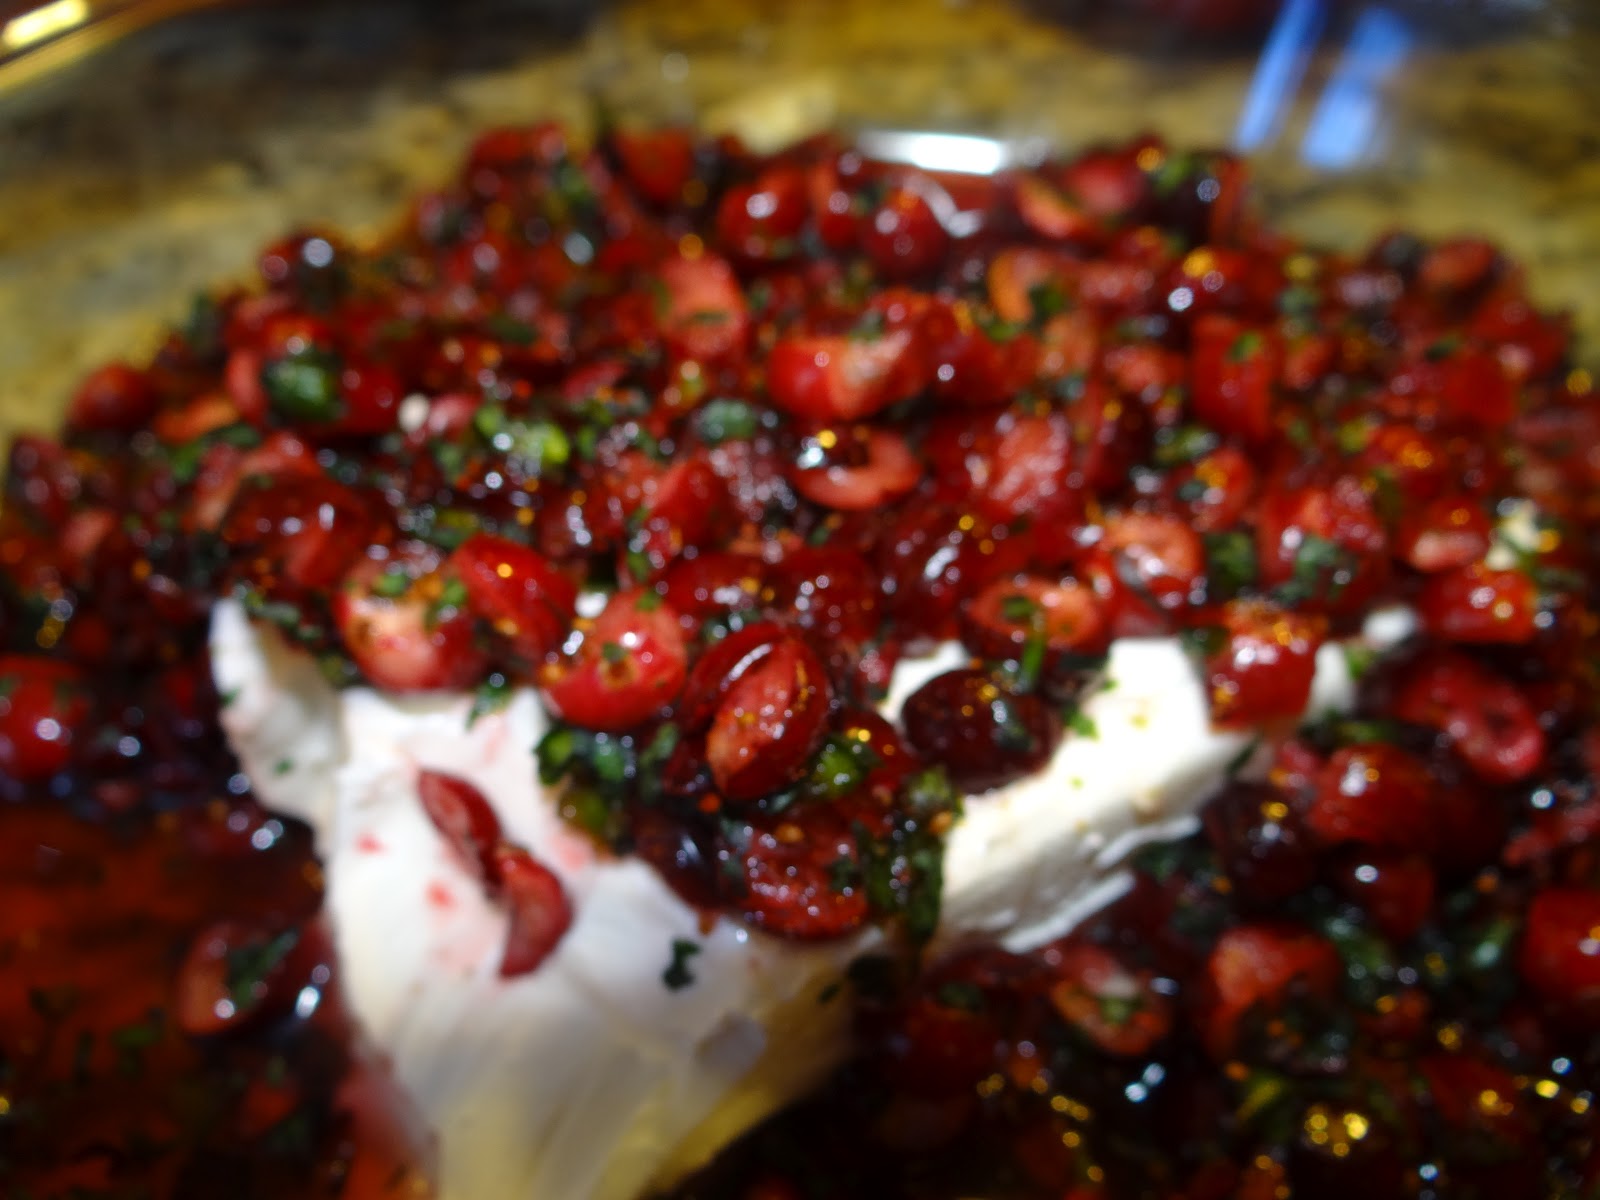
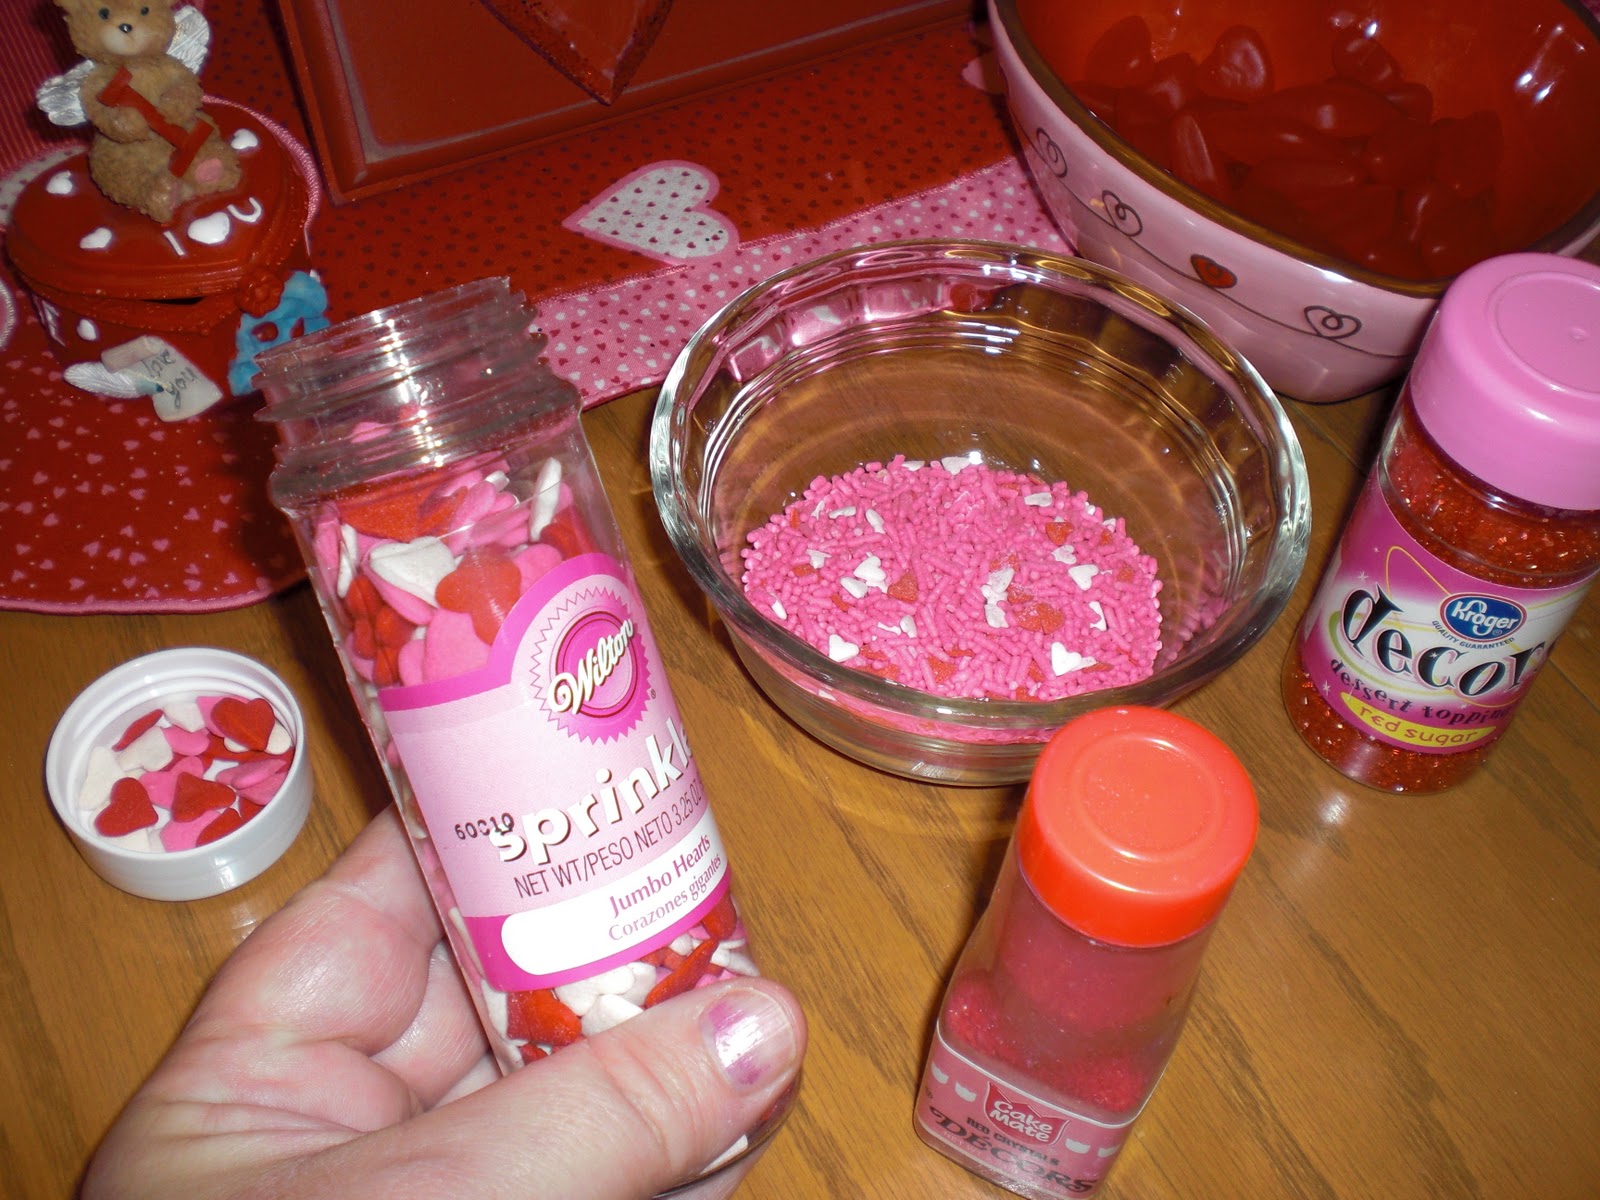
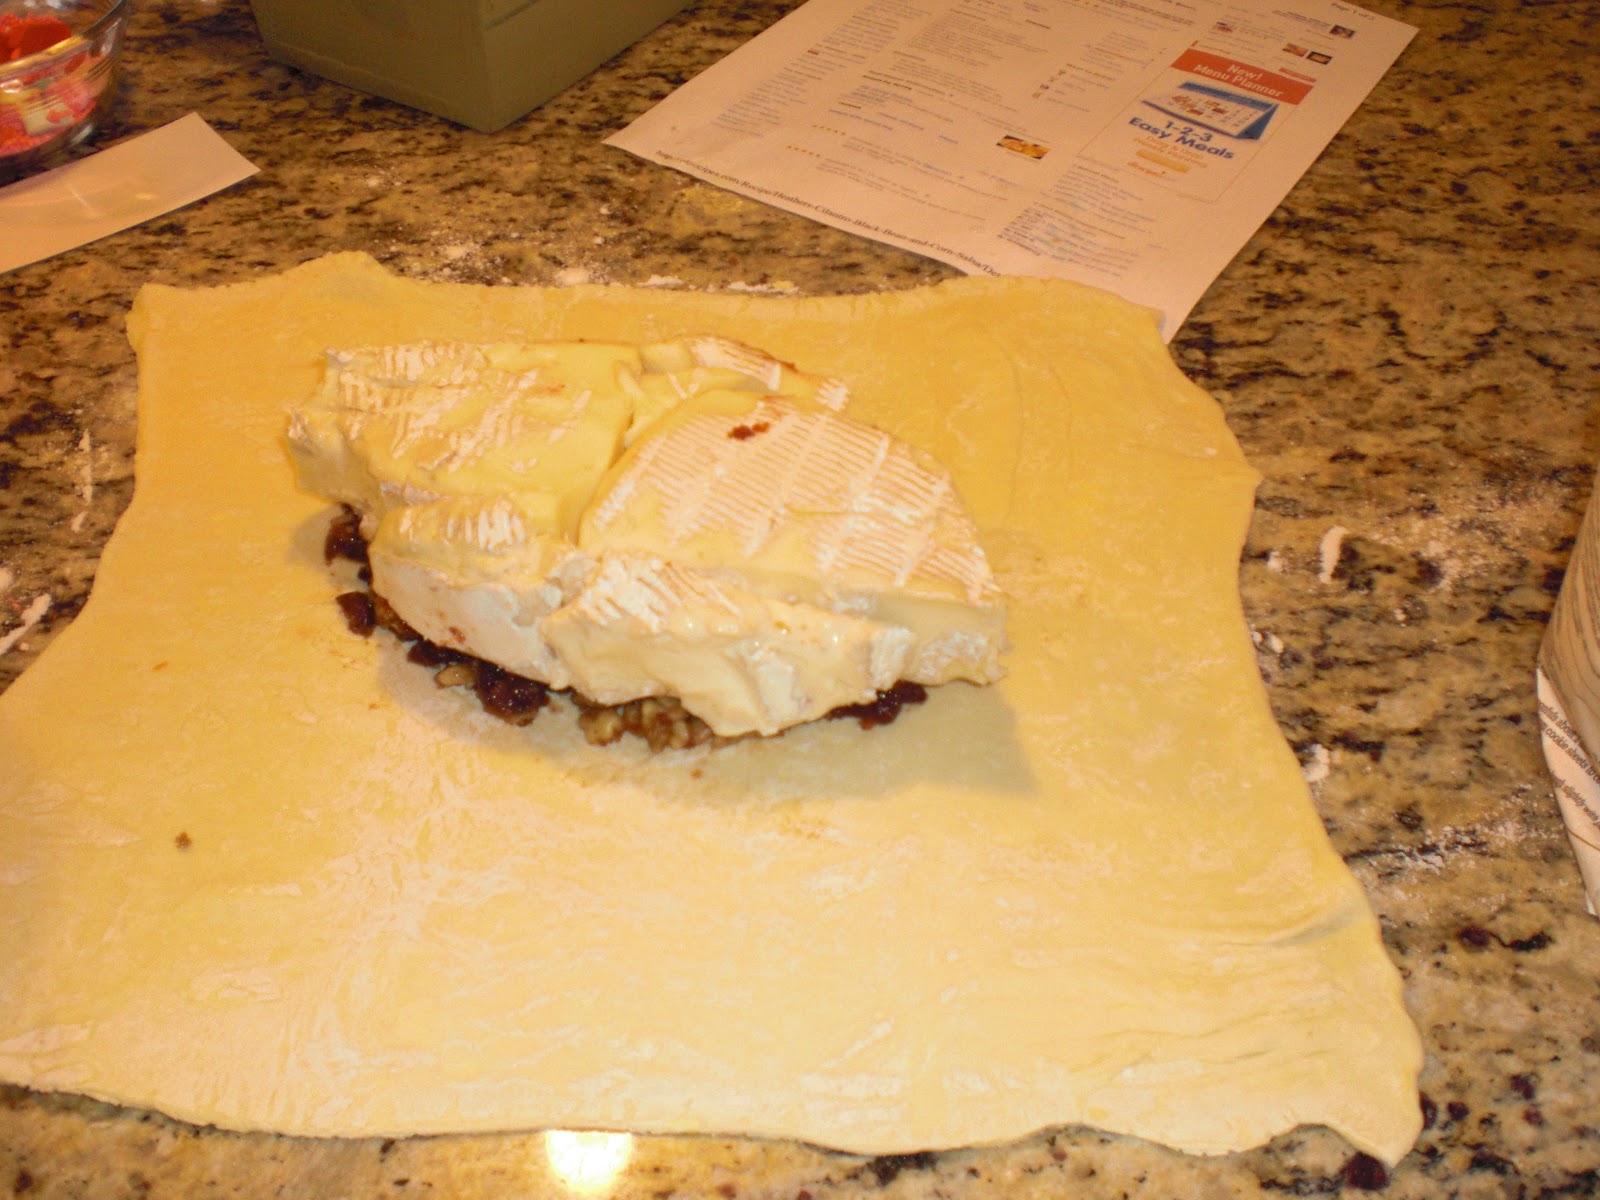
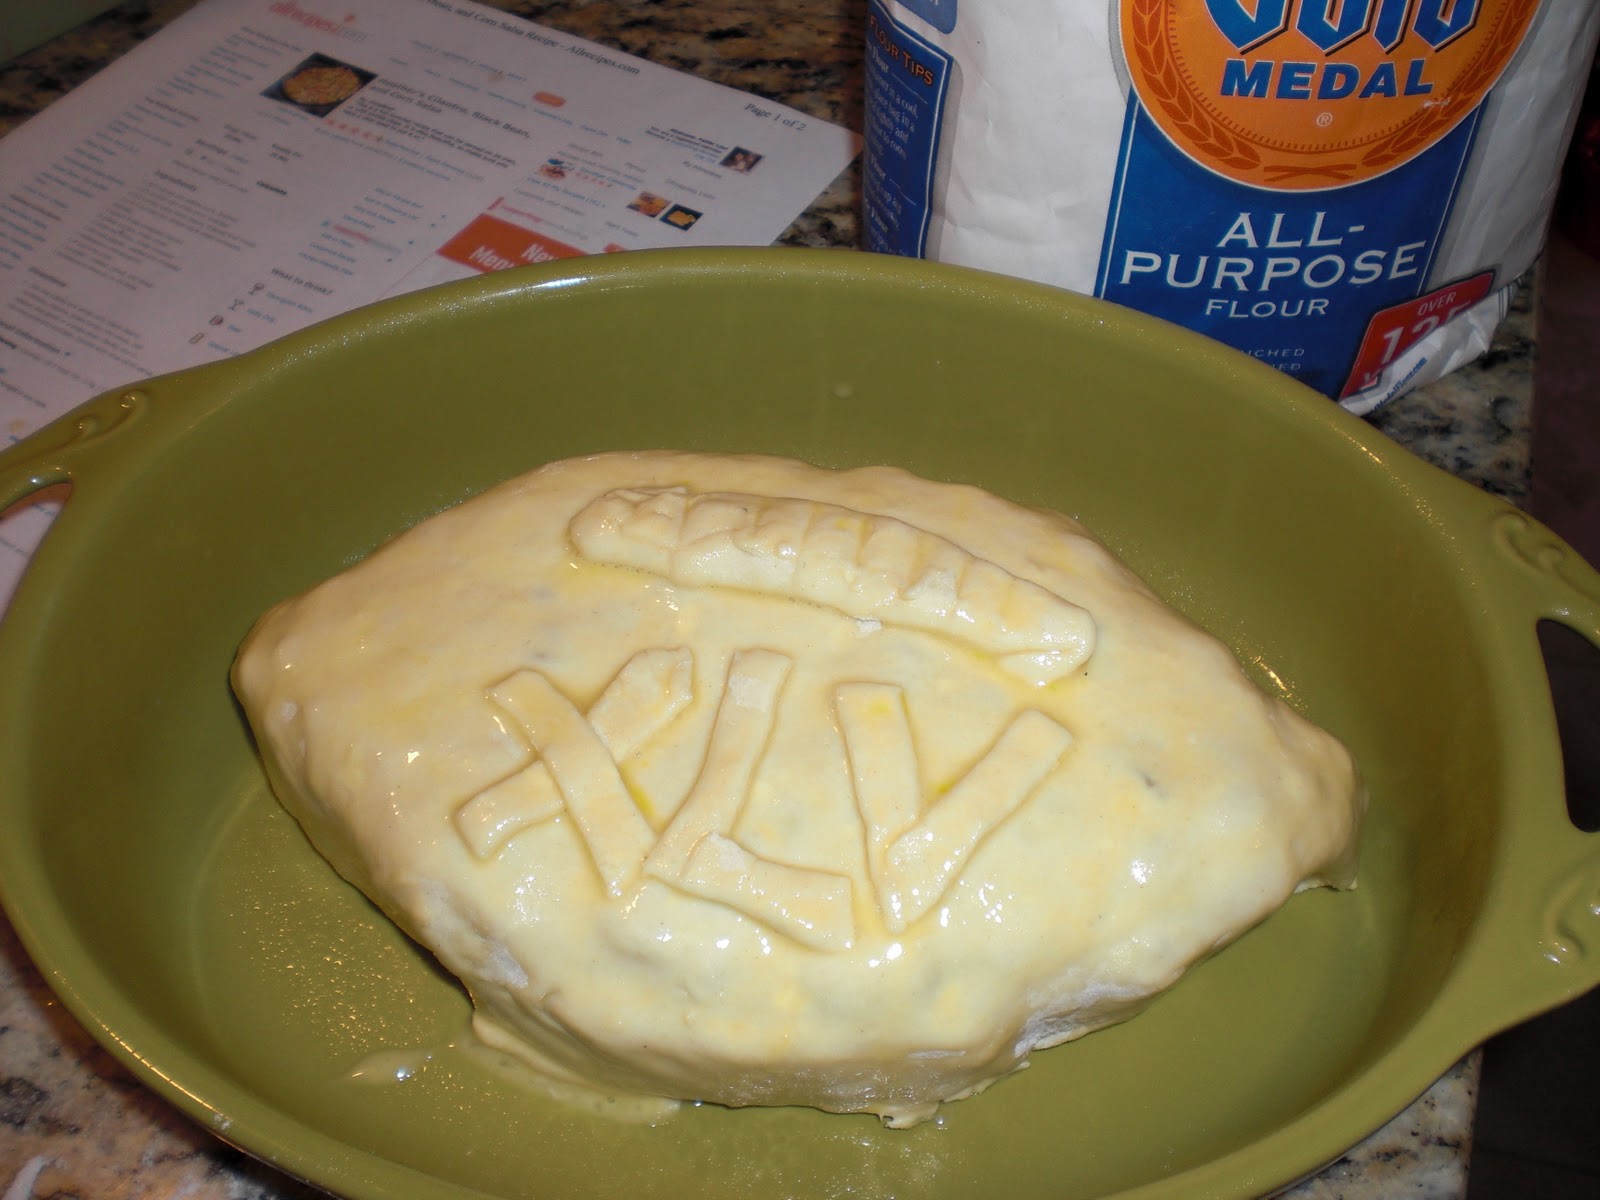
This easy baked brie has dried cherries and pecans and jam inside. I shape it like a football and then cover it with puff pastry. The recipe for the Baked Brie is HERE.  At the Pepperidge Farm Website you can also watch a video on how to make the Baked Brie. It is to die for Yummy as a cracker dip!

Super Bowl Baked Brie with Puff Pastry

I shaped my Baked Brie cheese like a football using the Pepperidge Farm  Frozen Puff Pastry

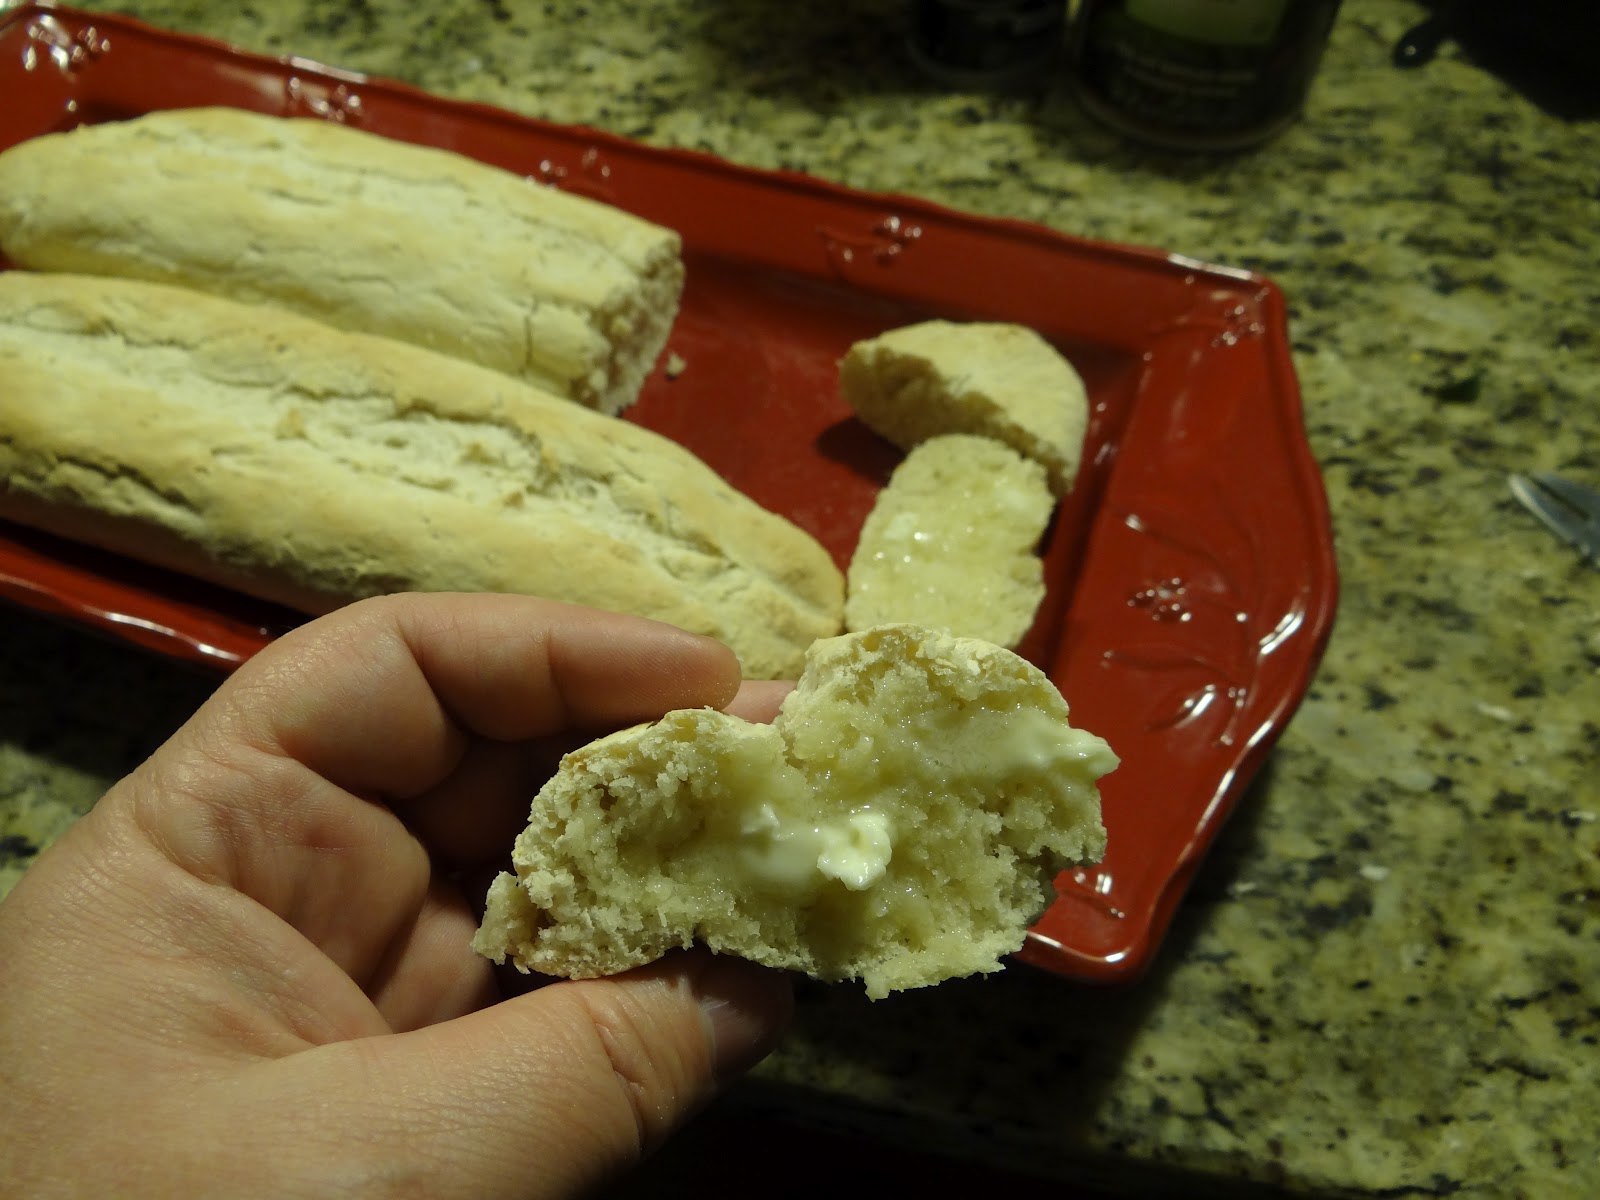
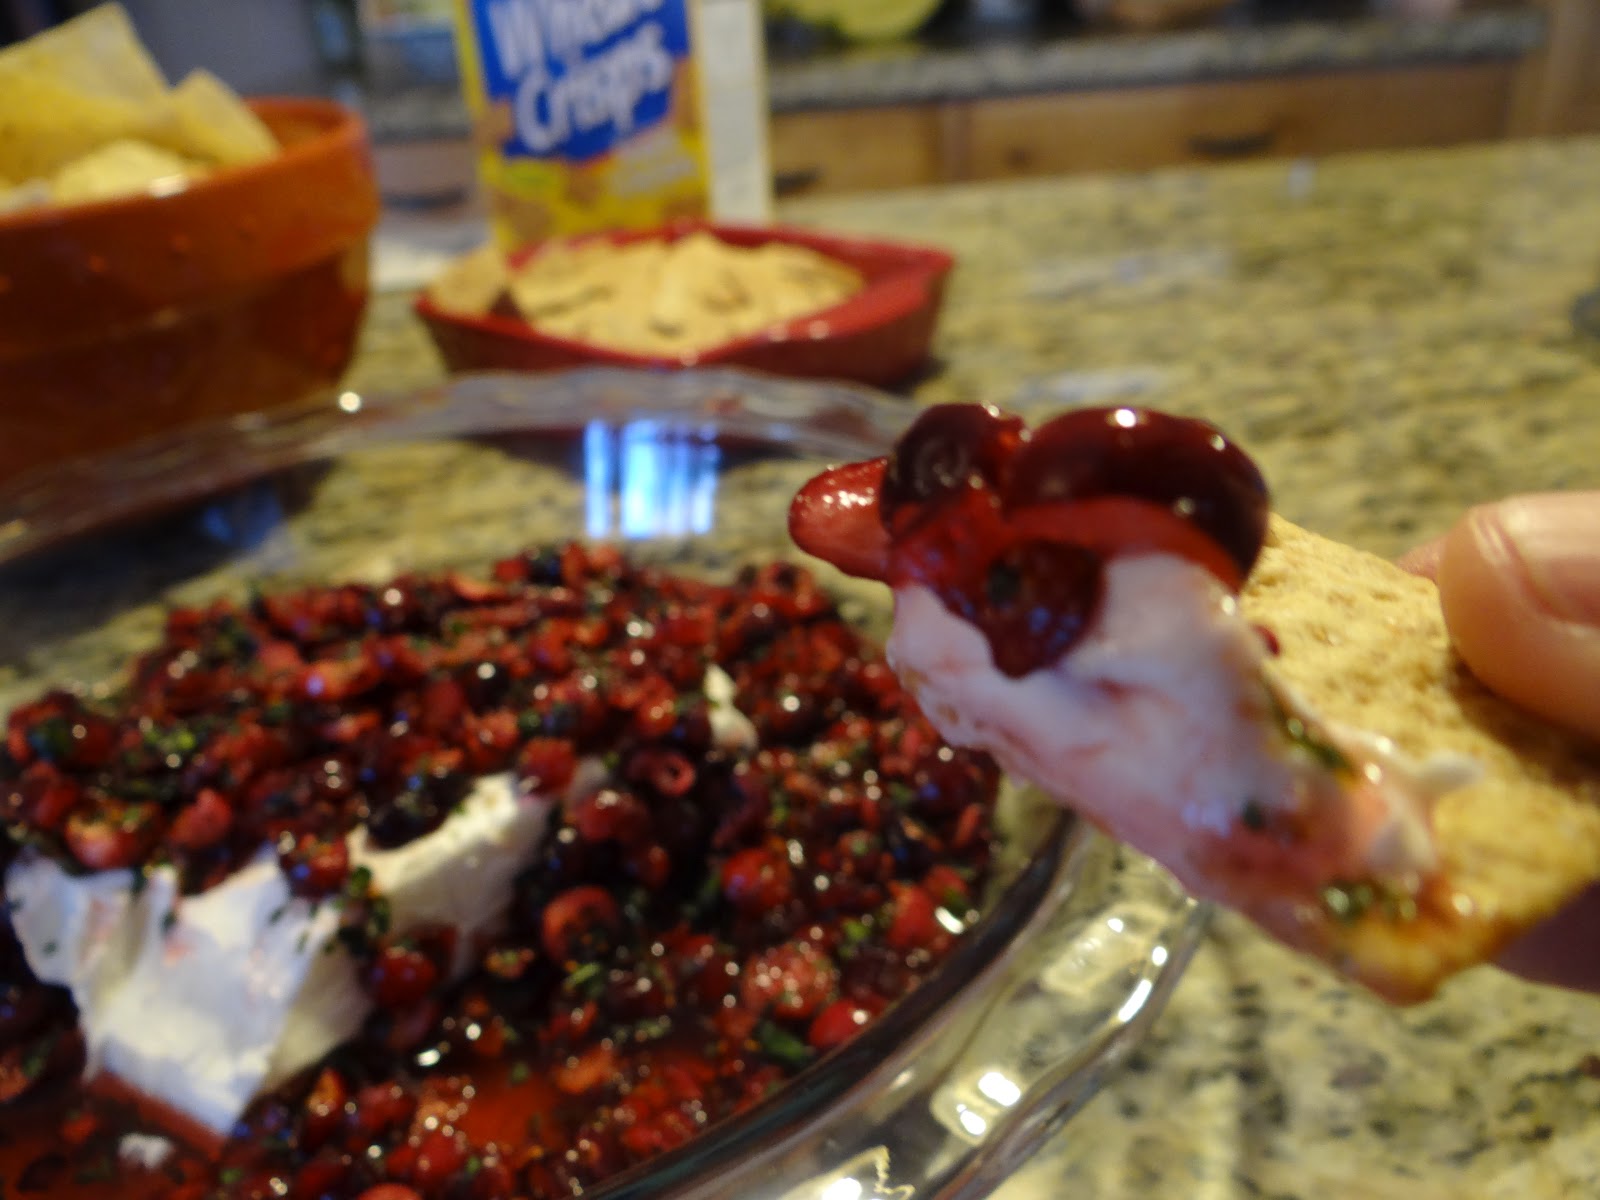
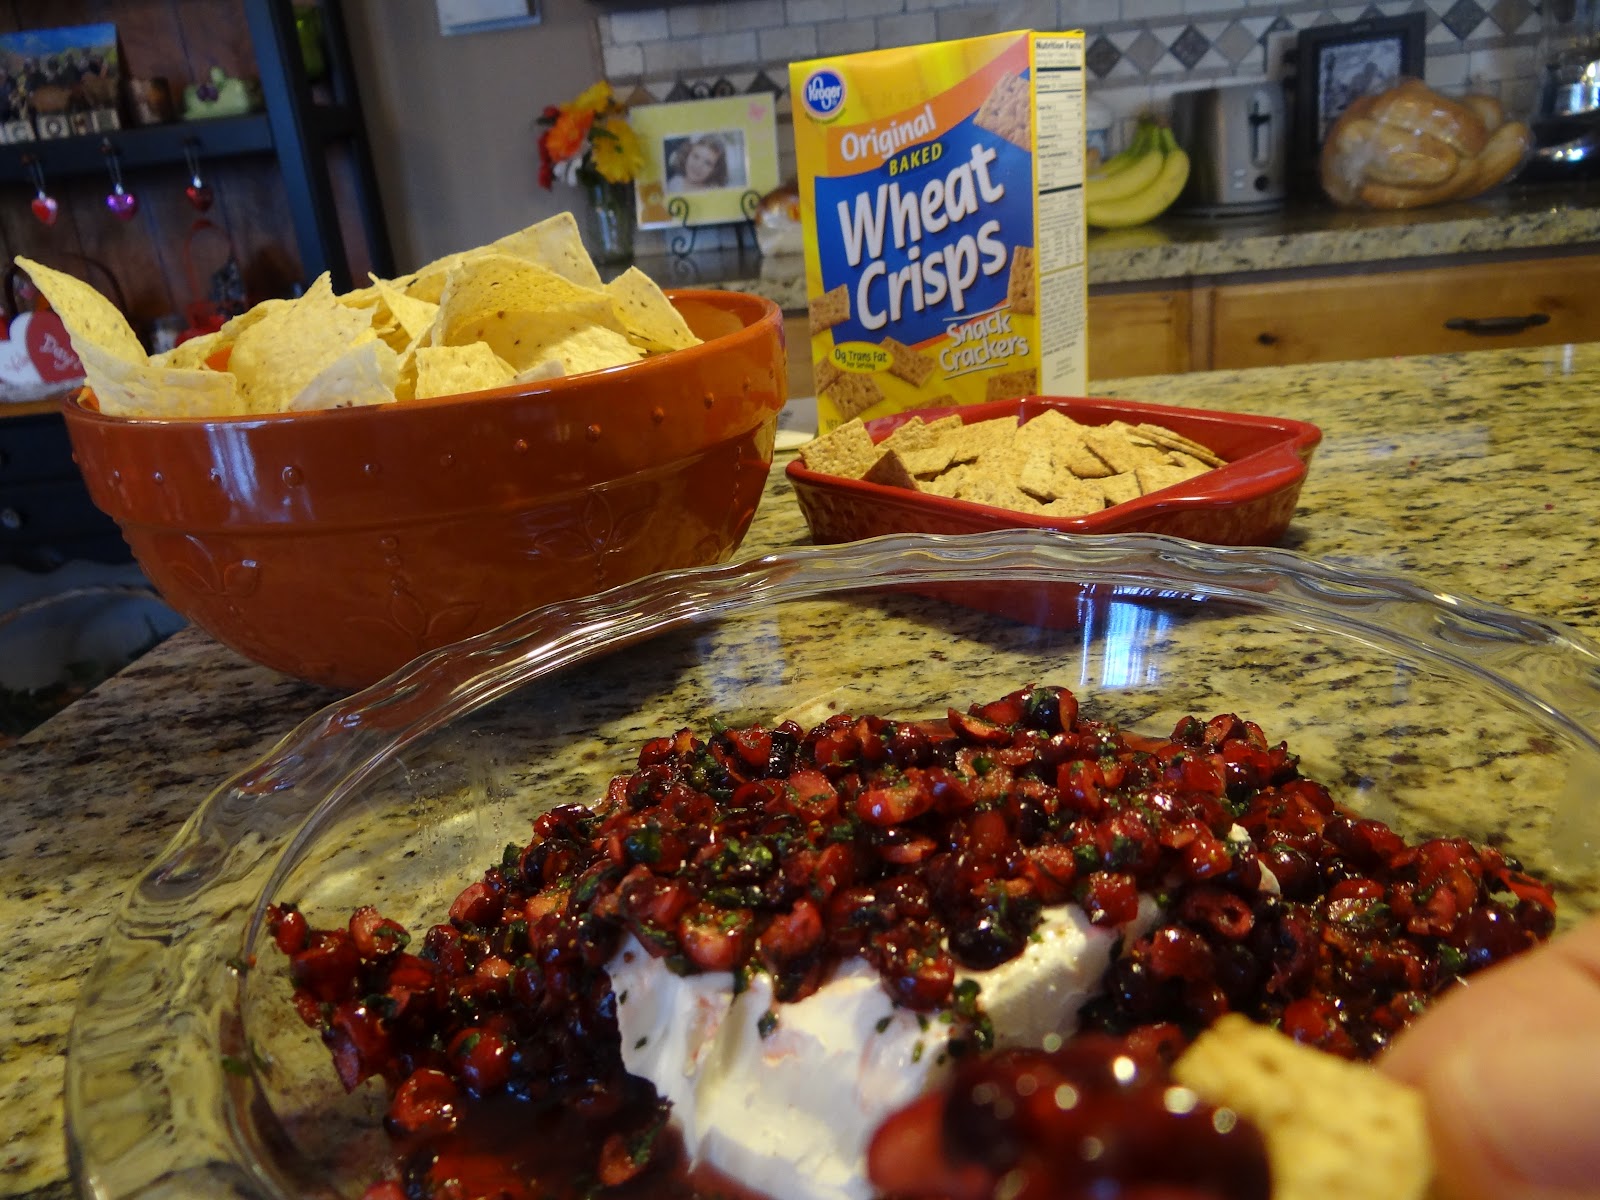
I put the letters on with the extra puff pastry. I fill it with raspberry jam, some brown sugar, pecans and dried cherries. I bake it till just before the Super Bowl starts.  Triscuits, Pretzel Ritz and Wheat Thins are good with it…..

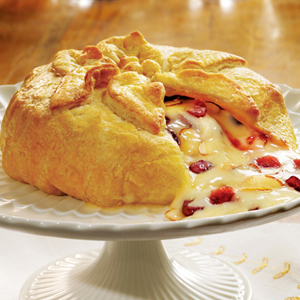
Yummy baked brie with dried cranberries and pecans inside..

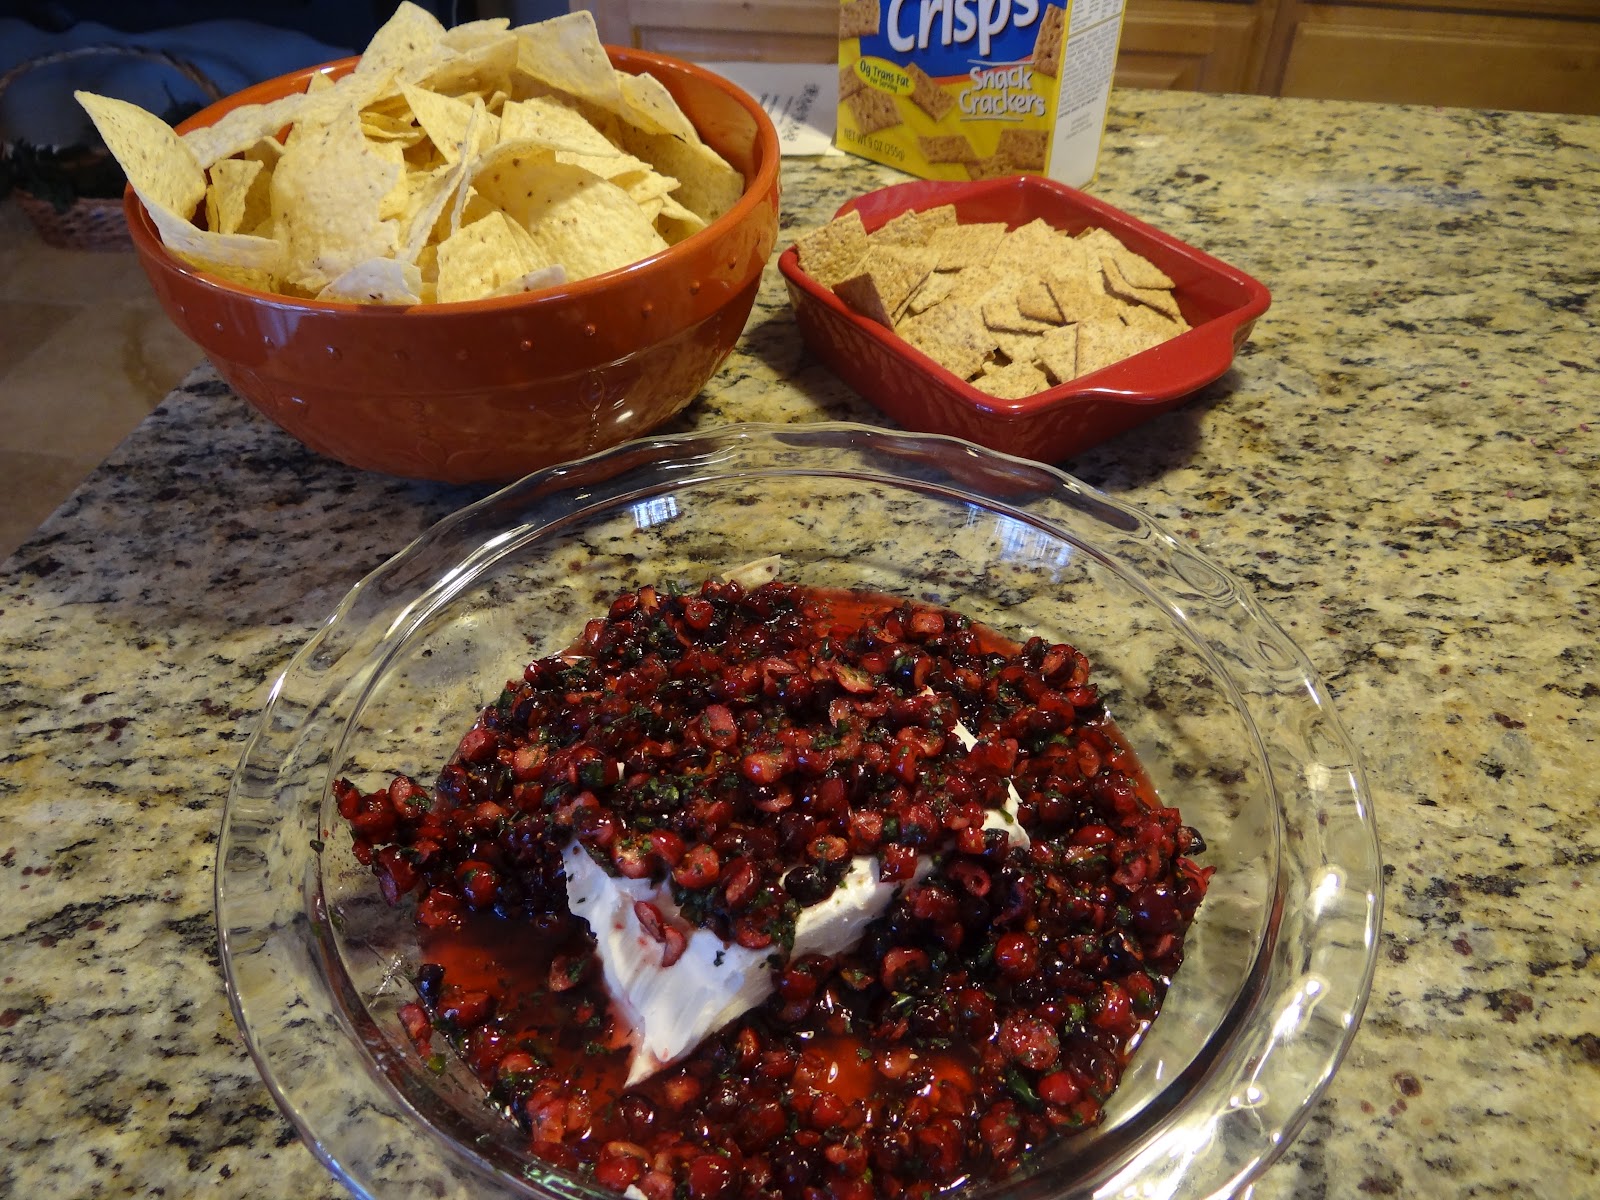
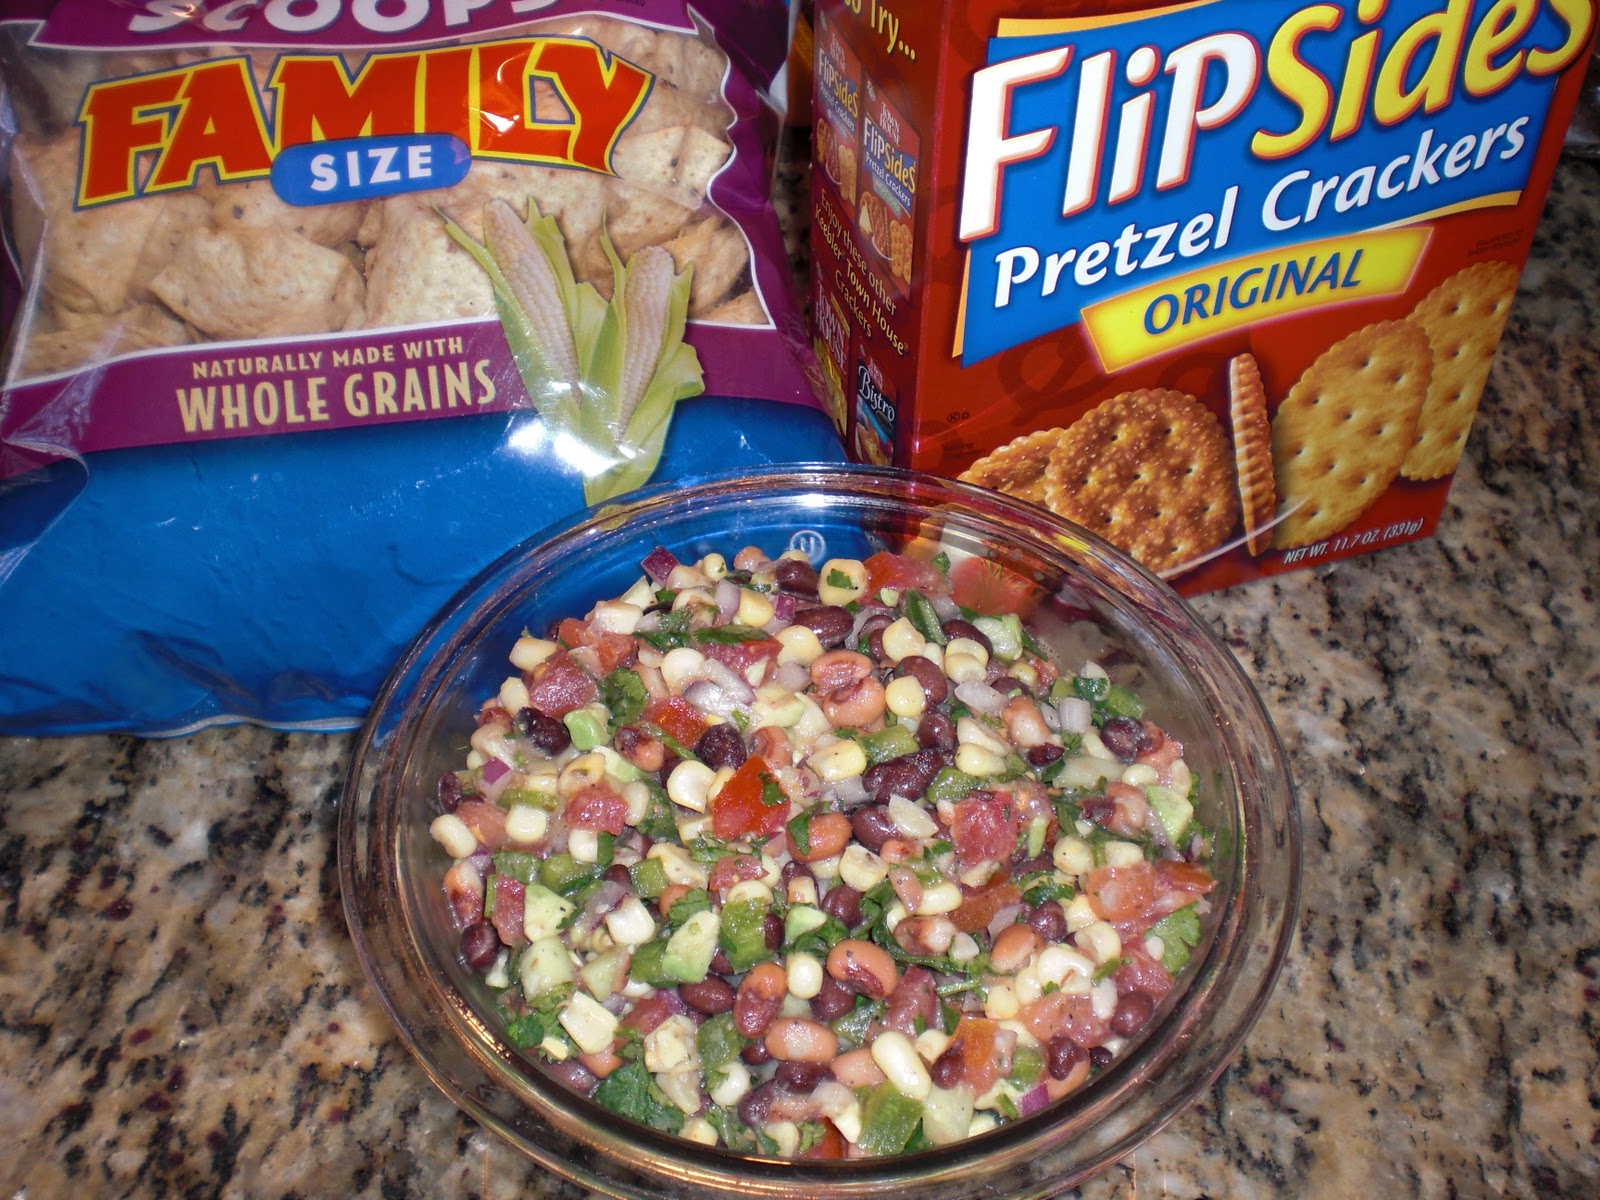
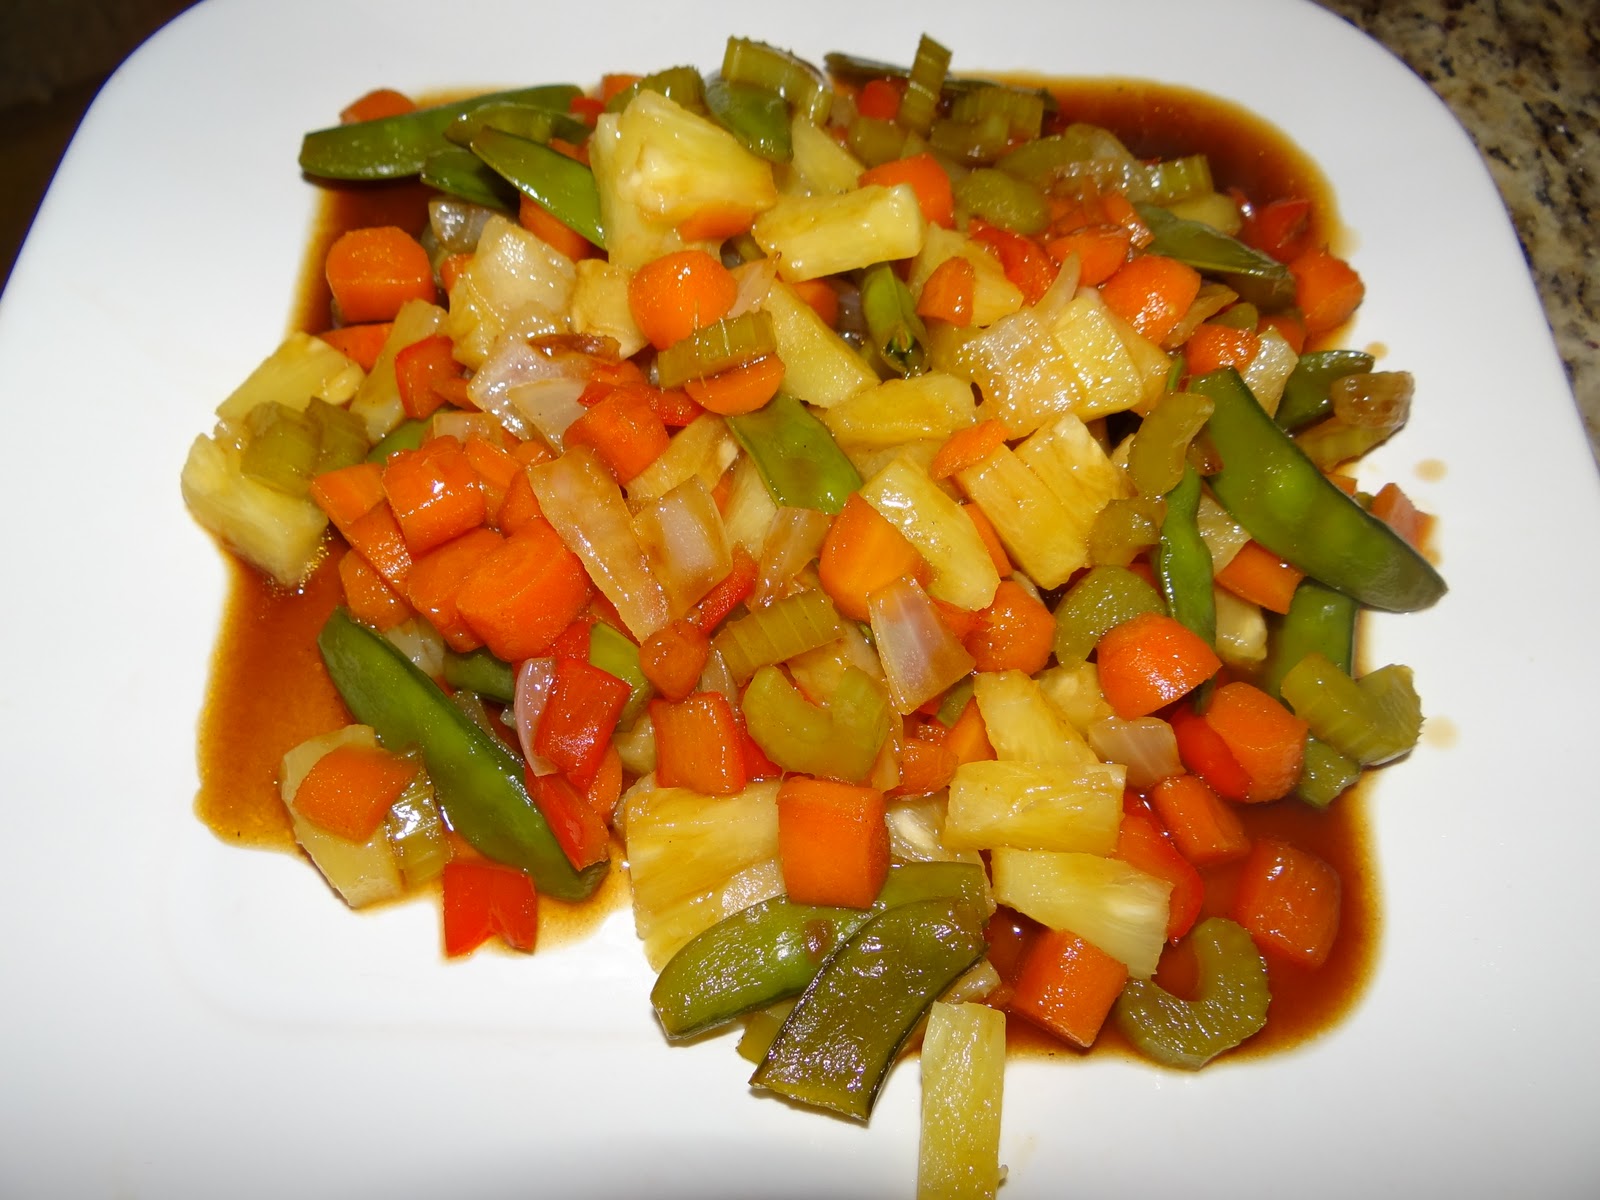
This yummy stuff is my black bean and corn and avocado salsa.  It’s a really fresh and delicious SALSA. 

Black Bean and Corn Salsa

This yummy black bean salsa is made from black eyed peas OR black beans, white sweet corn, green pepper, avocado, tomato, cilantro and purple onion, with a few dashes of lime and Italian Salad Dressing and salt and pepper. It’s a crowd pleaser with Tostitos and these yummy pretzel crackers. and very filling!

Touchdown Treats
Cute little football player cupcakes would be so fun for the kids at a Super Bowl Party…..not to mention the big, male kids who are attending the party!!! lol….. you know who you are! 

HERE at the Family Fun website I found these cute cupcake football players I thought would be super cute to make for a Super Bowl Get together……M and Ms for the eyes and yellow buttons, black skinny licorice for the facemask.  Kids would LOVE these.

These football  cookies were from “On the Record Sports” and would be easy to make
from a chocolate cookie recipe….Only need a little icing in white!
Here at Luxe Finds was a cute way to do your  Super bowl 7 layer dip!

 I’d make the guacamole layer show on top and make lines from a piped bag of sour cream….then top with 2 colors of cherry tomatoes….so cute! 

Now here’s my dipped strawberries…what if you added the white FOOTBALL laces in white chocolate on
top OF EACH chocolate strawberry….and removed the stems…wouldn’t they look like footballs? Yeah they would….yum…another idea….
Football Cupcakes.jpg
Here at Houston Press is a great recipe for making these cute football cupcakes for Super Bowl Sunday. 

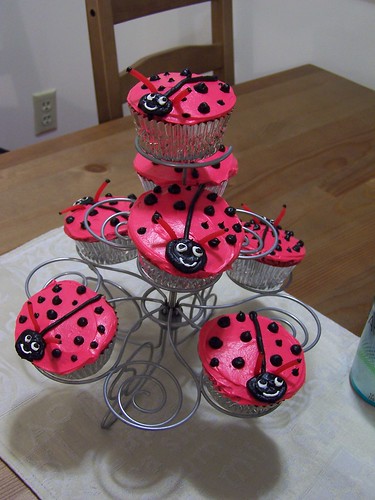
Oh WOW…. these “football” shaped cupcakes look yummy AND EASY….
or make them as sugar cookies topped with chocolate icing and the white lacing….EASY PEASY!

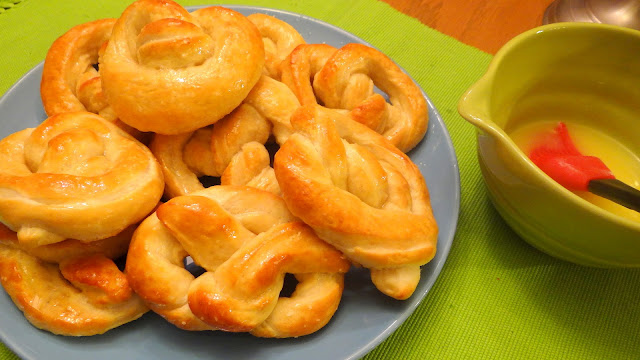
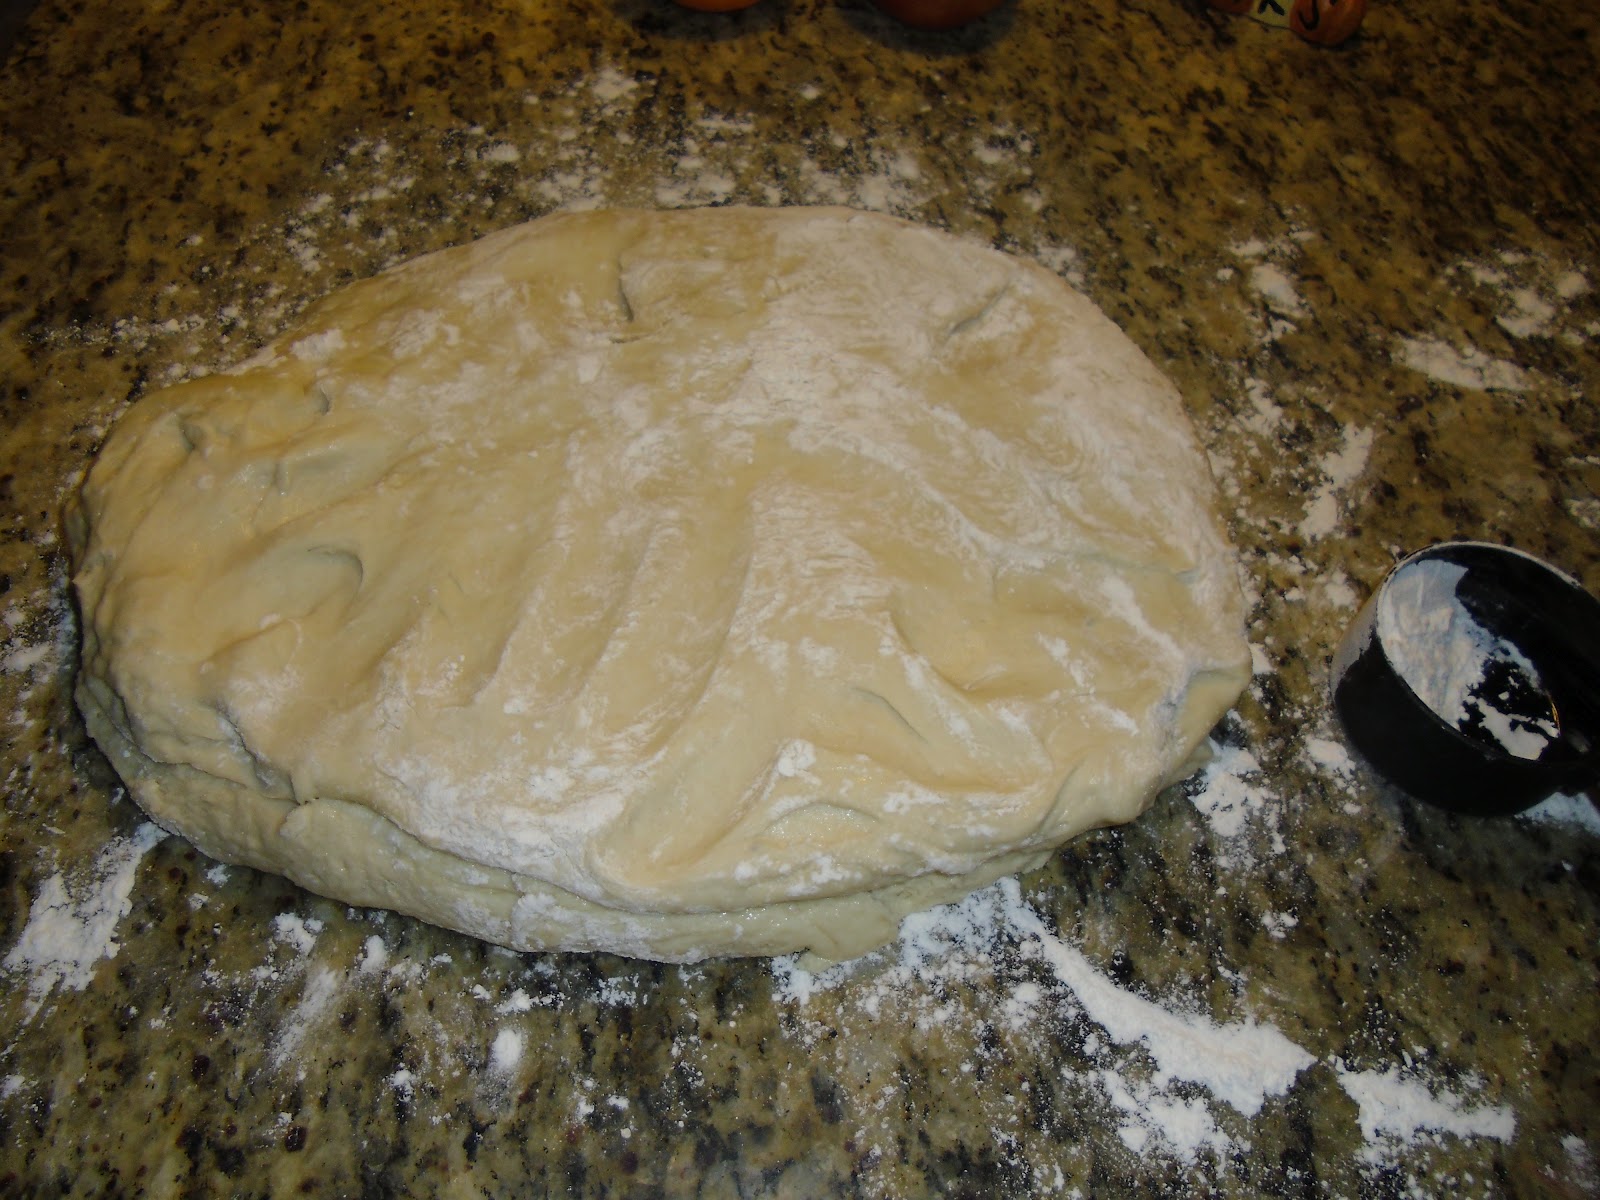
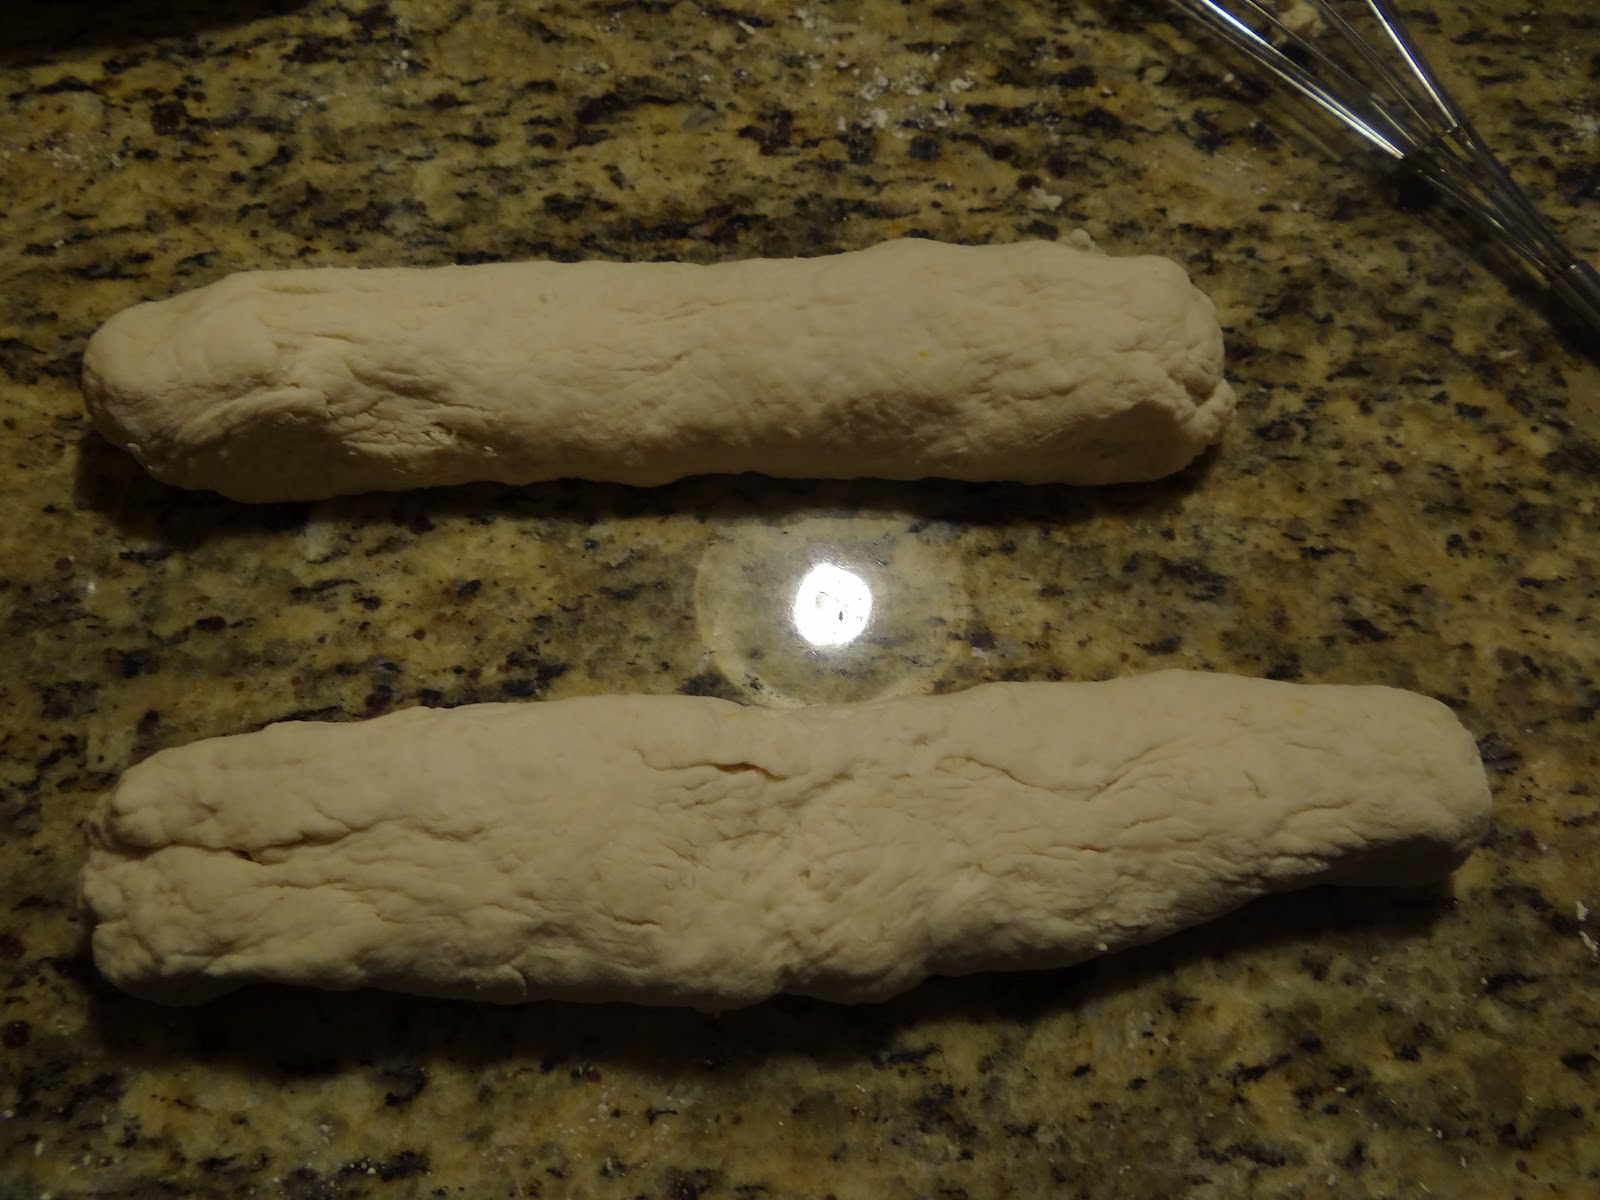
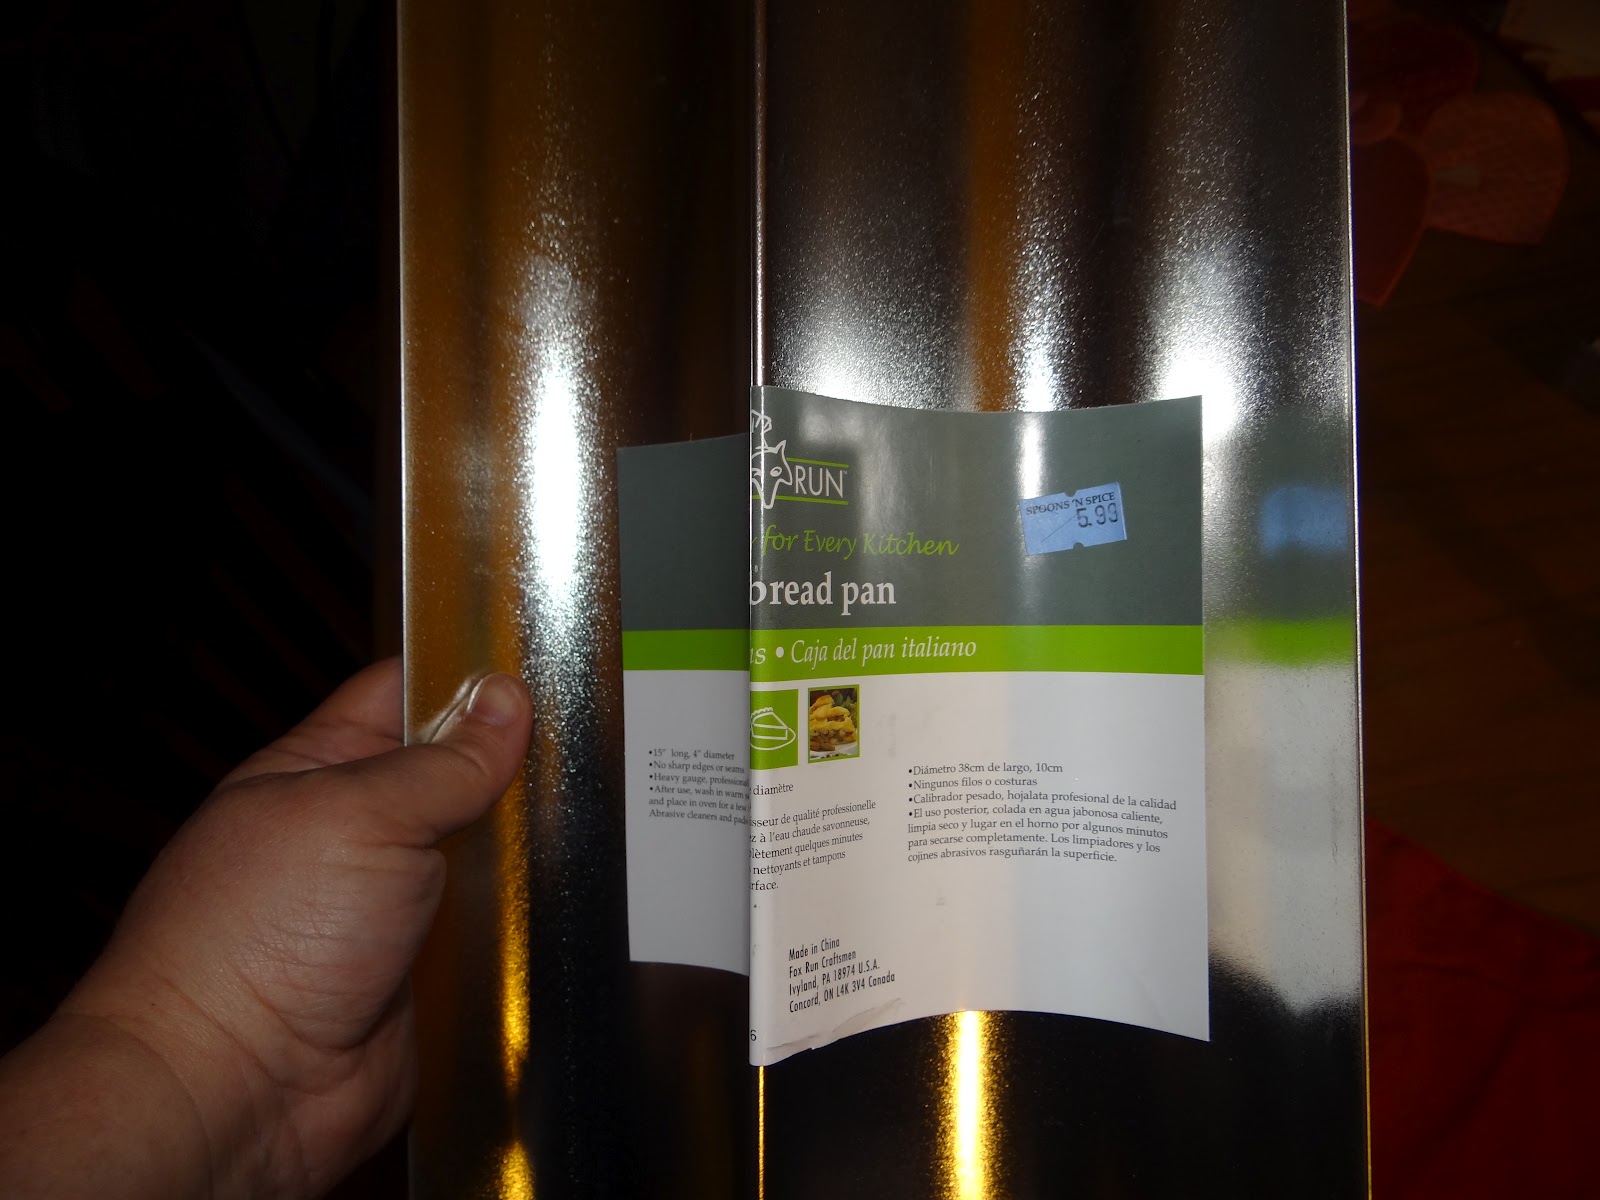
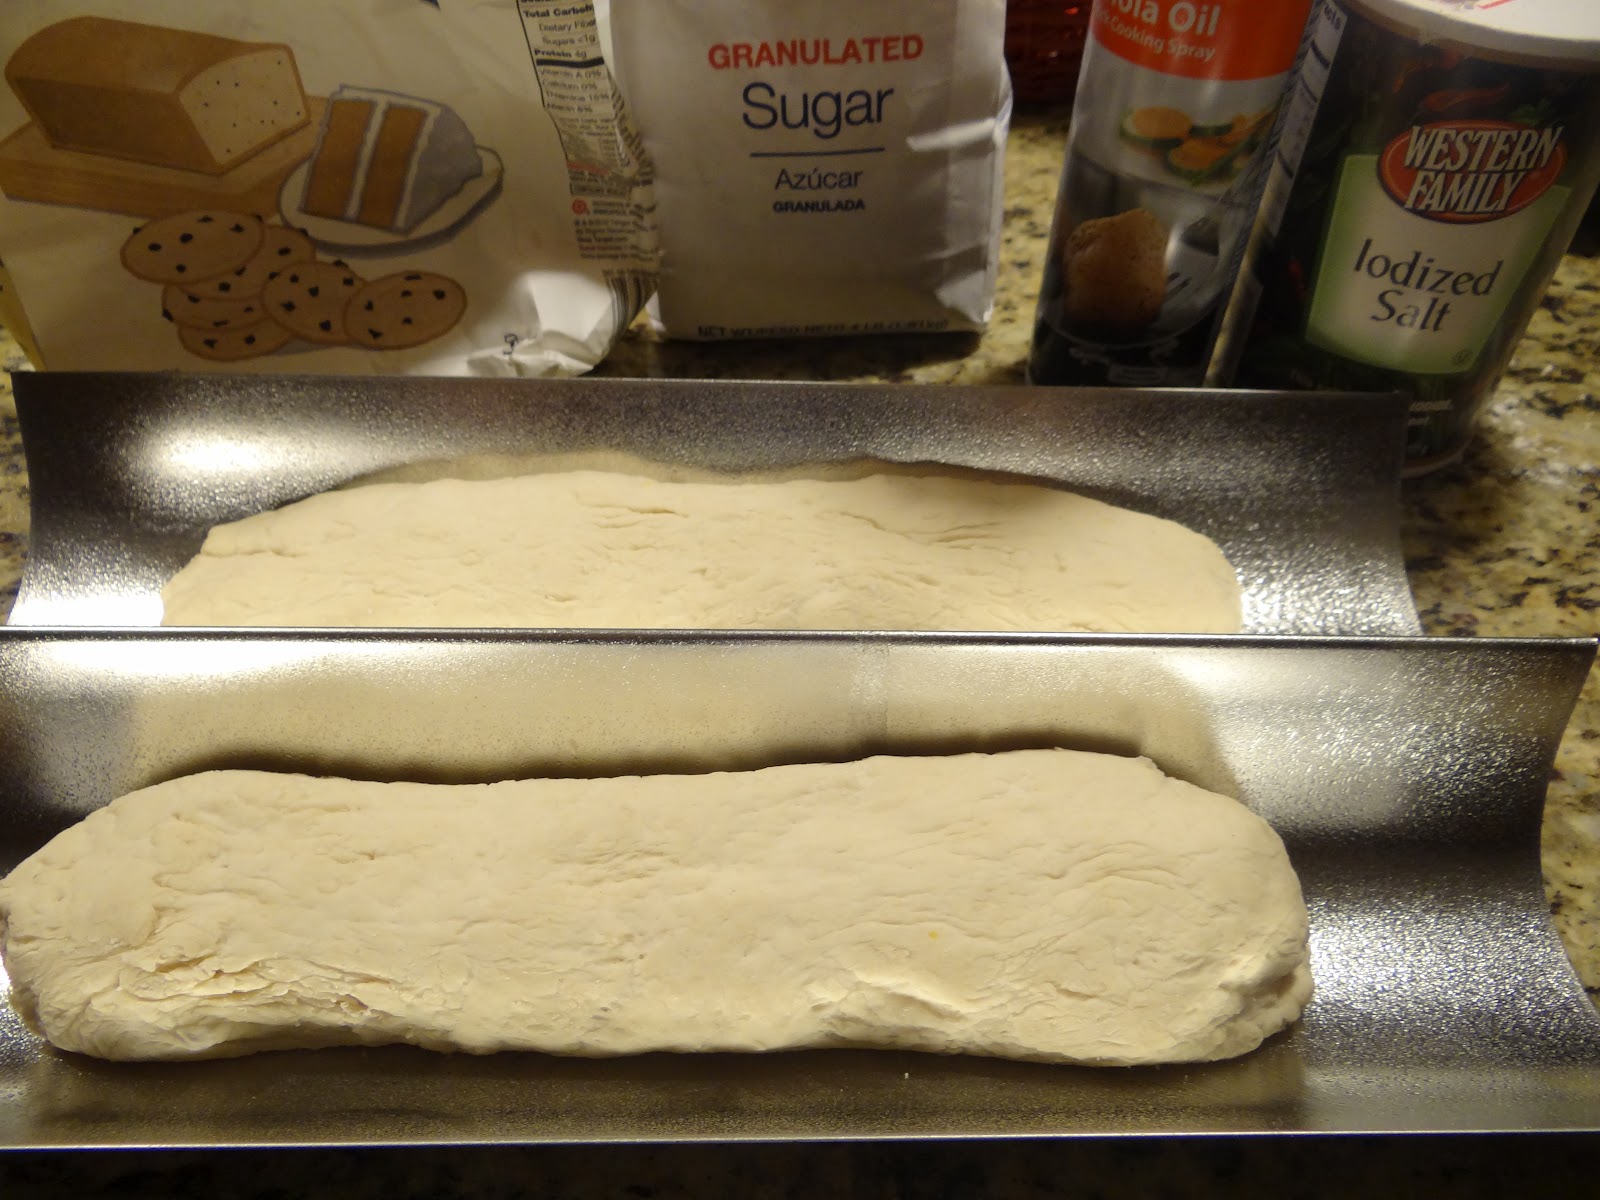
Or you could do soft pretzels. Check them out HERE at Weekday Chef. They are yummy. I’ve made the pretzels shaped like pretzels or just as pretzel bites. They are a bit time consuming but not really all that hard 


Soft Pretzels:

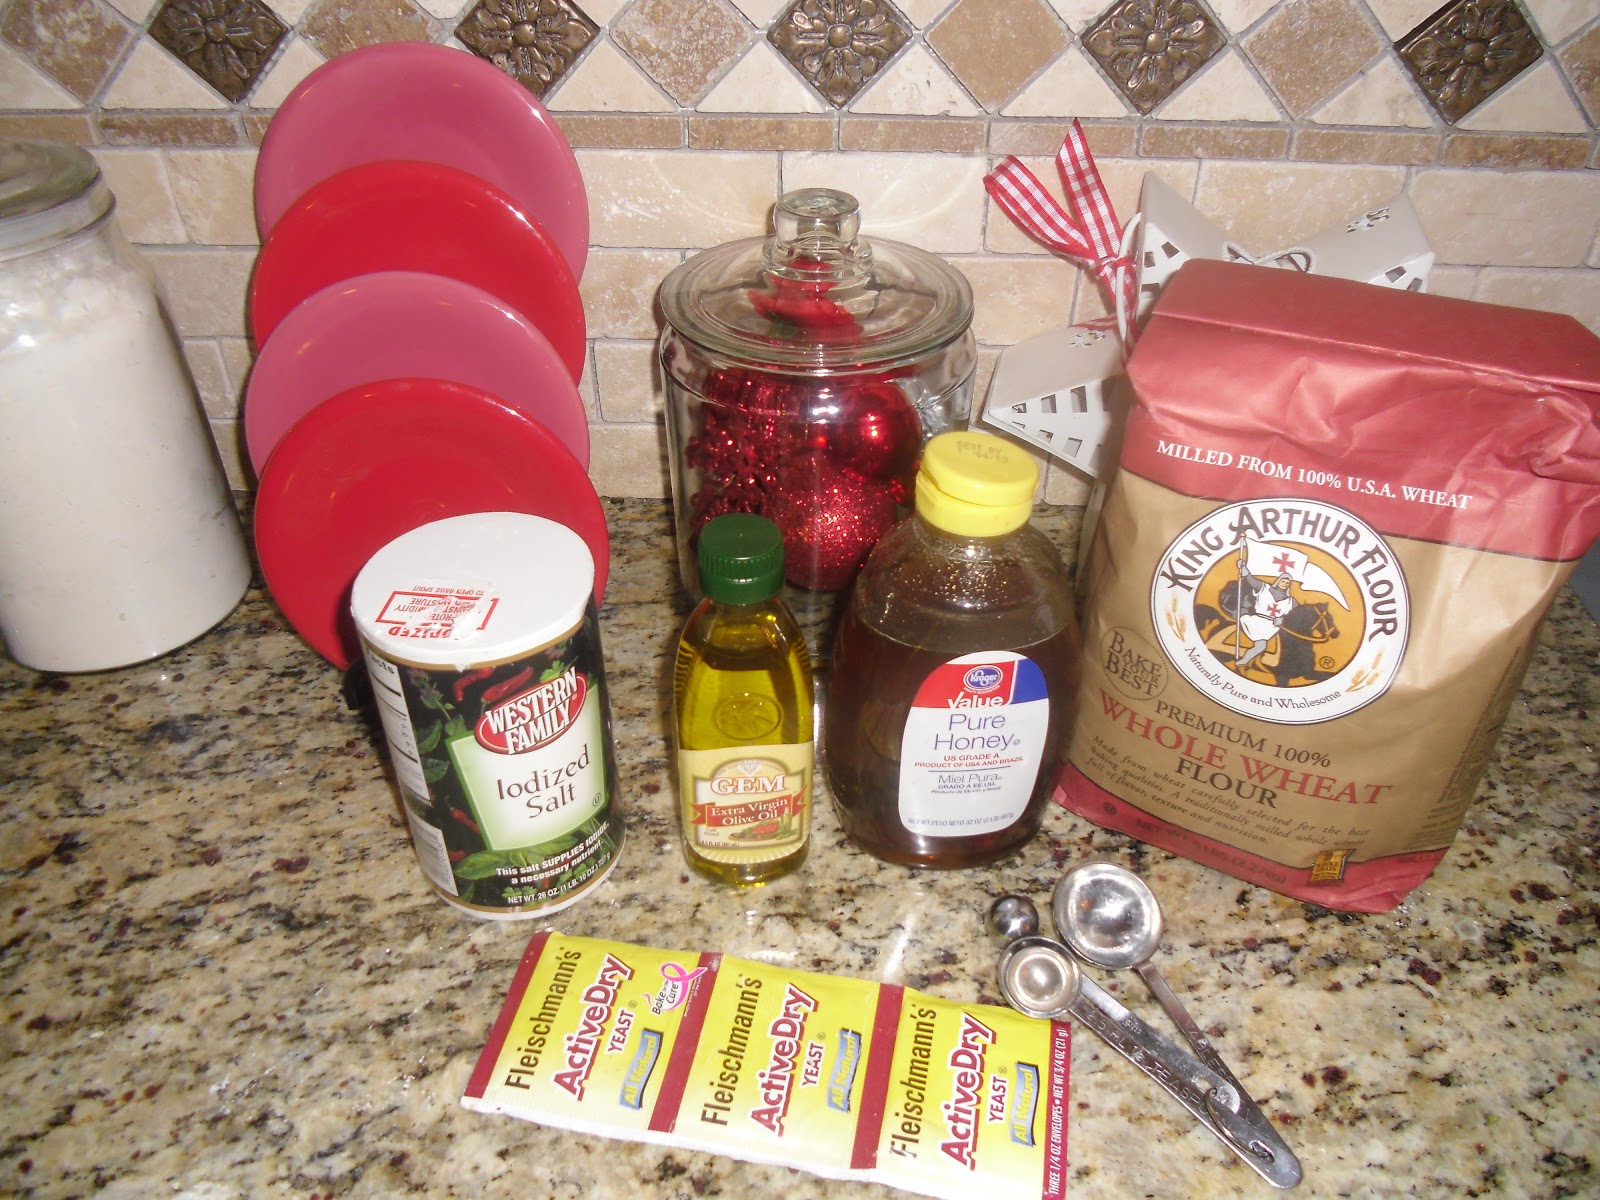
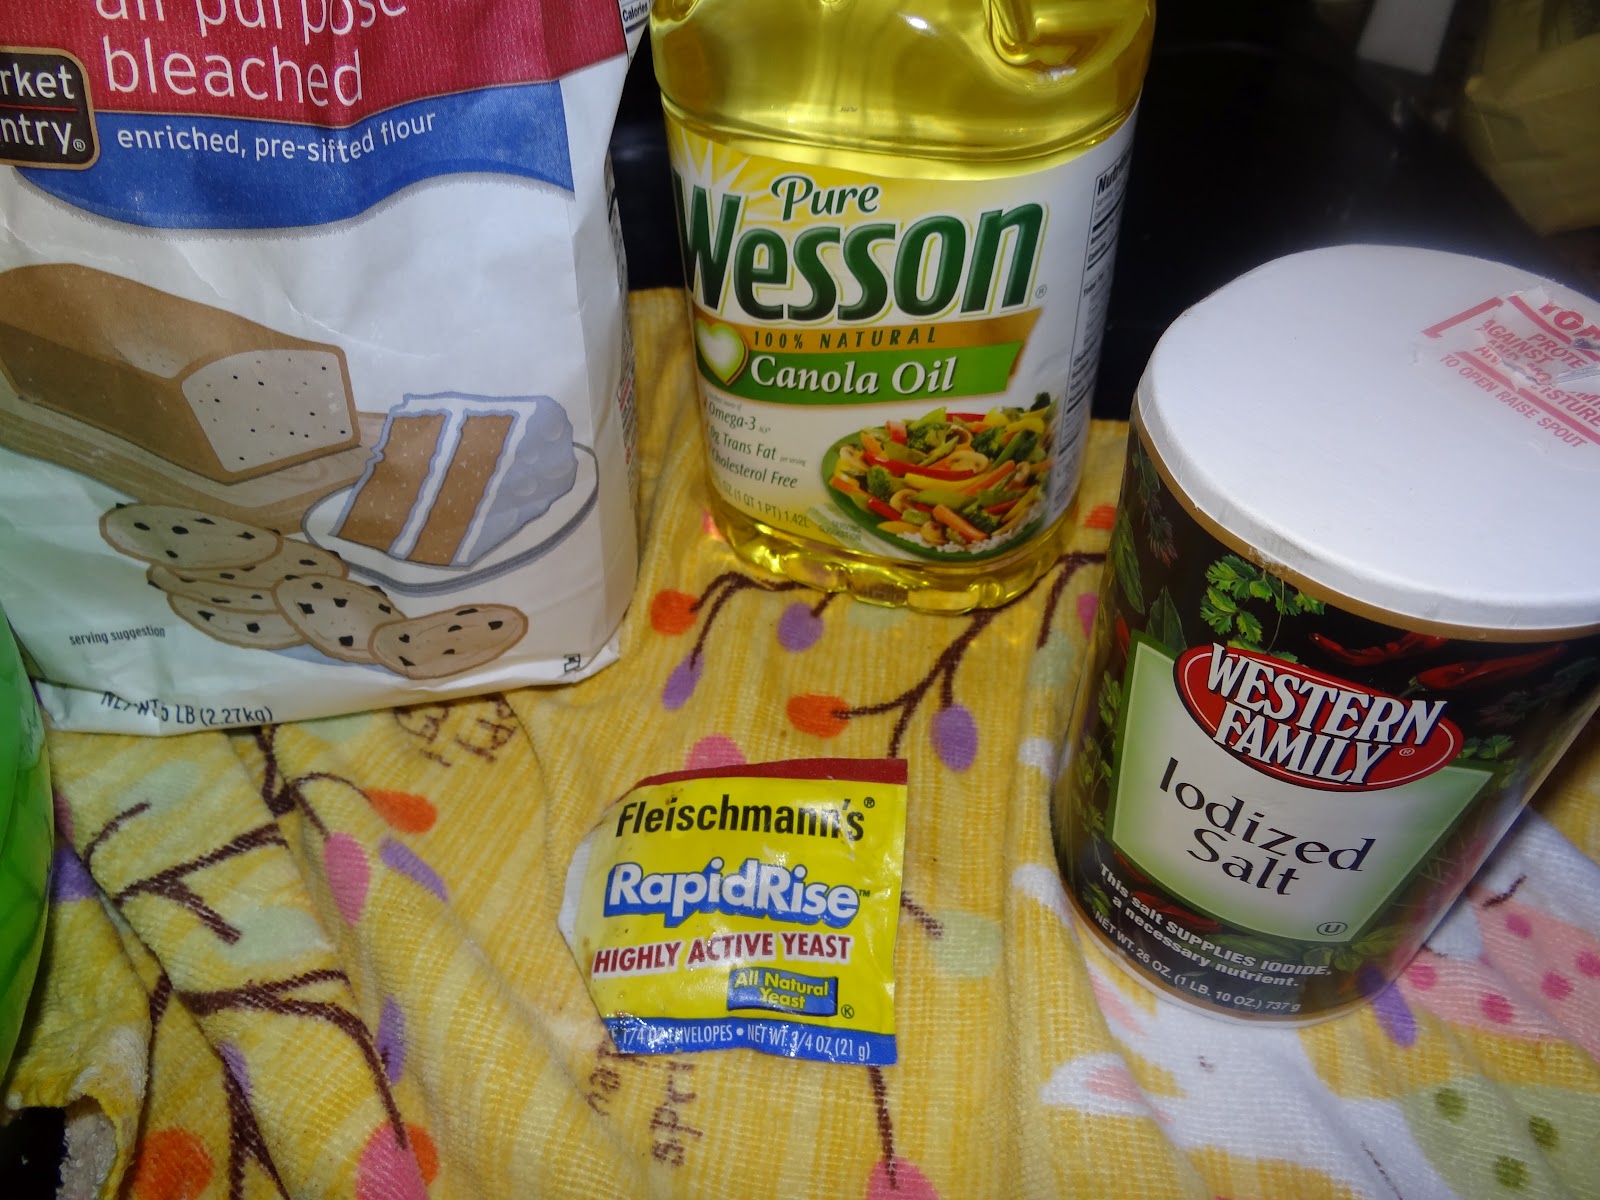
1 1/2 cups warm water
2 tablespoons light brown sugar
1 package active dry yeast
3 ounces unsalted butter, melted
2 1/2 teaspoons kosher salt
4 1/2 to 5 cups all-purpose flour
Vegetable oil
3 quarts water
3/4 cup baking soda
1 whole egg, beaten with 1 tablespoon cold water
Coarse sea salt
For the cheese sauce:
½ Tablespoon unsalted butter
½ Tablespoon all-purpose flour
½ cup milk
8 ounces Cheddar cheese, grated
Directions for Soft Pretzels 
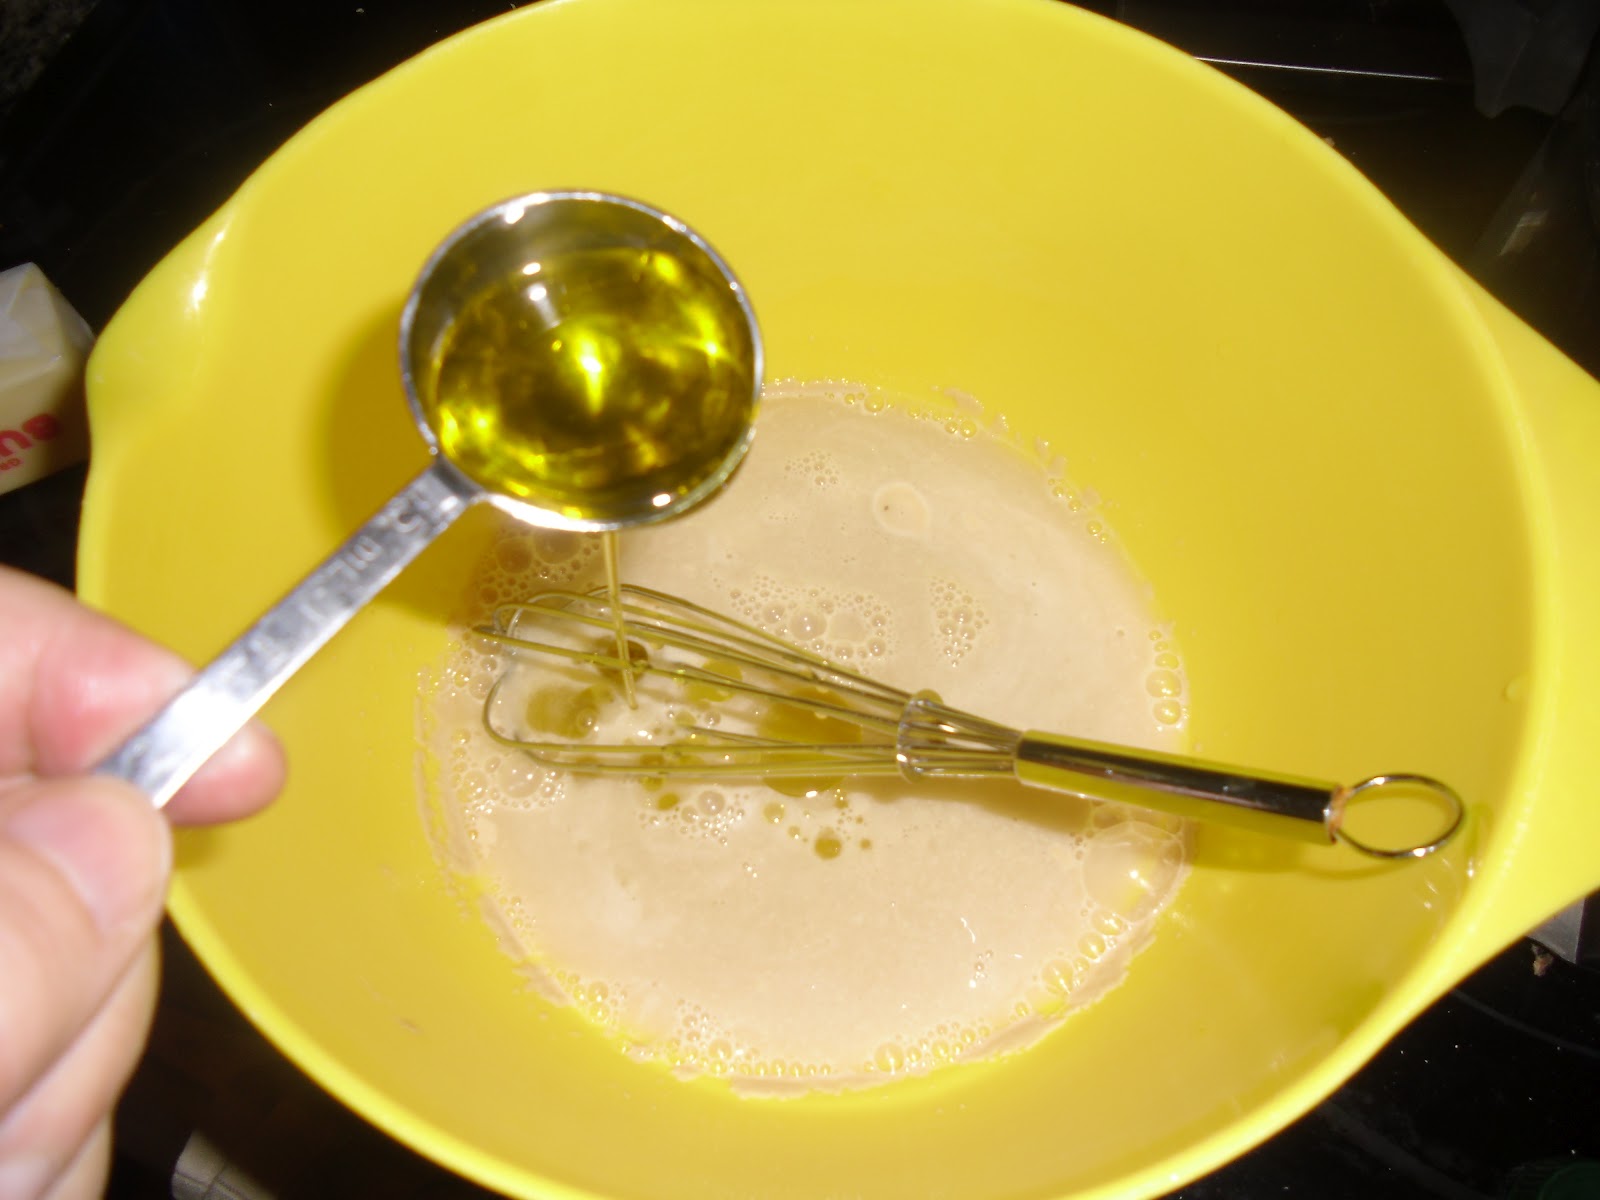
Combine the water, sugar, yeast, and butter in the bowl of a stand mixer and mix with the dough hook until combined. Let sit for 5 minutes.

Add the salt and flour and mix on low speed until combined. Increase the speed to medium and continue kneading until the dough is smooth and begins to pull away from the side of the bowl, about 3 to 4 minutes. If the dough appears too wet, add additional flour, 1 tablespoon at a time. Remove the dough from the bowl, place on a flat surface and knead into a ball with your hands.

Oil a bowl with vegetable oil, add the dough and turn to coat with the oil. Cover with a clean towel or plastic wrap and place in a warm spot until the dough doubles in size, about 1 hour.
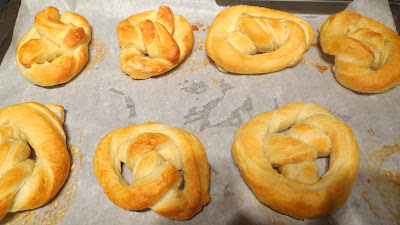
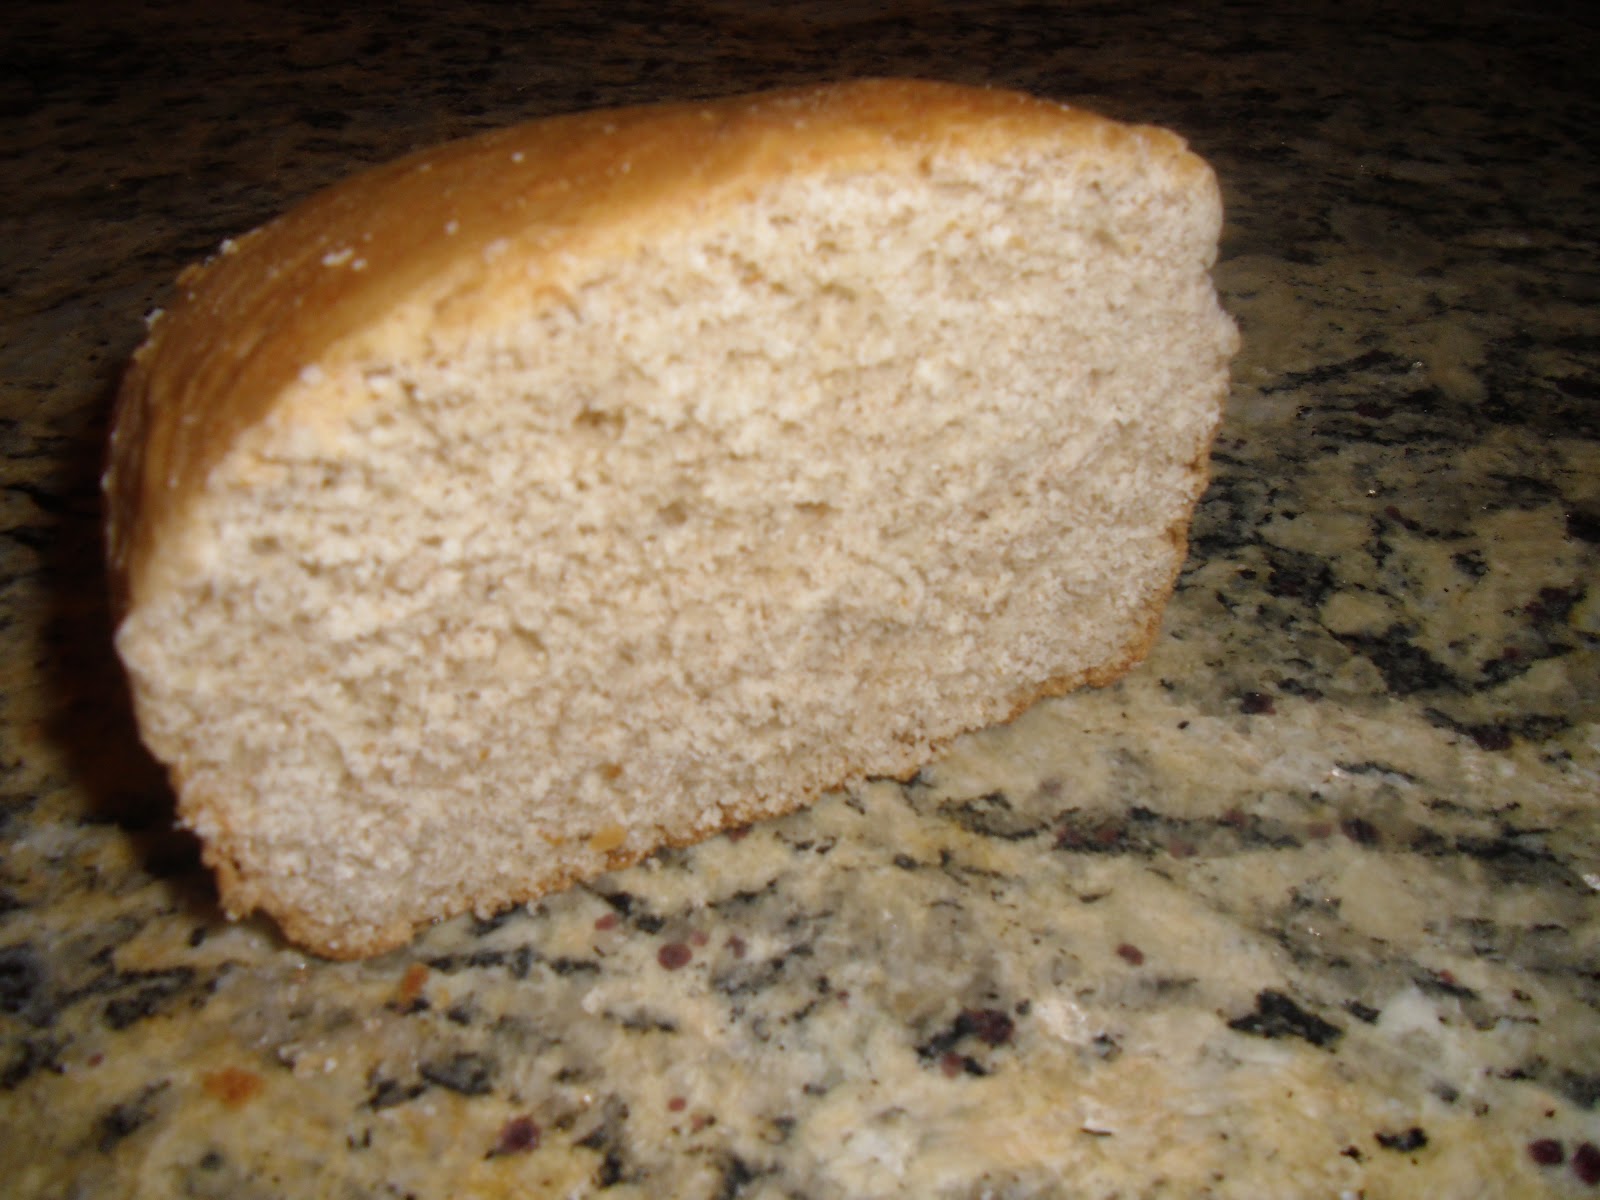
You boil them first, then bake them second. They turn out great every time! 

Preheat the oven to 425 degrees F.

Bring the water to a boil in a large pot over high heat and add the baking soda.


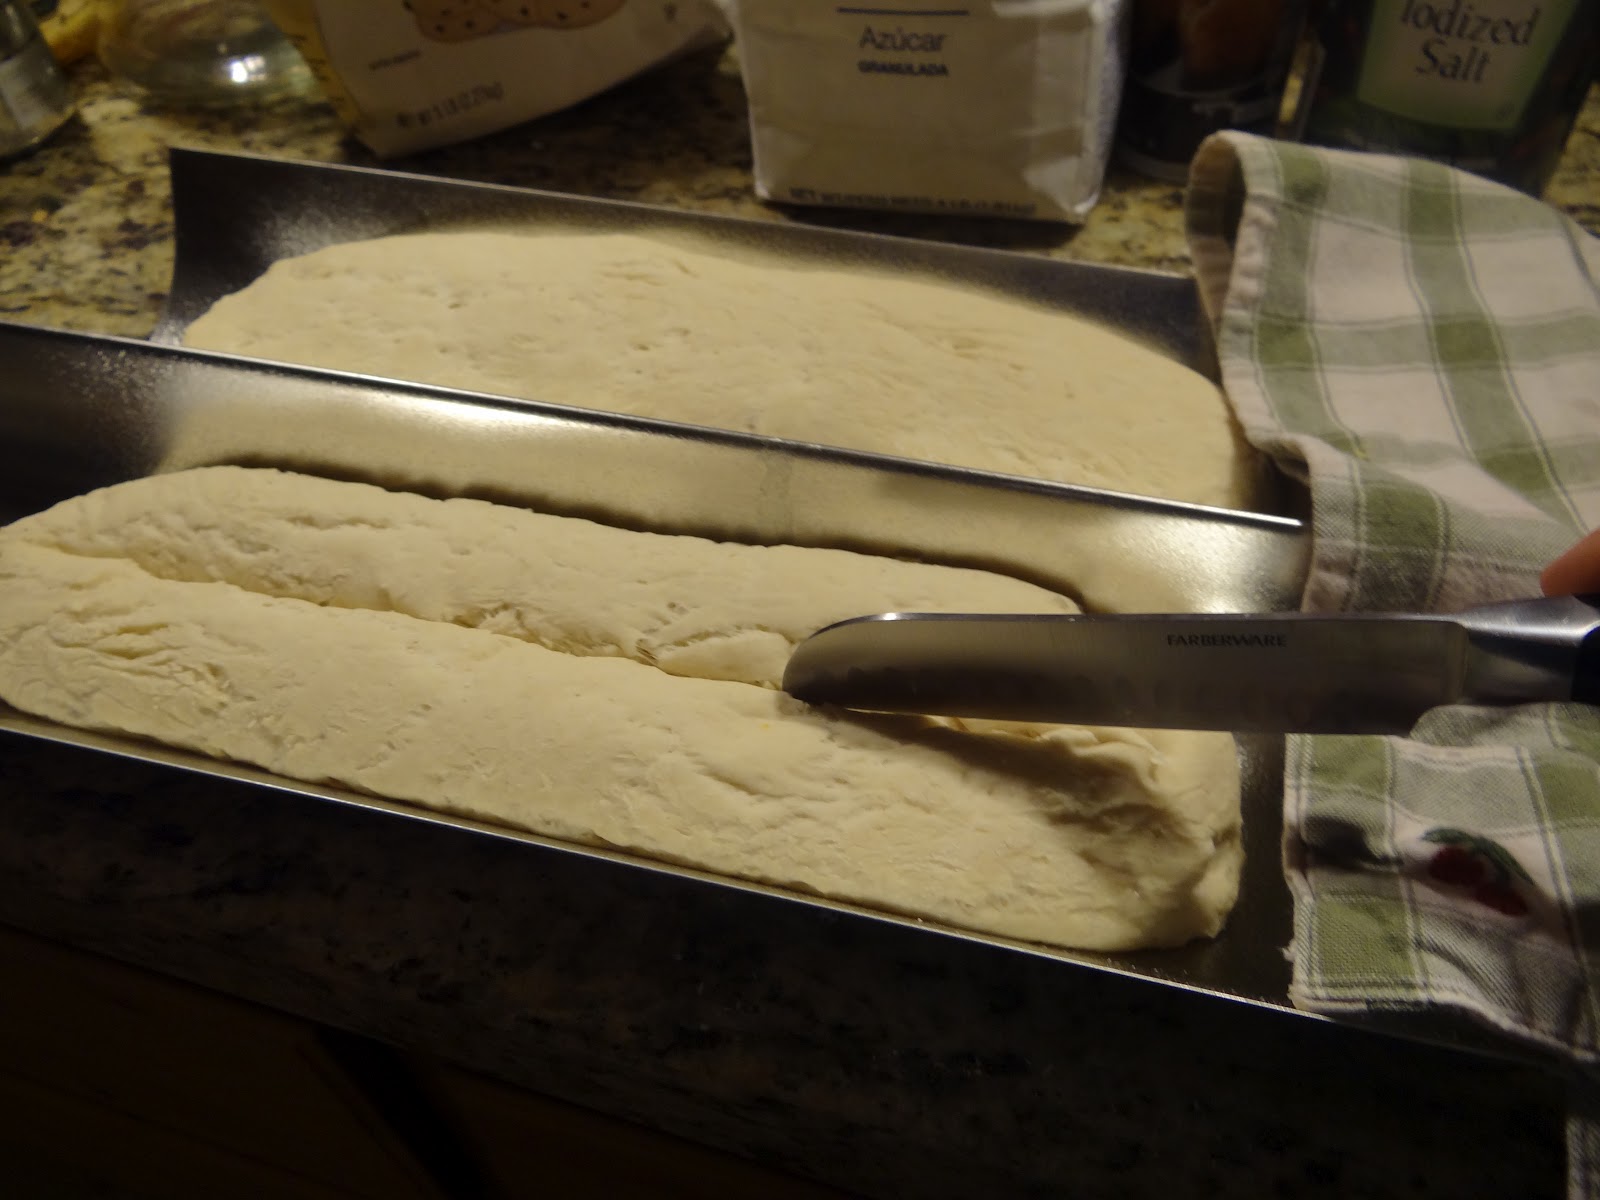
Remove the dough from the bowl and place on a flat surface. Divide the dough into 8 equal pieces, about 4 1/4 to 4 1/2 ounces each. Roll each piece into a long rope measuring 22 inches and shape. Cut the dough into one inch pieces to make the pretzel bites. Boil the pretzel bites in the water solution in batches. We did about 15 bites at a time. Boil for about 30 seconds. Remove with a large slotted spoon. Place pretzel bites on a baking sheet that has been sprayed with cooking spray. Make sure they are not touching. Brush the tops with the egg wash and season liberally with the salt. 

Place into the oven and bake for 15 to 18 minutes until golden brown.
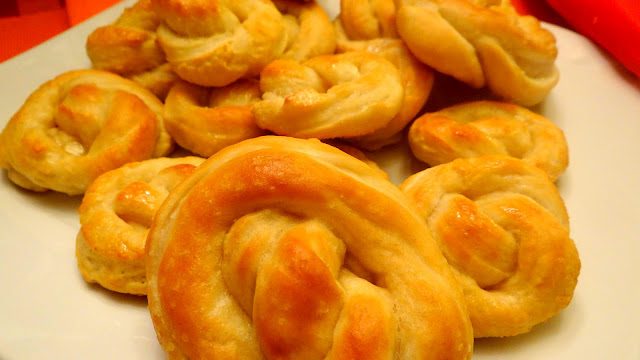
Those will be good Super Bowl Party foods, won’t they?
They’ll go nicely with PIGS IN A BLANKET  and CHICKEN WINGS FOR SURE! 

 SUPER BOWL PARTY…..COMING UP…! 


Brown Sugar Meatloaf

Sunday Dinner….Brown Sugar Meatloaf…
 I haven’t done a meat loaf in awhile and I’m craving one on this cold winters day.  I learned  a few yummy recipes from my mother that I can remember her teaching me….I was a newlywed when I got this one….
Yummy brown sugar meatloaf....

 She didn’t like us kids in the kitchen when she cooked. (Now of course I know why!) But I did learn how to make her meat loaf. It was delicious. I always loved meat loaf night.

The ketchup I use is always Heinz. It’s the best!

The sugar/ketchup mixture….I had about a third of it to the mix before baking it….
.the rest is for topping it after it’s baked awhile …

 Sometimes she would add leftover cooked rice to the meat loaf recipe and roll the mix into meatballs and then call them porcupines. I loved those too. You could do that too. I added brown sugar to this recipe to ramp up the flavor even more. It makes it just that much better.

Vidalia Sweet Onions are the best in recipes…

I saute the onion a bit before adding it to the meatloaf….I don’t love crunchy onions in my meatloaf!

 I always try to add sweet Vidalia onions or a sweet white onion when I can find them in the market. They are usually at Costco too. But sometimes I don’t want a 20 pound bag of onions, you know?  

I use Johnny’s and Lemon Pepper for seasoning my meatloaf….

Mix up meat, crackers, onions and about 1/3 of the sauce and 2 eggs, and spices….

The basic recipe is just ground beef,round or saltine crackers, eggs, ketchup, onions, brown sugar, season salt and pepper.  I toss in a little lemon pepper too.

Meatloaf before sauce….Just pour sauce on top after it’s baked for 30 minutes…then bake another 30 minutes…

I have also made this recipe into 2 mini loaves and put one in the freezer  (topped with ketchup mixture) for another meal since there are only 2 of us now.  That makes a nice treat when you come home from work tired and hungry. You have one to just pop in the oven!  Serendipity! 

Here’s the one I covered with foil and put into the freezer for sometime next  month….

RECIPE FOR MOM’S MEATLOAF (BROWN SUGAR ADDED)

I added a sweet potato and a side salad and raspberry jello with raspberries and blueberries for dinner…..

INGREDIENTS FOR BROWN SUGAR MEATLOAF

  • 1/3 cup dark brown sugar 
  • 3/4 cup ketchup       Mix these 2 ingredients and set aside
  • ———————————————
  • 1 1/2 lbs ground beef 
  • 2 eggs
  • 1/4 teaspoon black pepper
  • 1/2 Vidalia onion diced
  • 3/4 teaspoon Lawry’s Season Salt
  • A few shakes of lemon pepper
  • 3/4 cup saltines finely crushed or Ritz crackers
  • 1/3 to 1/2 of the sugar/ketchup sauce mixed into meat mixture

  • DIRECTIONS:
  • Mix brown sugar and ketchup and set aside. Then mix the rest of the ingredients in a separate mixing bowl. Add 1/2 the ketchup mixture to the meat mixture and stir together. Then form the meat mixture into a  roll into a bread pan or a shallow 9 x 9 casserole dish.

  • Bake in the oven for  55 to 60 minutes at 350. After 30 minutes take out the meatloaf and pour off some of the fat. Then I add the brown sugar/ ketchup on the top and smooth out with a spatula. 
  • Mom’s Yummy Meatloaf….with a little sweet improvement! 

  • Bake the remaining 25 to 30 minutes.  Let meatloaf set out for 10 minutes to rest a bit before slicing for serving as it will stay together better. Enjoy! 
  • Rumbi Mango Chicken Salad

    Rumbi MANGO CHICKEN SALAD

    Rumbi Mango Carribean Chicken Salad….my style! 

    HERE is a link to the delicious salads at Rumbi, one of my favorite restaurants here in Utah.  They use lots of fresh Caribbean ingredients in their salads and fruity tasting vinaigrettes.

    A whole meal chicken salad that I love, love, LOVE! 


    It has diced mango, Feta cheese, diced red peppers, red onion,  tortilla strips, chicken and salad greens with a mango-passion fruit dressing that will be kinda hard to recreate. But I will try.


    INGREDIENTS FOR MANGO CHICKEN SALAD

    White chicken breast meat cut into chunks (about a cup)
    3 cups chopped Romaine Lettuce 
    1/3 cup red pepper diced into pieces
    1/4 cup red onion, sliced very finely and then diced tiny
    feta cheese crumble a tablespoon over each salad when serving
    1 mango diced into half inch squares
    toasted slivered almonds (I add a bit of white sugar while toasting)
    tortilla strips over the top (or make your own by frying a corn tortilla in oil)


    Sweet Salad Dressing
    1/4 cup frozen orange juice from concentrate 
    1 Tablespoon fresh lime (or refrigerated lime juice)) 
    1/3 cup rice vinegar or apple cider vinegar
    1/4 cup sugar 
    1/3 cup salad oil
    1/4 teaspoon ginger
    1/4 teaspoon Lawry’s or Johnny’s Seasoning Salt
    A few shakes of pepper

    This is a great low calorie salad too! Just use orange citrus vinaegrette if you’re in a hurry!


     The Rumbi Chicken salad has slivered almonds and red peppers…Just imagine it WITH the tortilla strips that I forgot…. 

    I pour everything into my blender except the oil and mix it up. Then slowly I add a few tablespoons of oil at a time to thicken up my sauce and emulsify it.  It is super easy and so delicious. You won’t want to buy bottled dressing ever again. But if you don’t want to try the dressing a good substitute is this one. 

    Orange Citrus Dressing from Litehouse….this is also a really good salad dressing!

    It’s called Litehouse Orange Citrus.  Another one I love is Kraft Light Raspberry Vinaigrette. Both are good with this salad.  I am also going to add some candied nuts.  I love those in salads and a lot of times I ask Rumbi to add them to mine for an extra charge.  I have slivered almonds on hand so I’ll put those in a frying pan and toast them with some regular sugar.  Enjoy! 


    Hawaiian Haystacks

    I must be on a Hawaiian kick. My last 2 blog posts were foods with rice and pineapple and the word “Hawaiian” in them. Do you think I’m subconsciously wishing for a Beachy,  Hawaiian vacation right about now, in the middle of a Utah winter? I think that’s highly possible!

    Hawaiian Haystacks 

    Toppings for Hawaiian Haystacks 


    Yeah.  Could be.  It was so cold the last few days. And I should know. I had recess duty during the day AND after school and it was snowing and super WINDY on Monday. My umbrella that I was holding kept doing the backward blow up thing and then would almost send me down the street like Mary Poppins. It was embarrassing! And I had the crosswalk detail so everybody picking up their kids after school SAW ME being blown around and my umbrella pulling tricks. Just call me Mary.  I felt like a big geek in a snowsuit!  So I long for the white beaches and sun and unfettered relaxation of a Hawaiian Island.

    I love the crunch these chow mein noodles add…

    Add Cream of Chicken soup, sour cream, milk and spice it up with Lawrys or Salt and Pepper….that’s it! 

    I like slivered almonds to top my Hawaiian Haystacks….

    The kids love coconut….
    Have to have a cherry on top!  Or a handful! 

    But since I can’t wrangle that for now, I can at least eat yummy food with the taste of Hawaii in it.  This recipe is easy, quick and really yummy.  And it’s a great choice if you have to feed an army or a crowd at a party. My sister-in-law served this at her son’s missionary farewell before he left for Texas. It was yummy!

    I diced up some cooked carrots….. chow mein noodles and slivered almonds….

    And lots of fresh fruit and veggies…..

    The hubs likes my Hawaiian haystacks……..that sounds a little weird saying it out loud tho….hehe…

    So here are the easy ingredients for the basic chicken mixture that goes over rice.  Then the toppings are whatever you decide you want to add. I use one of those veggie and dip platters when I’m doing it for a crowd. You can find them at the dollar store for…..well…..A DOLLAR!  I use them when I’m doing cookie decorating in my classroom too. They are very versatile for putting out little piles of stuff.

    HAWAIIAN HAYSTACKS RECIPE

    Here is the Chicken base all mixed up….then I just microwave it to warm it …

    RECIPE INGREDIENTS
    Hawaiian Haystacks
    2 cans cream of chicken soup  (or use large family sized can)
    3  chicken breasts diced
    1 t. salt  (or Lawry’s Season Salt)
    1/8 t. pepper  
    1/2 cup sour cream
    3/4 to 1 cup of milk 
    3  cups Steamed Rice

    My finished plate of Hawaiian Haystacks….a work of art really!  

    DIRECTIONS
    Boil the chicken and dice up.  Mix soup, salt and pepper, milk and sour cream and milk. 

    I boiled 3 chicken breasts with a handful of carrots…..


    Cook rice until tender. I have a rice cooker so I added around 2 1/2 cups.  Put soup mixture on top of rice and top with any or all of the following:

    Toppings: Canned pineapple tidbits, mandarin oranges, grated cheese, slivered almonds, chopped red pepper, celery, olives, diced tomatoes, chow mein noodles.

    Veggie and fruit toppings….


    Well, now he’s just acting like Vanna White…he’s such a tease! 

     It’s really filling, and everybody can pick their own preferences for toppings. That makes it even more of a fun meal. You can see my husband is having fun doing his own toppings…LOL.  Actually I made him pose…he’s just a good sport. :O

    He doesn’t like the fruit as much….he’s more of a veggie man….

    He does like the almonds and the white grated mozzarella cheese….

    Hawaiian Haystacks……..My plate is still prettier than the hubs………just sayin……..

    This recipe for Hawaiian Haystacks is a KEEPER!   Enjoy!  

    Hawaiian Chicken and Rice Stir Fry

     My hubs loves rice. And I love Teriyaki sauce. But not from a bottle. I have never found one I can even stand at all. So I try different recipes and layers of flavor. I like this sweet Hawaiian sauce. It can be a sweet and sour sauce. It can be a Hawaiian sauce. And it’s pretty good.

    Hawaiian Chicken and Rice  Stir Fry


    Progressive Vegetable Chopper…..GREAT gadget!
    I use this handy dandy Progressive veggie chopper to do my peppers and carrots…..

    It’s kinda like the “Slap Chop” advertised on T.V. but it’s only about $30 bucks.
    Slap it…..and it chops up the veggies pretty quickly and perfectly!  

    Here are my veggies chopped up and ready to stir fry (I just use an oiled fry pan)


    Then while they are frying up for just about 5-7 minutes I make the sauce….

    My Sweet Sauce……It tastes like a light, sweet, Teriyaki sauce….

     If you really like the taste of soy sauce, you could add a bit more. I don’t love it so I only put a small amount in mine.  I like a sweet sauce….so I add lots of pineapple juice, brown sugar and the ketchup gives it a little kick. It is not really thick, not too powerful either….I like it!

    Here are the veggies all stir fried…with Hawaiian sauce added…..

    Pour the veggies out on a plate for serving.  If you have kids they will pick out the veggies they don’t want before adding them to their rice.  Then use the same fry pan and do the chicken. I baked mine, then sliced it like it is here…..then I added it to the empty veggie fry pan and added some sauce….and just stir fried it for a few moments to coat the chicken.

    Then I slice up and add the chicken to the fry pan….and add a few Tablespoons more  of sauce to  it! 

    Then when the rice is ready it’s time to put it all together! Then pour a few spoonfuls over rice.  Yummy!  It’s healthy and colorful and the hubs LOVES it.  I made enough to put in Rubbermaid containers for our lunches the next day.   

    If you want to….make a big vat of it and freeze half of it in a zip lock baggie…..for another meal! 

    It would be good with fresh mushrooms too…and I added a few stalks of celery to this batch too….I
    use whatever veggies I have on hand….broccoli is good with this recipe too! 

    Let’s EAT! 

    Sweet and Sour or Hawaiian Sauce:
    3/4 Cup (basically the juice of 1 can) of  pineapple juice
    1/4 Cup of  soy sauce
    1/3 Cup of  rice vinegar
    1/2 Cup of  brown sugar
    2 T ketchup 
    1 1/2 T corn starch
    Chicken Tenders – About 10 or 2-3 chicken breasts sliced up 
    (or you could use small meatballs too)
    1/4 Sweet onion (Like a Vidalia) chop into 1/2 inch pieces
    3/4 cup green or red pepper diced into 1/2 inch pieces
    Sugar snap peas or Japanese pea pods
    handful of thinly sliced carrots or diced carrots
    1/2 Cup pineapple tidbits (or 3-4 rings, sliced into tidbits)


    DIRECTIONS:

    My Sauce Stuff…..plus the pineapple juice….


    Stir fry all the veggies with a few tablespoons of oil.  Drain. Then  add 2 Tablespoons of the sauce over the veggies. You can stir fry the chicken in a separate fry pan with a little oil adding the sauce at the last 3 minutes.  Or if I am in a hurry I separately bake the chicken covering it in foil and adding the sauce the last 15 minutes of cooking). Then slice up the chicken and add to the vegetables.  Steam a few cups of rice in a rice cooker.  Then add rice to the plates, cover with the veggies/chicken mixture. Add a few tablespoons of sauce drizzled over the plate of veggies, chicken and rice.  Serve and Enjoy!