 |
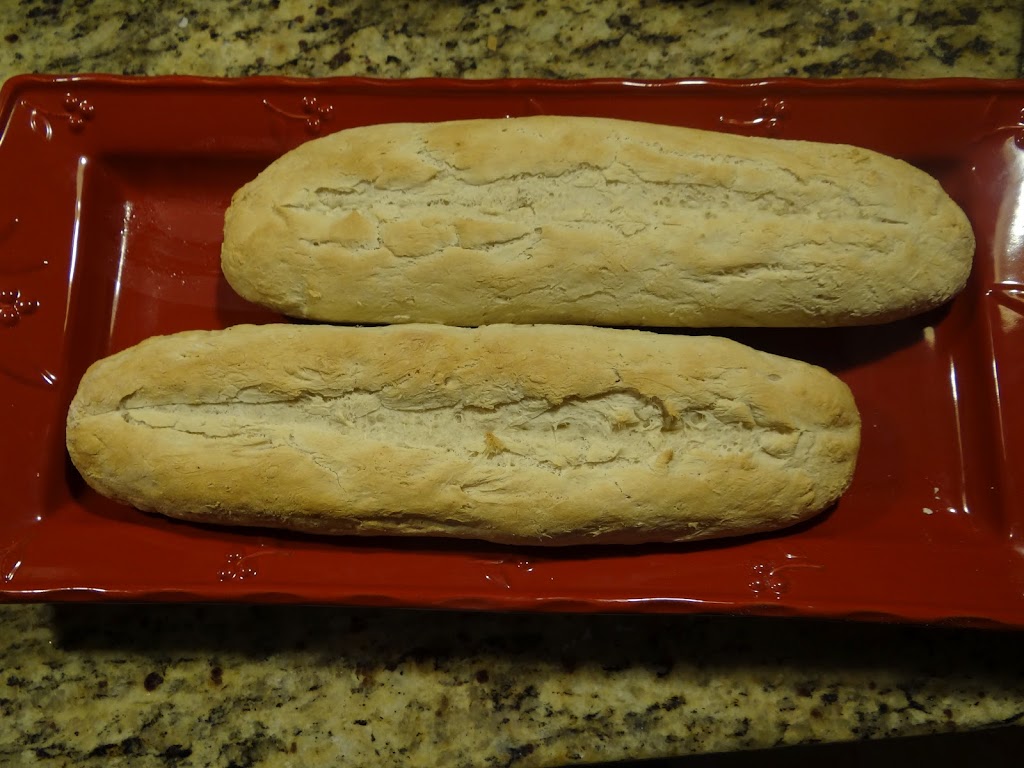
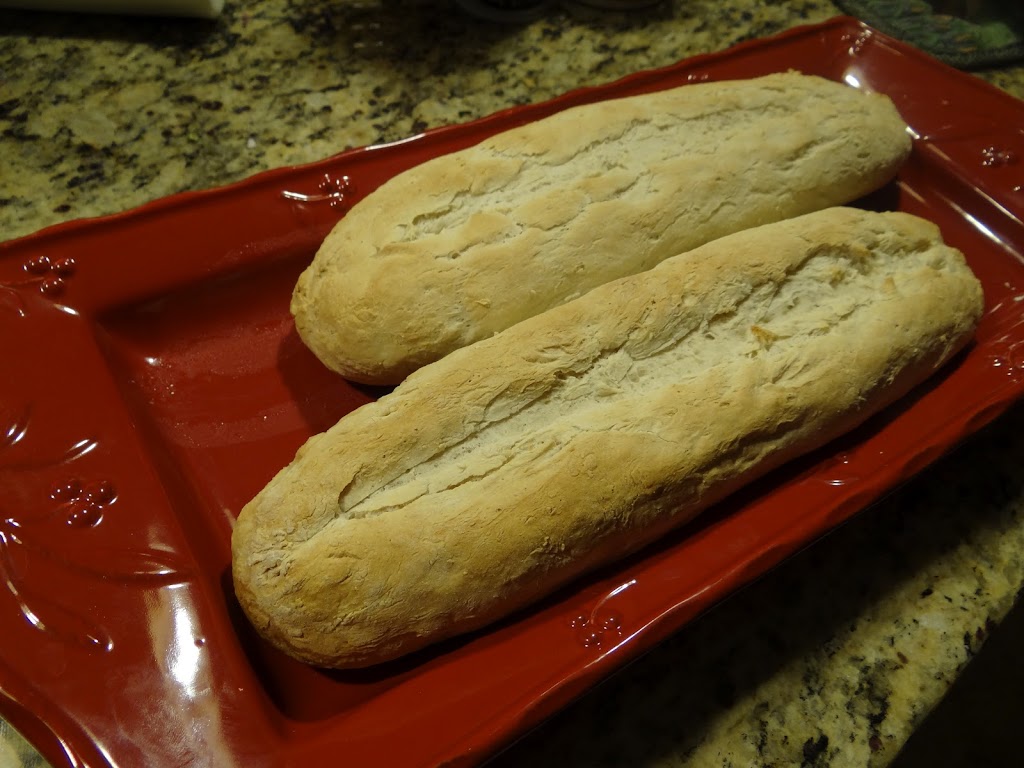
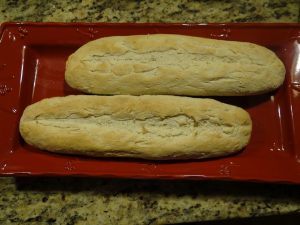
| And here they are, hot out of the oven! French Baguettes are light and crispy! |
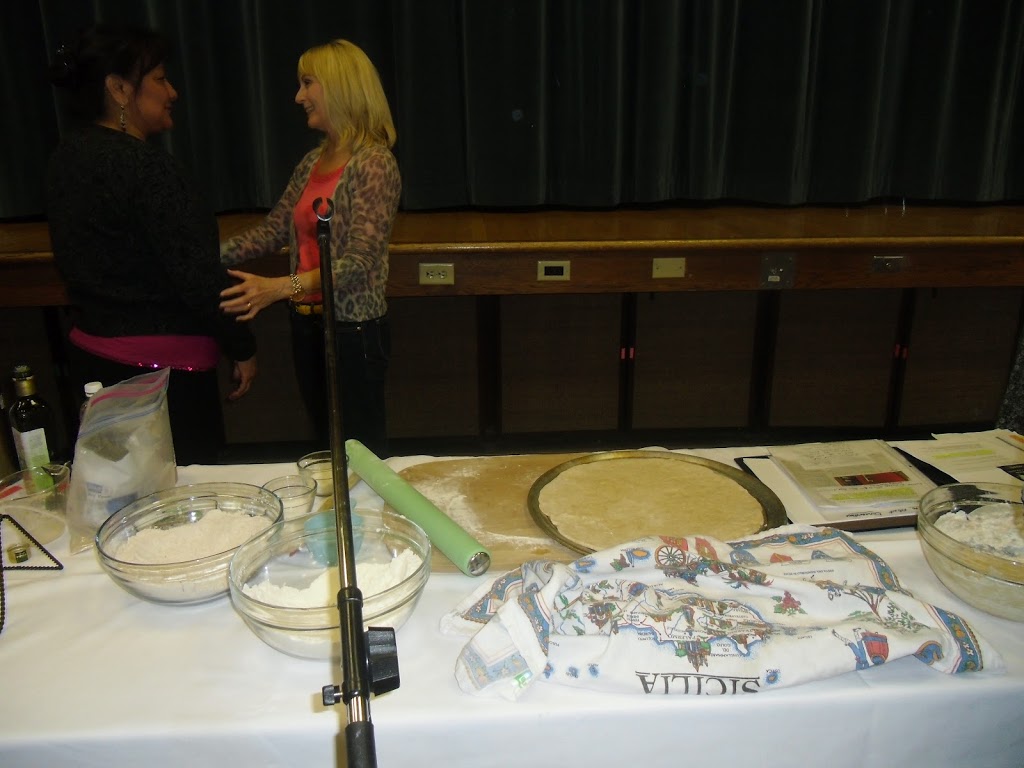
Awhile back I went to a great cooking class and listened to a master cook and teacher named
“The Food Nanny”. She was just delightful and fun to listen to. She had so many food stories I could have listened to for hours. Here is her book. It is less than $20.00 on Amazon.
ck out her book, she has such a great meal plan to help families eat dinner together and stay close!
I didn’t have my purse with me so I didn’t get an autographed copy of it! DARN! But I DID get her to take a picture with me, when I told her I had a food blog. Isn’t she cute?
 |
| She’s a mom and a grandma too! (and she loves being a grandma best!) |
 |
| She made pizza dough and french baguettes both in under an hour…. |
Anyway, she gave us all this fantastic recipe for French Baguettes! It takes literally 5 minutes to make. She showed us this cool baguette pan too. I ran right over after the lunch class and bought one at Spoons and Spice….. my fav cooking gadget store. They are having a huge moving sale, so if you are in the Salt Lake City area check it out at Spoons and Spice.
They had so many french bread pans to choose from and they were surprisingly CHEAP!
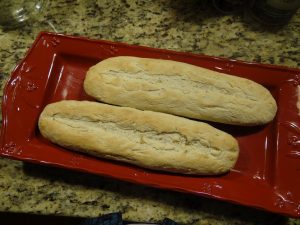 |
My finished french breads…..Don’t they look great? They are crunch on the
outside and soft in the inside…perfect to my taste….. |
 |
| French Baguette recipe….totally easy and seriously yummy! |
Then I went to work. A half hour later here were my baguettes. They taste just like a crusty french bread should. And no fat! She gave us all kinds of tips about meal planning that I thought were fabulous! In a nutshell here is her plan….
Sunday is traditional day…roast beef, chicken, those kinds of things.
Monday is Comfort food…chili, mac and cheese, easy stuff like casseroles….
Tuesday is Italian night….she does all her pastas here…she has tons of varieties….
Wednesday is Meatless night….soups, salads, fish, or breakfast for dinner, waffles, french toast, pancakes, bacon, etc.
Thursday is Mexican Night. Tacos, Enchiladas, mexican casseroles, burritos etc.
Friday is Pizza night and all the kids invite their friends over for her out of this world pizza varieties.
Saturday is Grill night. They do a lot of hamburgers or chicken on the grill.
Doesn’t that sound fabulous and fun? I thought so too. Gotta give that plan a try. The thing she stressed, that I really liked was how she said it kept her family together while her husband flew planes in the military and later for an airline. He was gone a lot. She was like a single parent. And dinner around the table every night added structure to her day and a bonding with her kids. They still all come back for Pizza night. She has many gourmet types of pizza as you can imagine. Her favorite is arugula, fresh mozzerella, cherry tomatoes and olive oil on thin crust. I’ll do that on a later post.
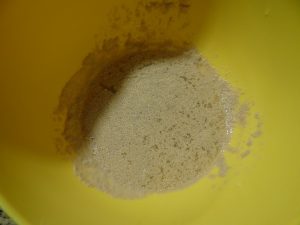 |
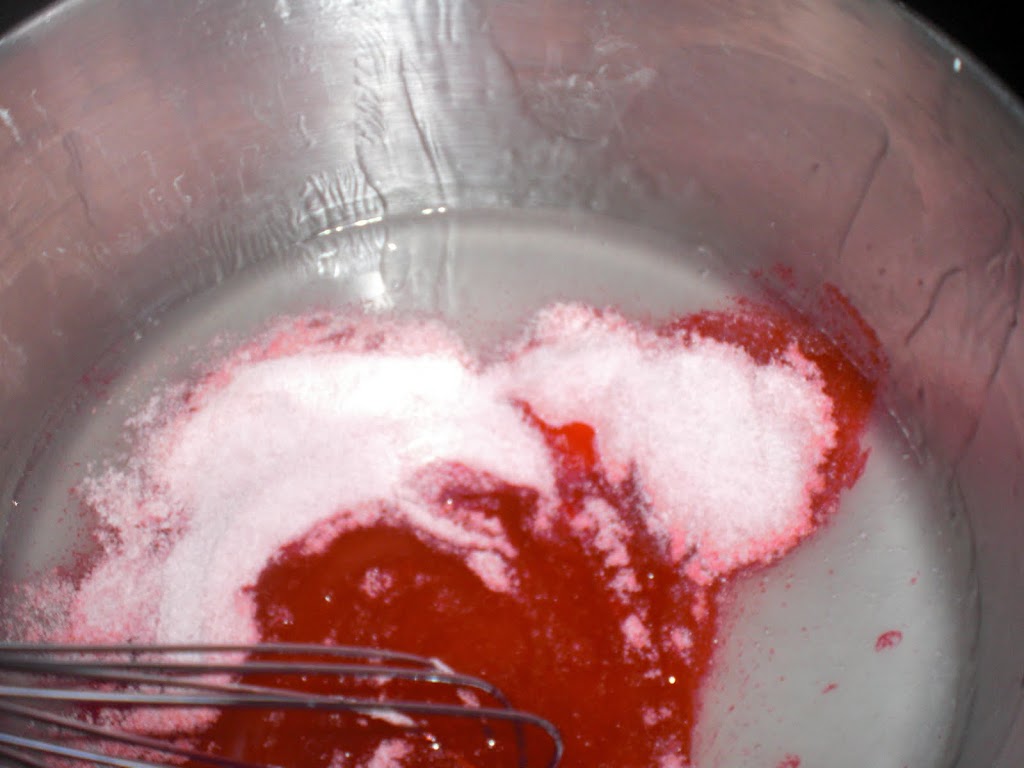
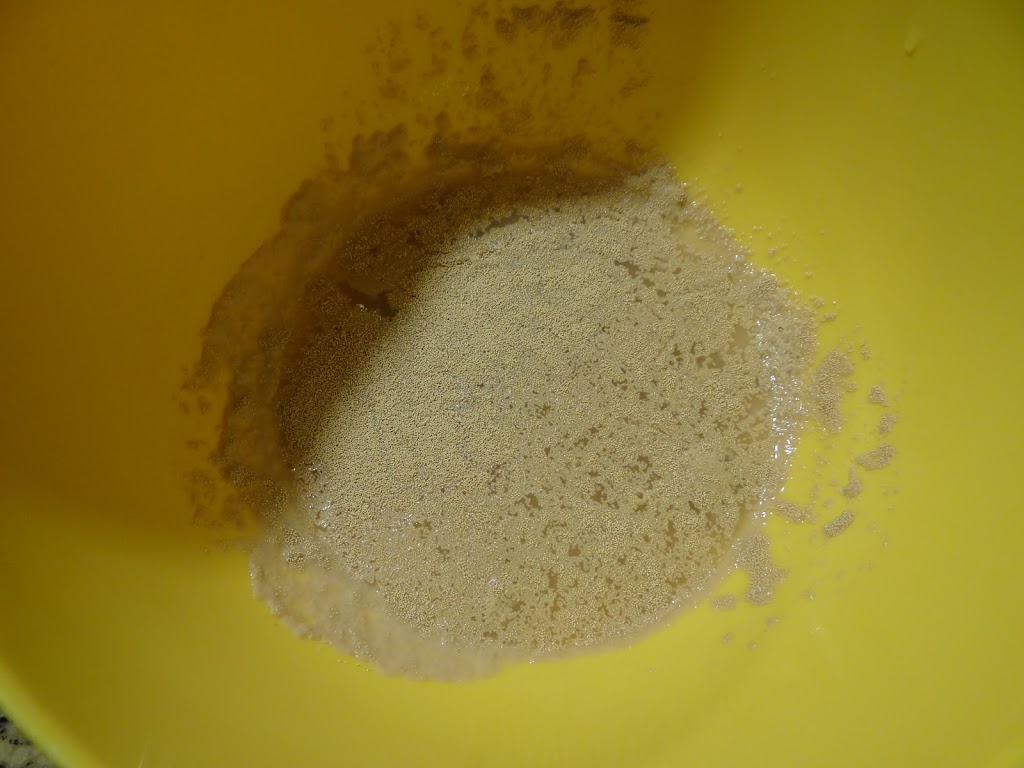
| Yeast mixed with warm water and sugar…..let it foam up a bit….. |
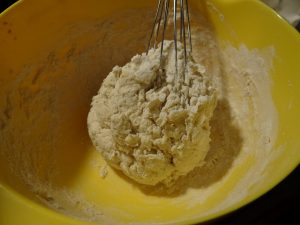 |
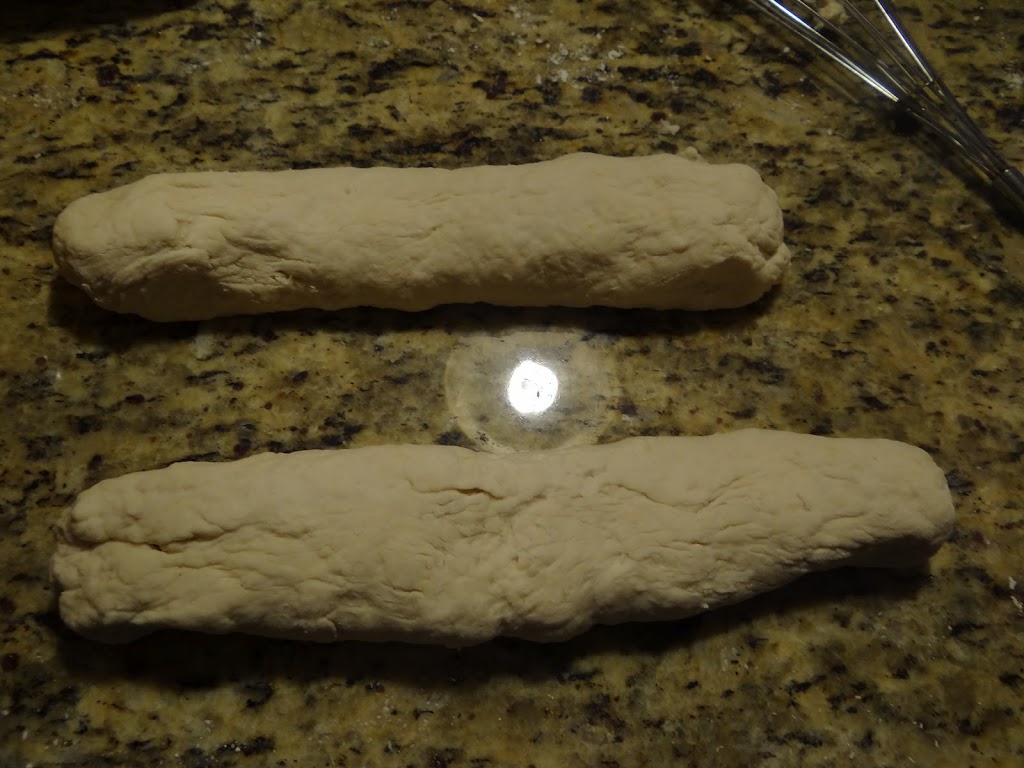
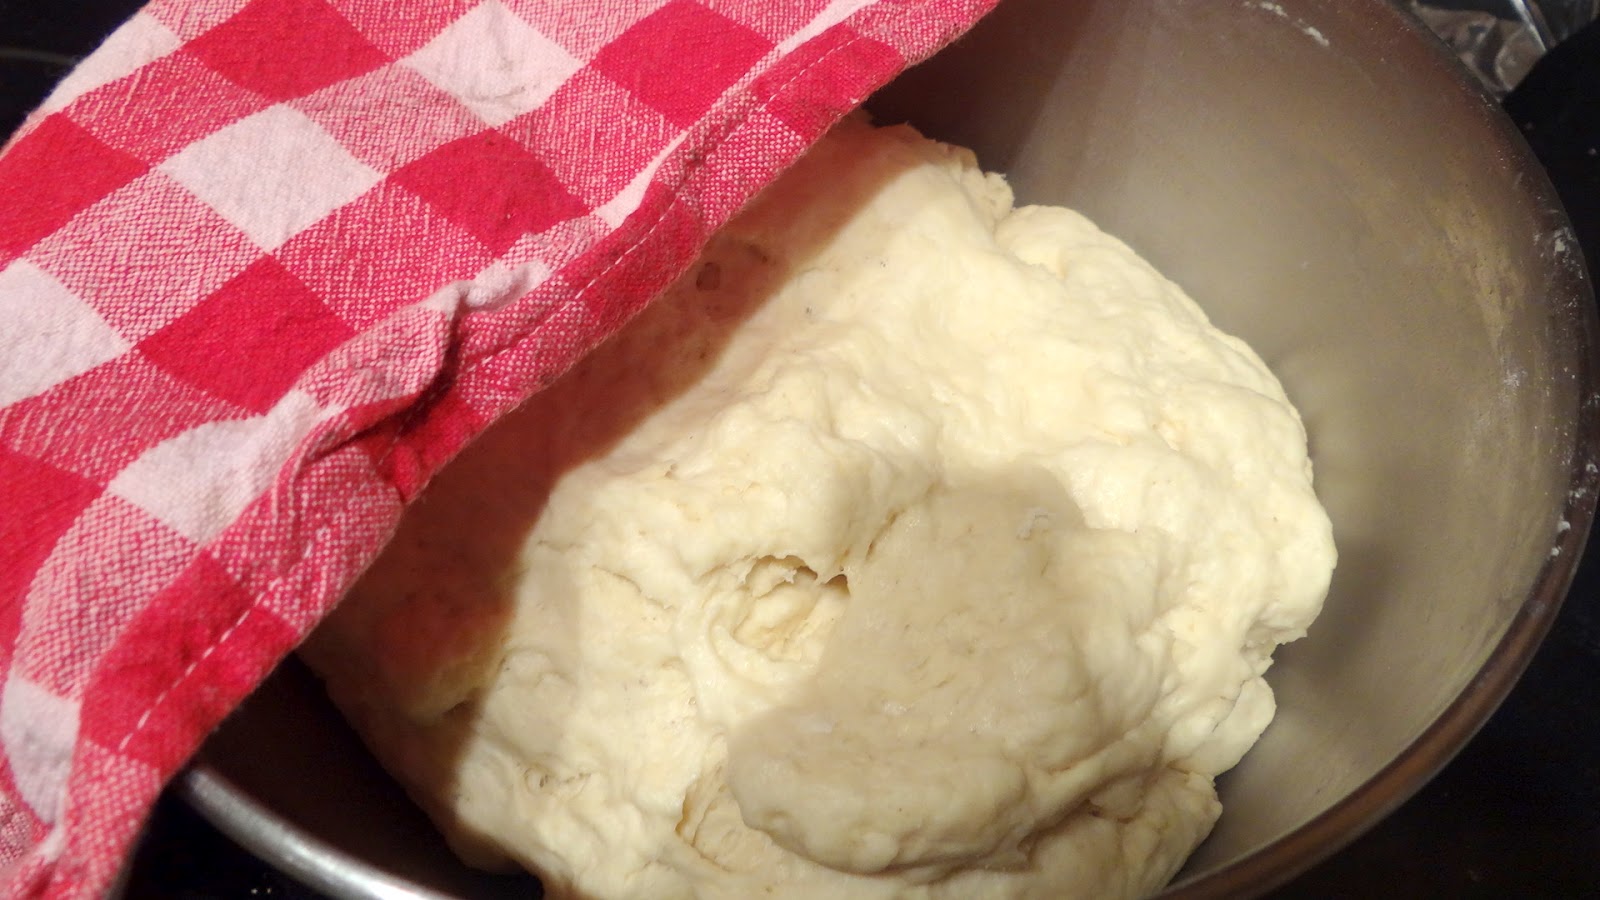
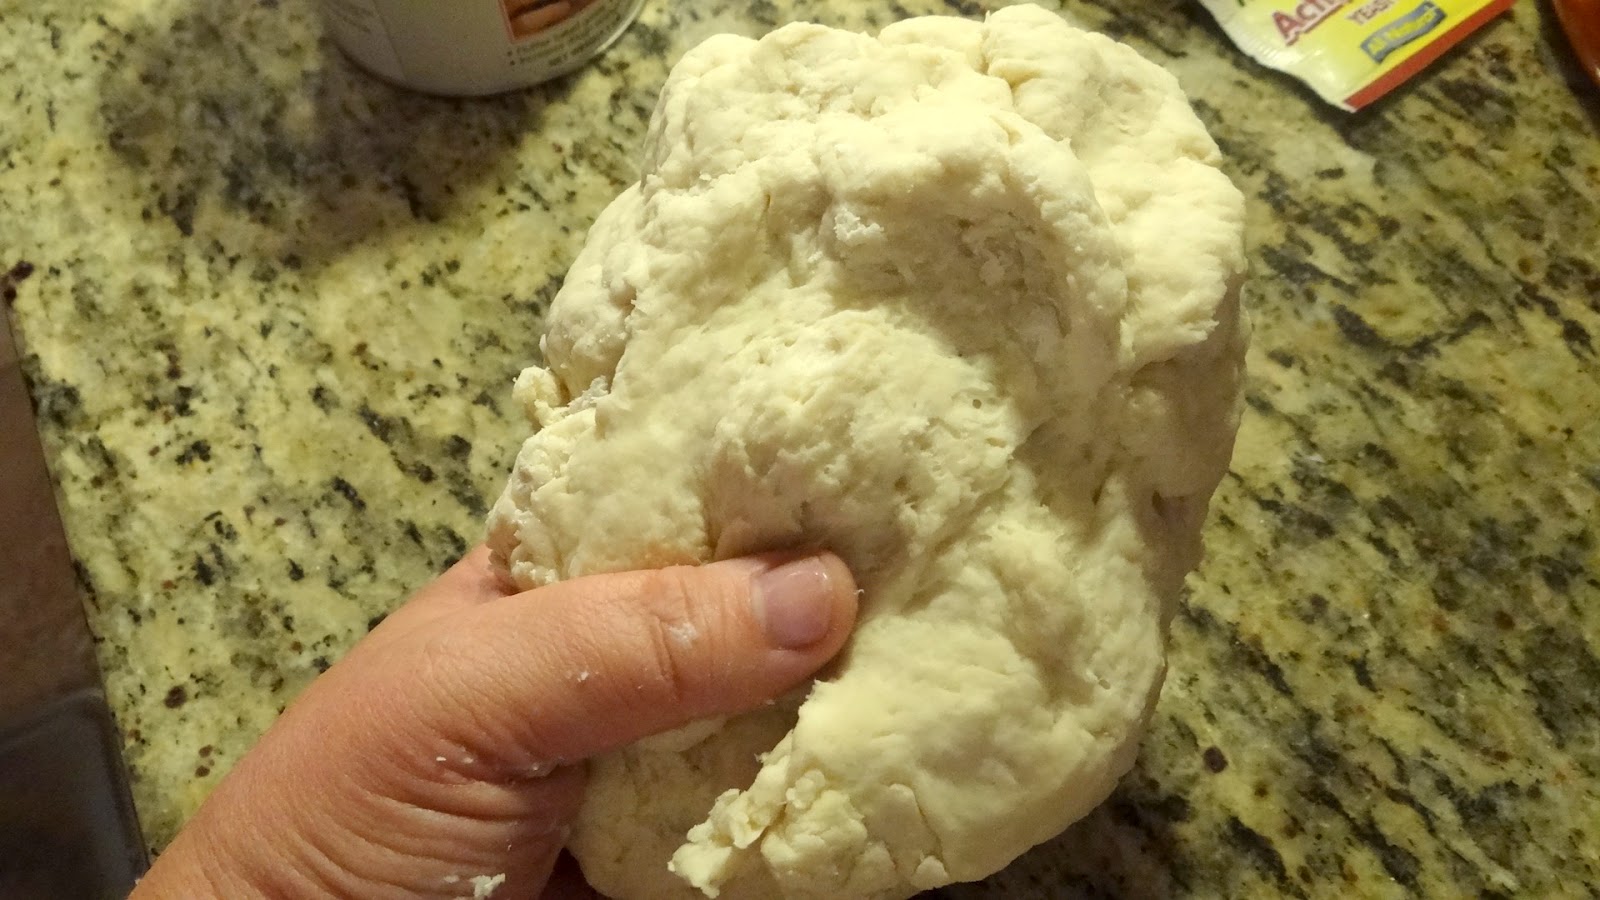
Then add the flour and salt and mix up with warm water….a little at a time until it is a nice ball….Then knead
for a minute on the counter…. |
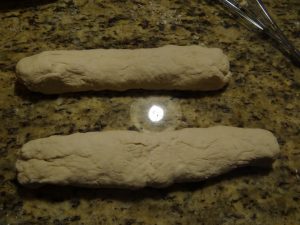 |
| Here are mine kinda kneaded and waiting to be put into the pan….took 5 minutes to make and roll! |
 |
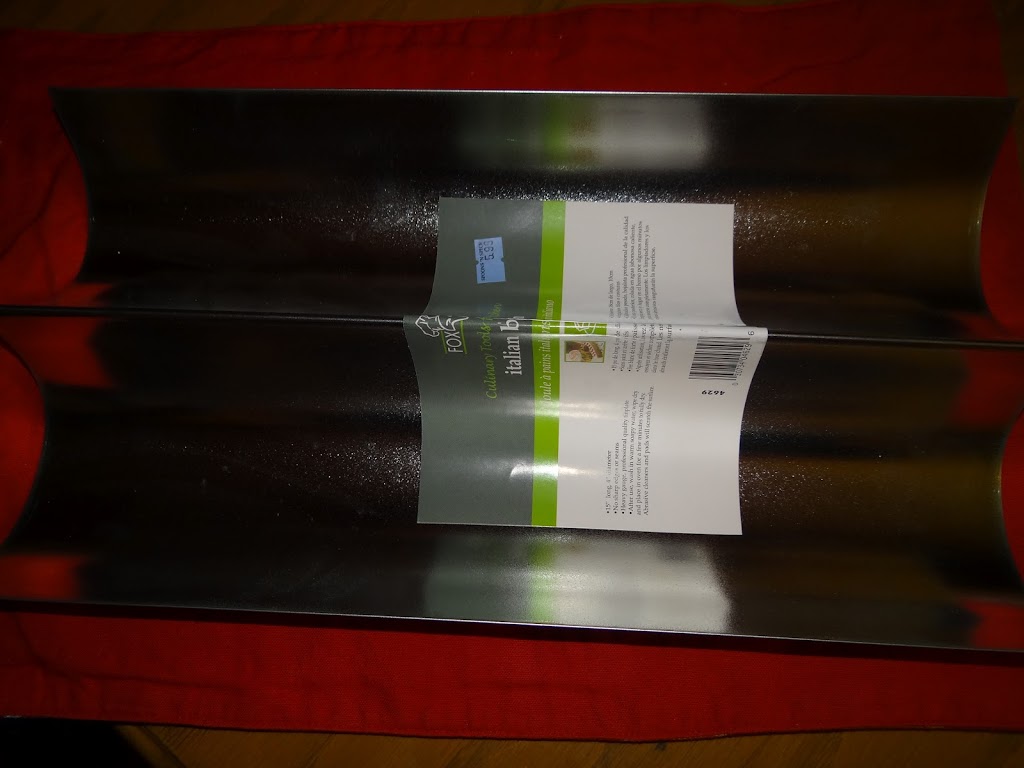
| I went over to Spoons and Spice to see if I could find a “Baguette Pan” |
HERE is a page full of coupons to Spoons and Spice. It’s a really fun place to browse around if you are a foodie like me.
 |
| Anyway it looks cool….it’s 2 long u shaped pans for breads…. |
The food nanny makes this bread and gives it away for people’s birthdays and special occasions. What a great gift idea and so quick. Who wouldn’t love some hot french bread homemade by you?
 |
| Here’s the Baguette pan. It was only $5.99 at Spoons and Spice! Or check these out! |
Recipe for French Baguettes… SO EASY!
1/2 Cup Warm Water
1 1/2 Tablespoons Yeast
1 teaspoon sugar
1 teaspoon salt
3 1/4 cups flour add a cup at a time
Add up to one cup warm water to get perfect consistency
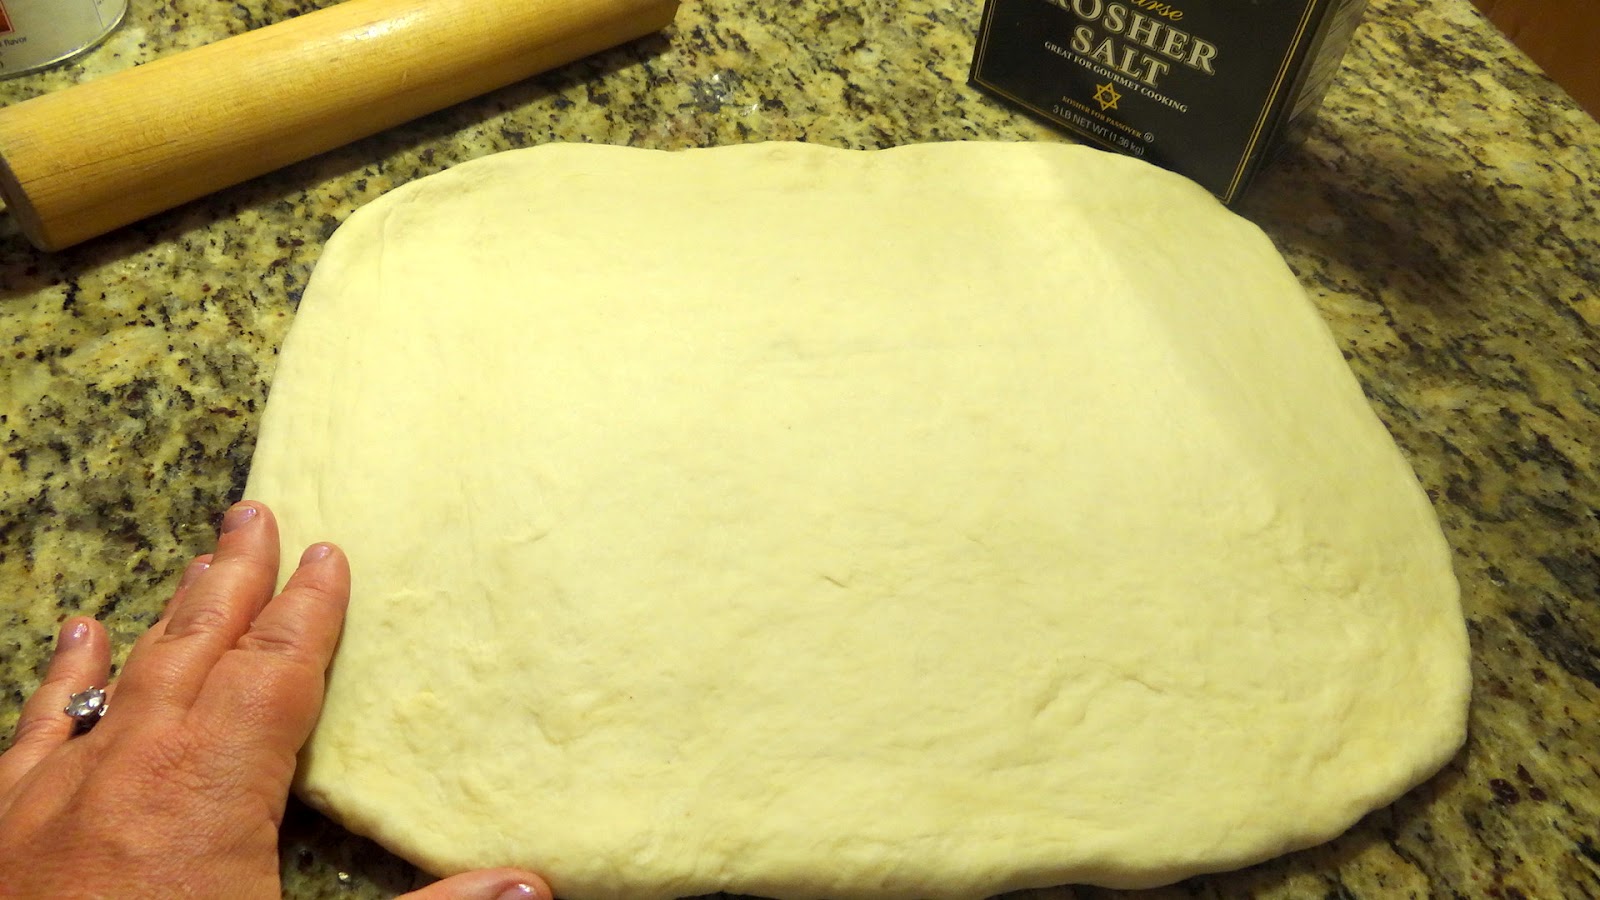
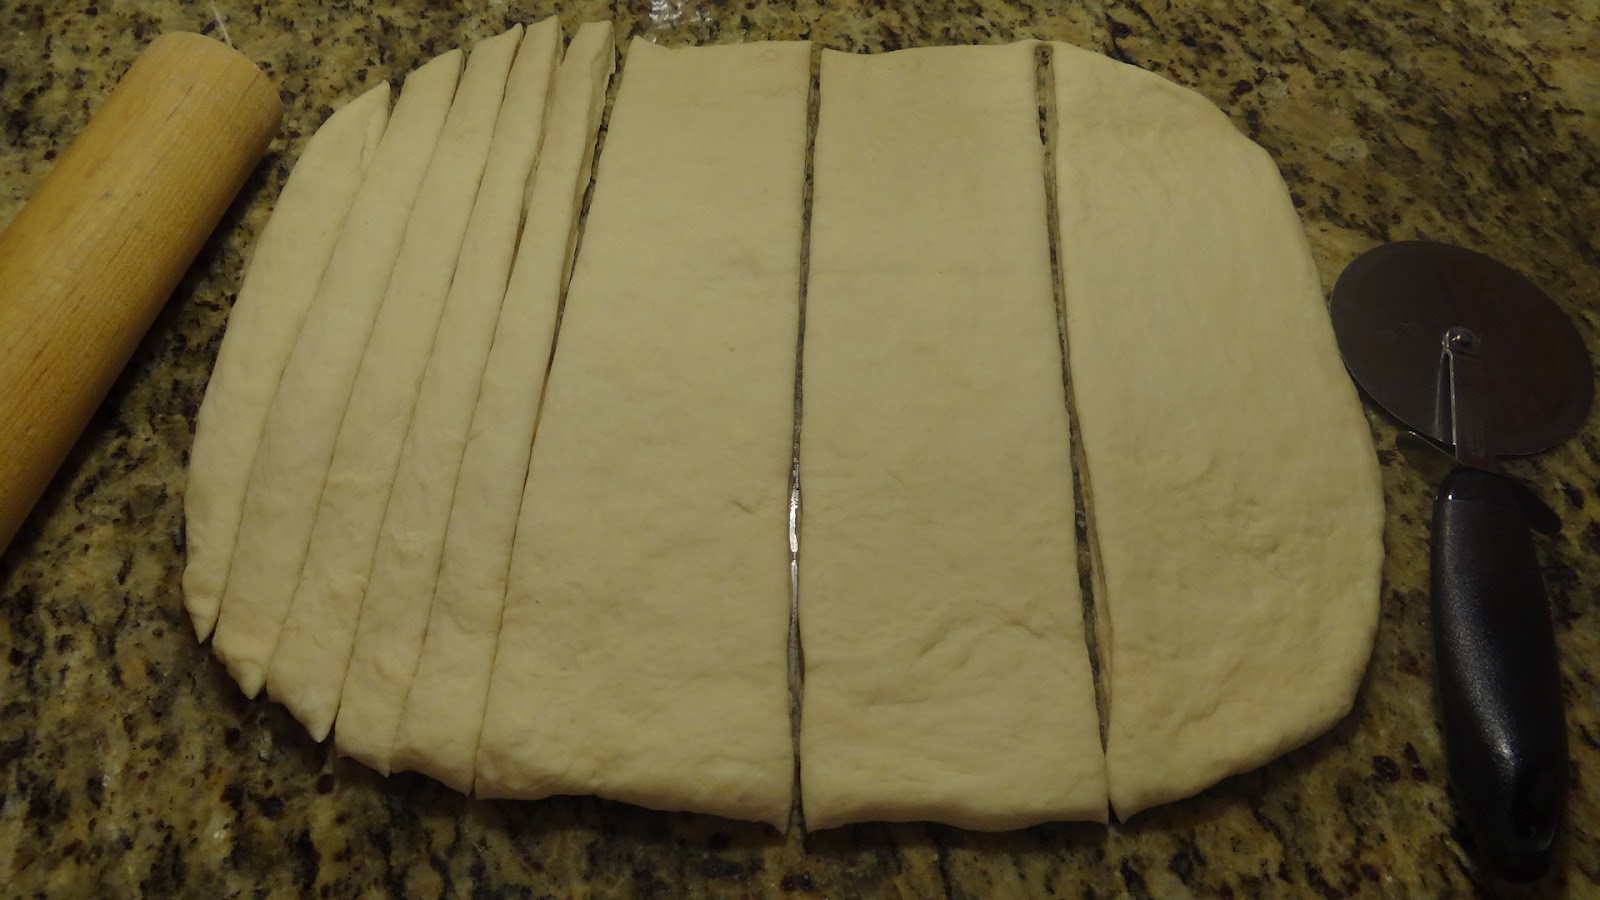
Mix up first 3 ingredients in a small bowl and let sit for 2 or 3 minutes. (sugar feeds yeast so let it set awhile) Then in a separate bowl add salt and flour and add it to wet mixture, and then add the (up to 1 cup) warm water. Mix and then knead for a minute. Roll out in 2 loaves and lay them on greased baguette pan and let rest for 15 minutes under a towel (it will rise a bit). Then bake 450 for 15 minutes or until golden colored. This whole french bread takes about 35 minutes total to make and bake.
 |
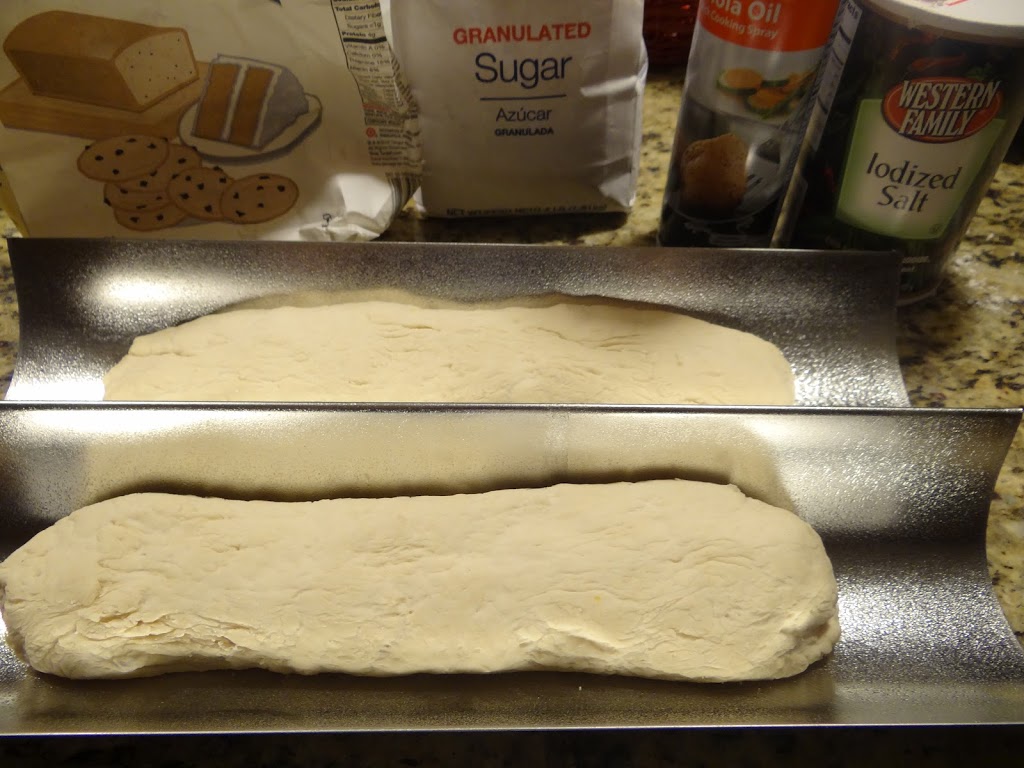
| So here they are before the 15 minutes rising time…..Both have their own tube to sit in…. |
 |
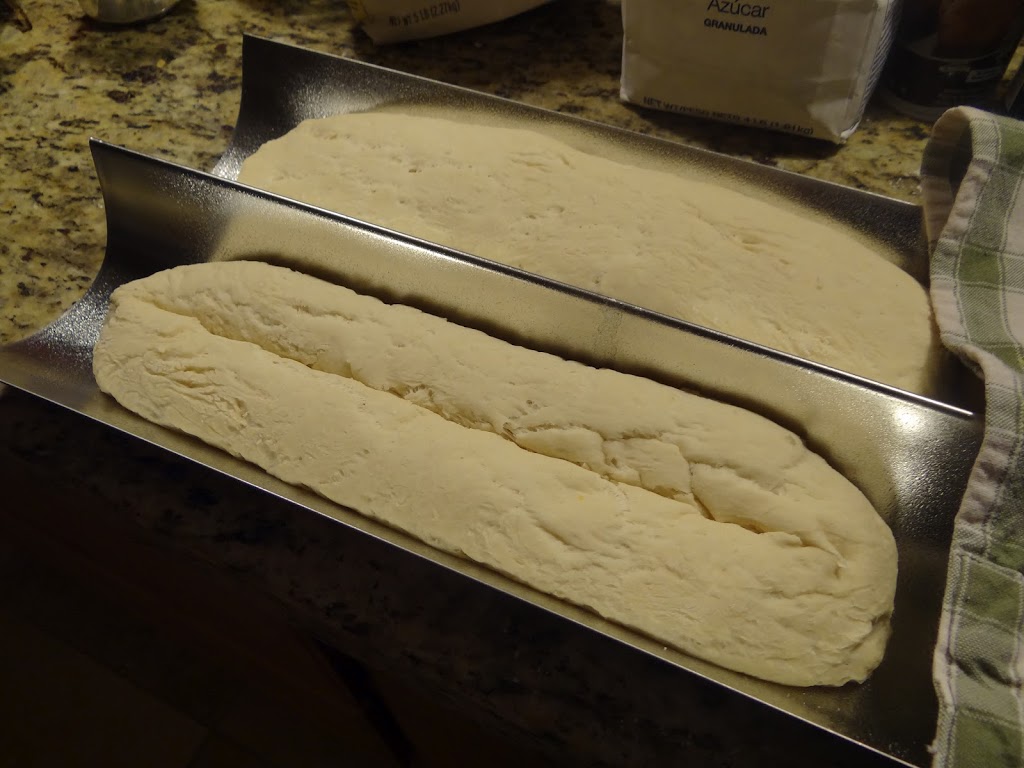
And here they are after the 15 minutes rising time….I put a line down the middle of each with
a sharp knife just before popping in the oven….it will look just like french bread when it has been baked! |
 |
| Wha la! Ready for a hot 450 degree oven for about 15 minutes….watch it the last minute or so….. |
|
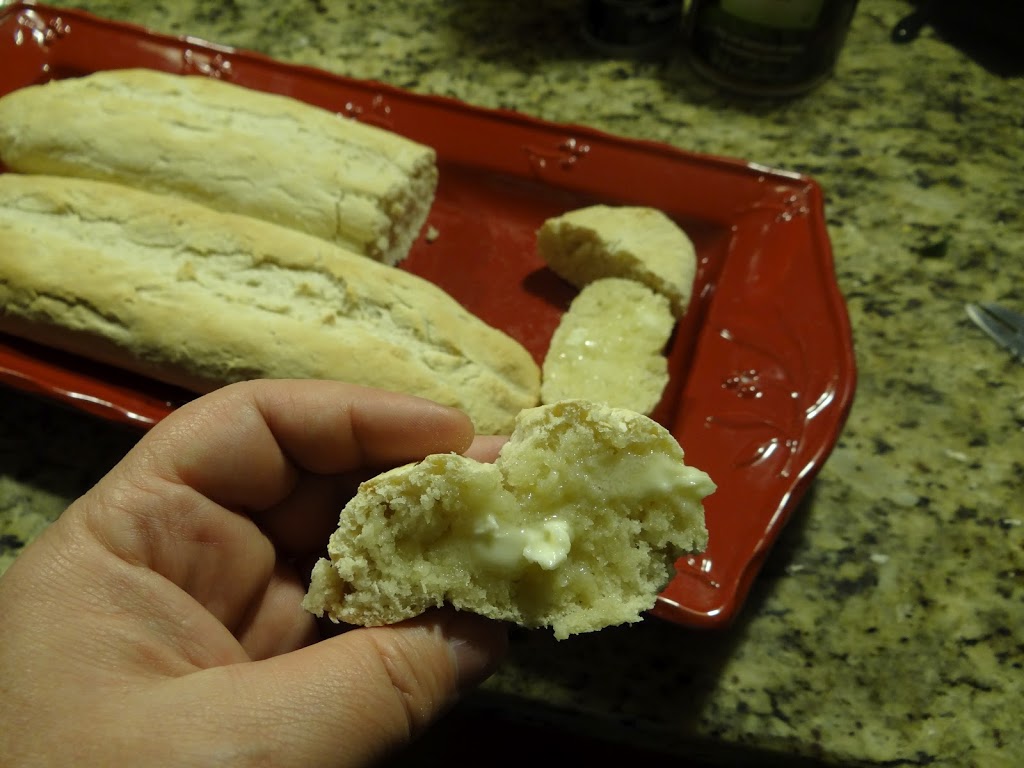
| And here they are, hot out of the oven! French Baguettes are light and crispy! |
 |
Well, they are just plain DEEE-LISH! That’s what they are! I sent one down to my friend Lauri down the street. Spread the lovin!
Then Spread some REAL butter and dig in! mmmm….Yummy! |