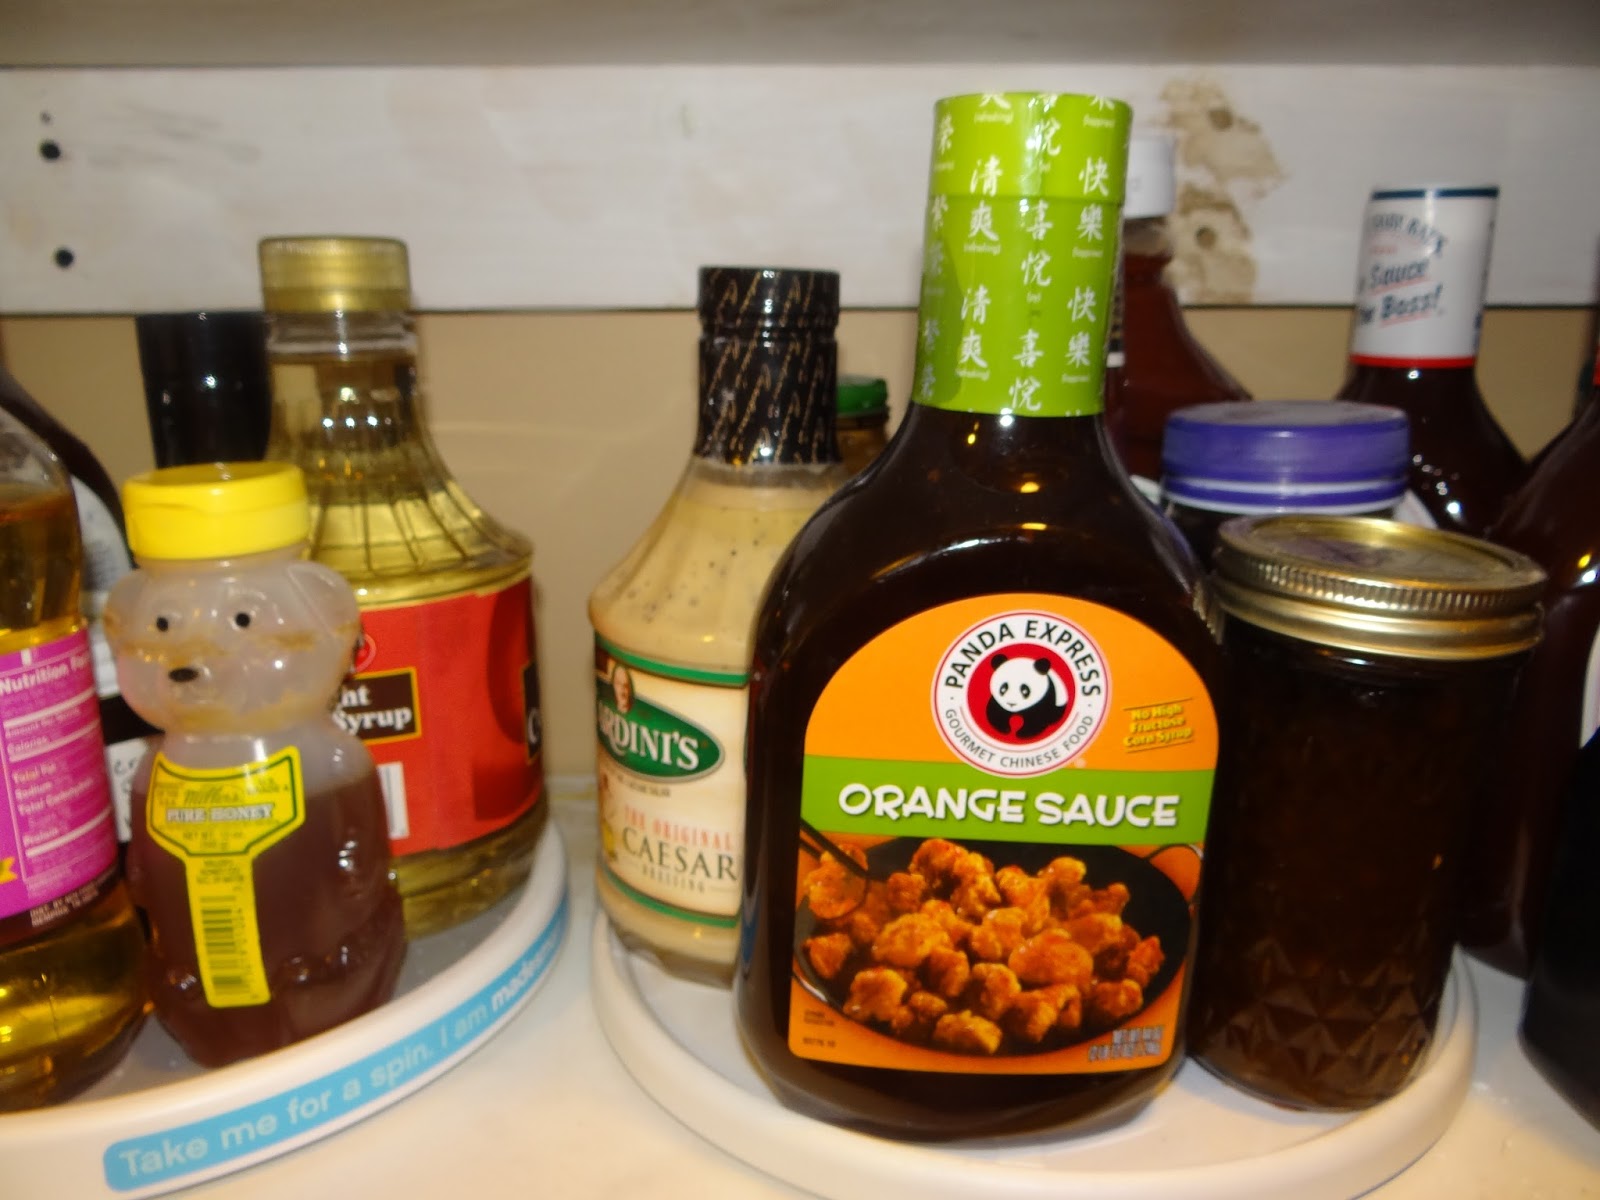
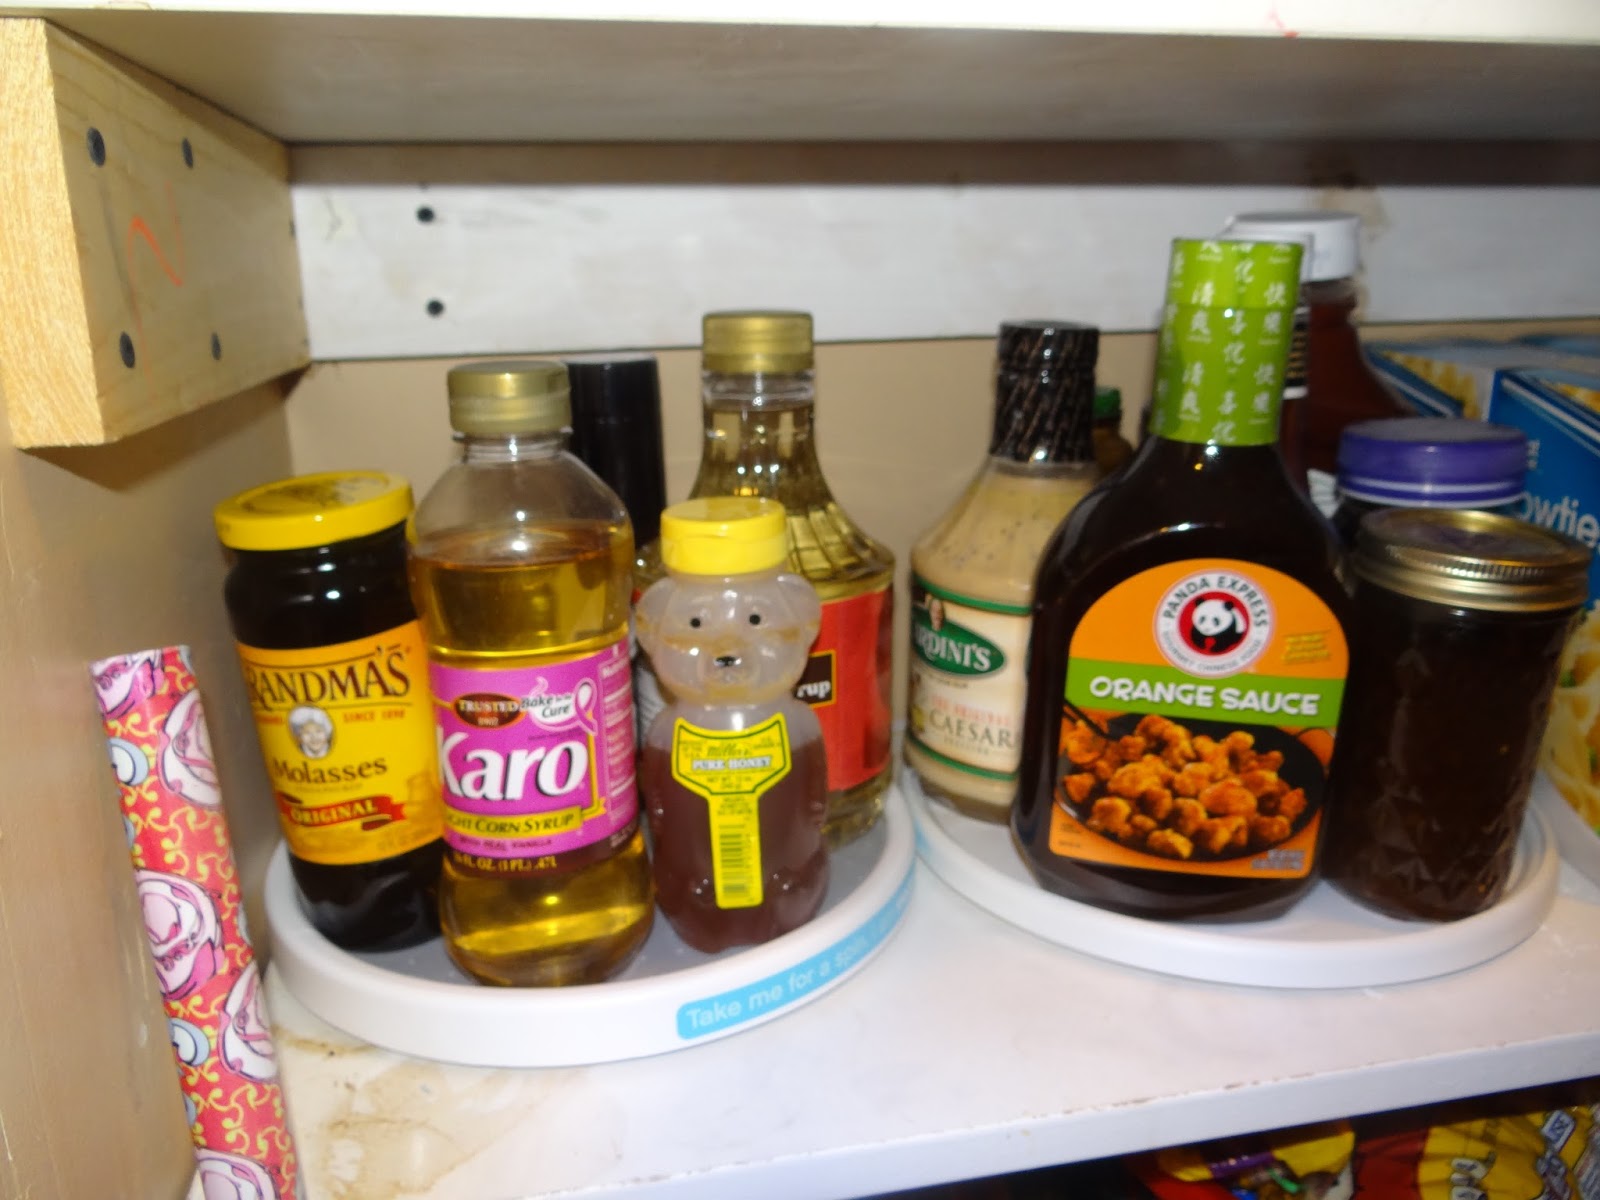
Pantry Organization After Picture – Syrups and Sauces on Lazy Susans.
I’m on a roll organizing my house this year. I’ve been working on purging the kitchen of all the extra clutter, and buying Lazy Susan’s to keep all my stuff organized that I am keeping. I’m starting now on the pantry organization.
Pantry Organization After Picture. Now all my vinegars and sauces have a home in the pantry. It is much easier to see what is there. Also, there is a limit to how many can go on each Lazy Susan.
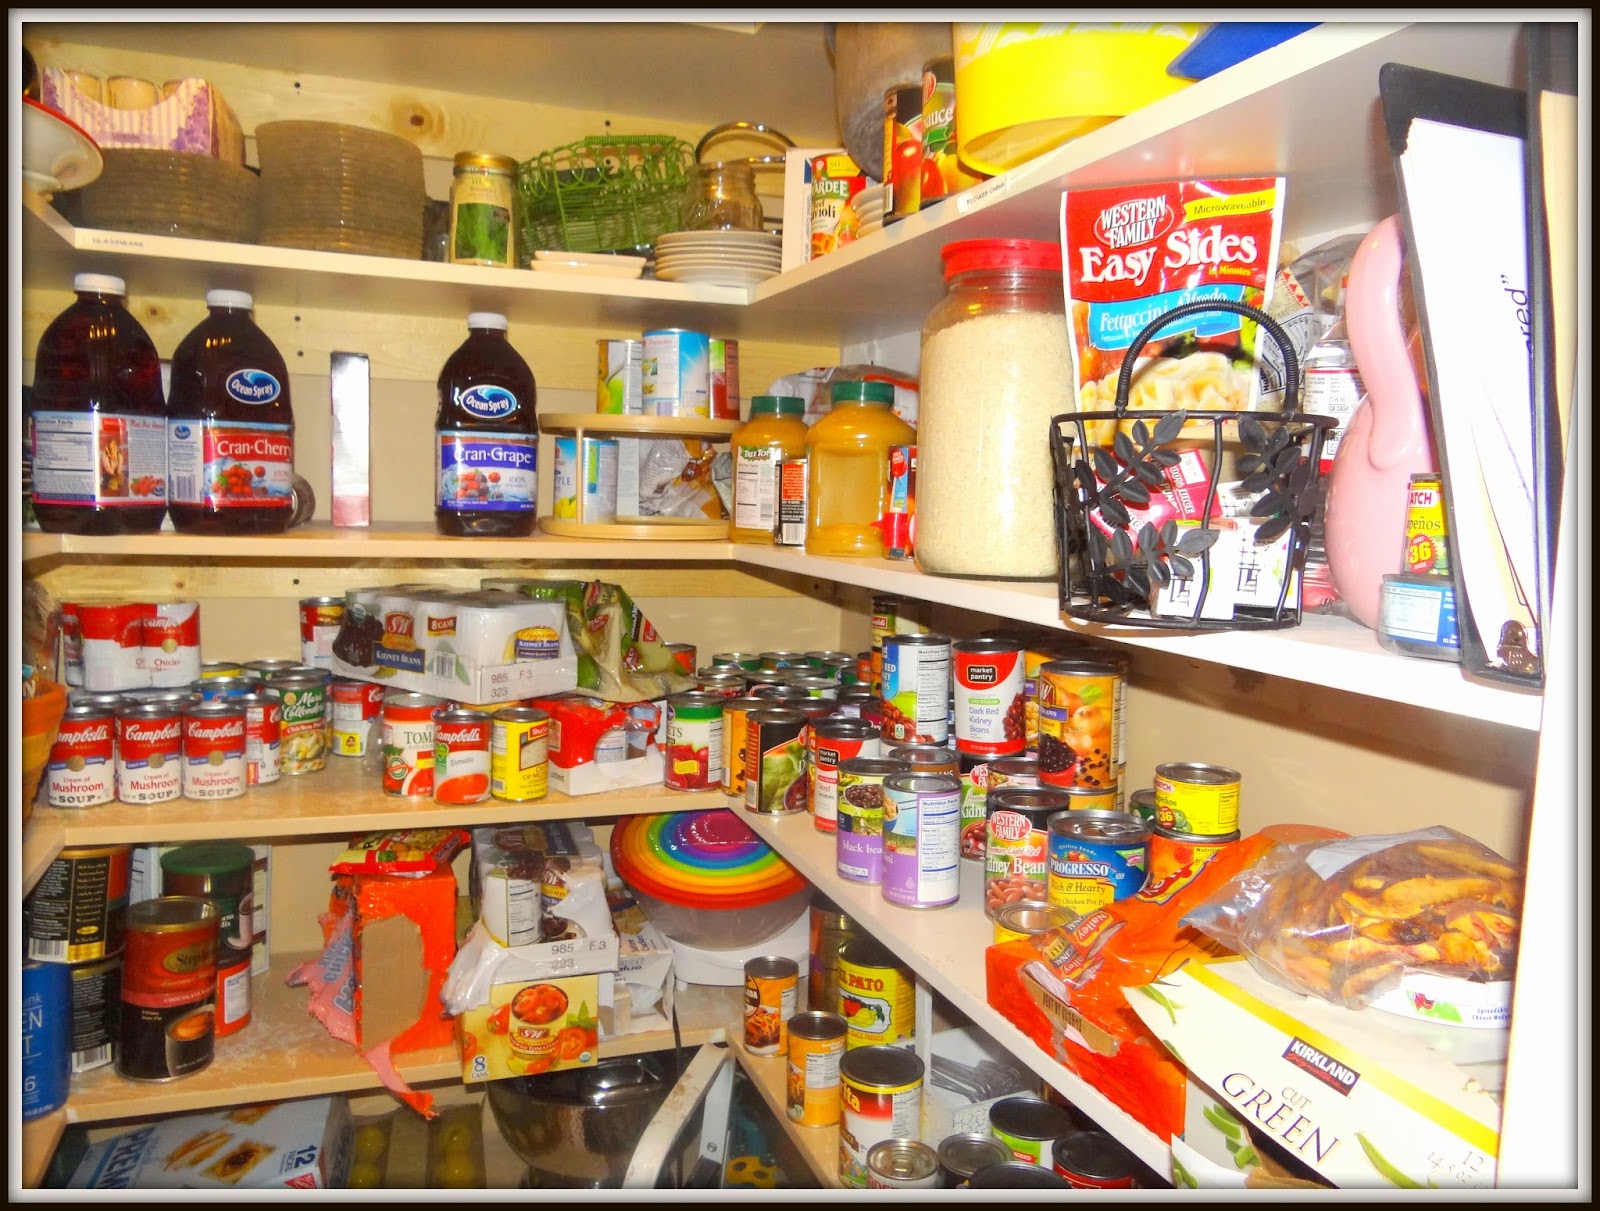
Pantry Organization Before Picture…..not so pretty. I have so many canned goods that I have to sort and make a place for. So this is my March challenge. Organize the pantry and make it look neat and tidy.
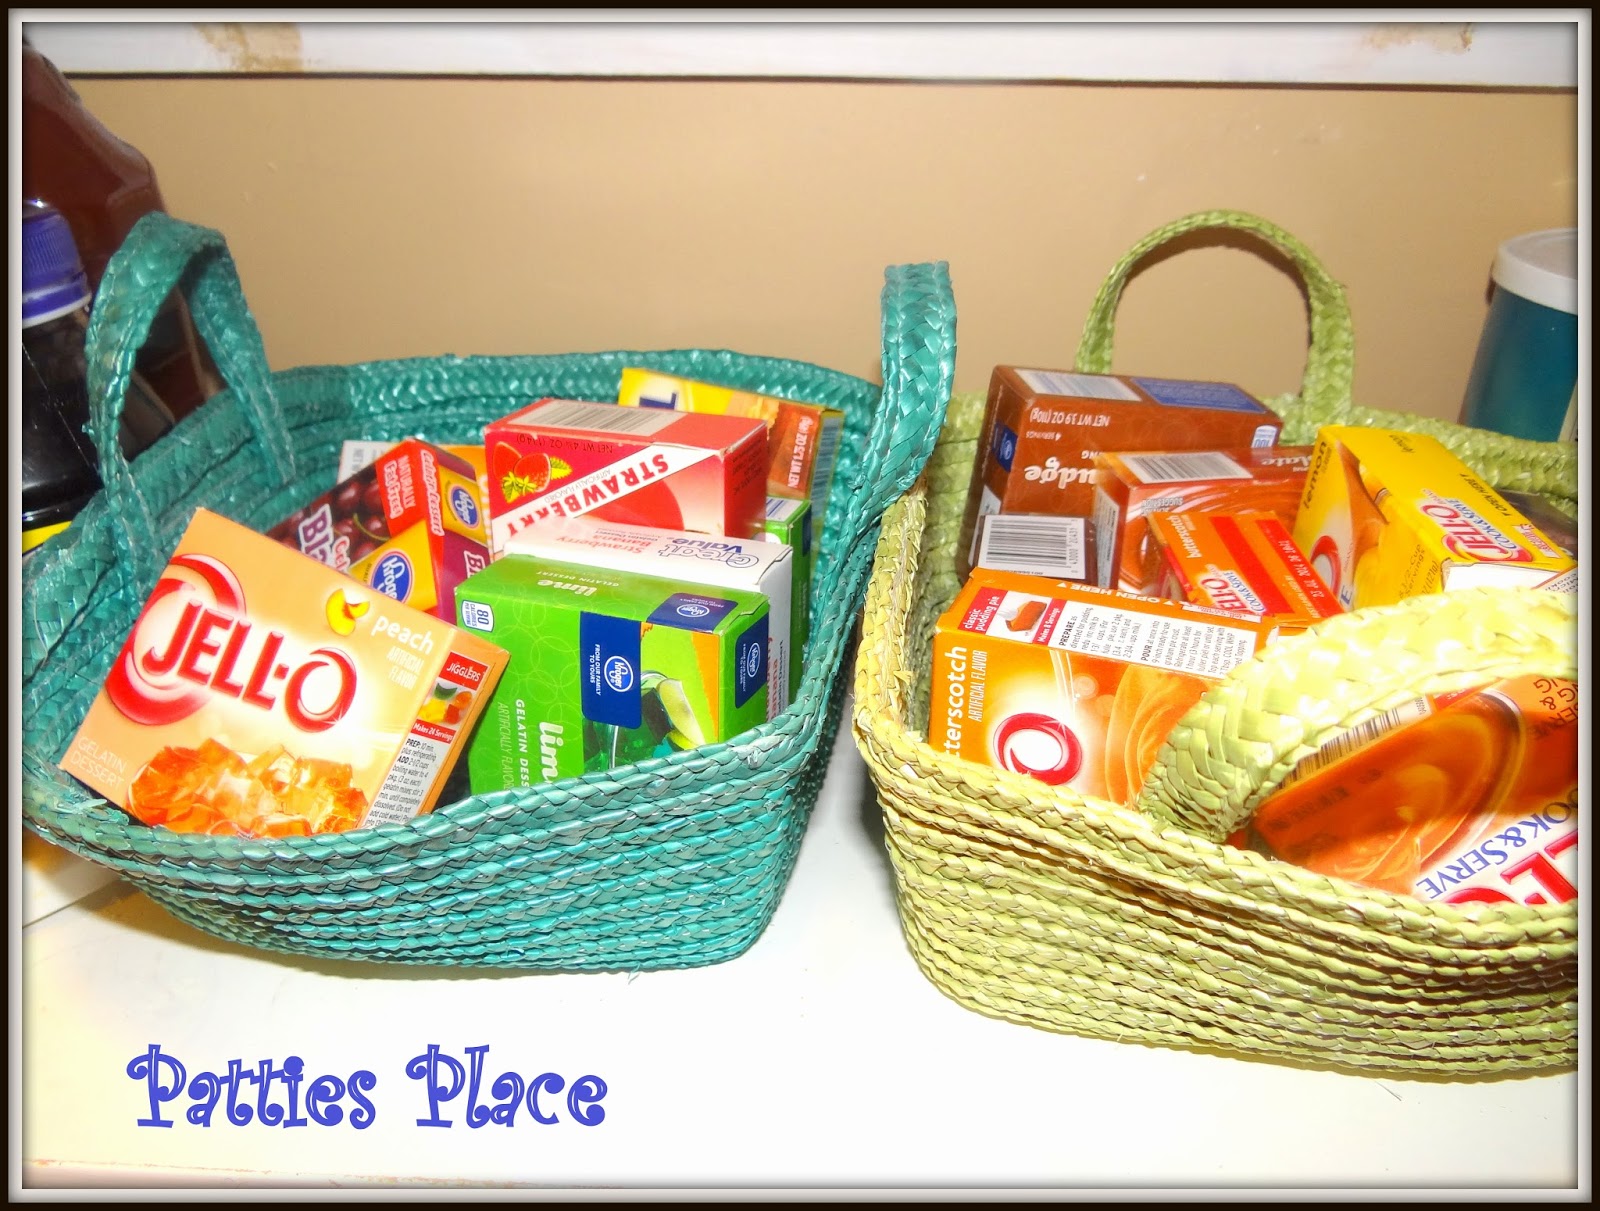
I found containers for the puddings and the jellos. It makes them easier to sort and to see what I have too. I like how it turned out. Baskets are cheap to buy at a thrift store and you can get all sorts of sizes for a buck.
Baskets are cheap at the thrift store. They come in all sorts of colors and sizes. I have been buying them for 50 cents to a buck. It is the perfect thing to sort things in the pantry.
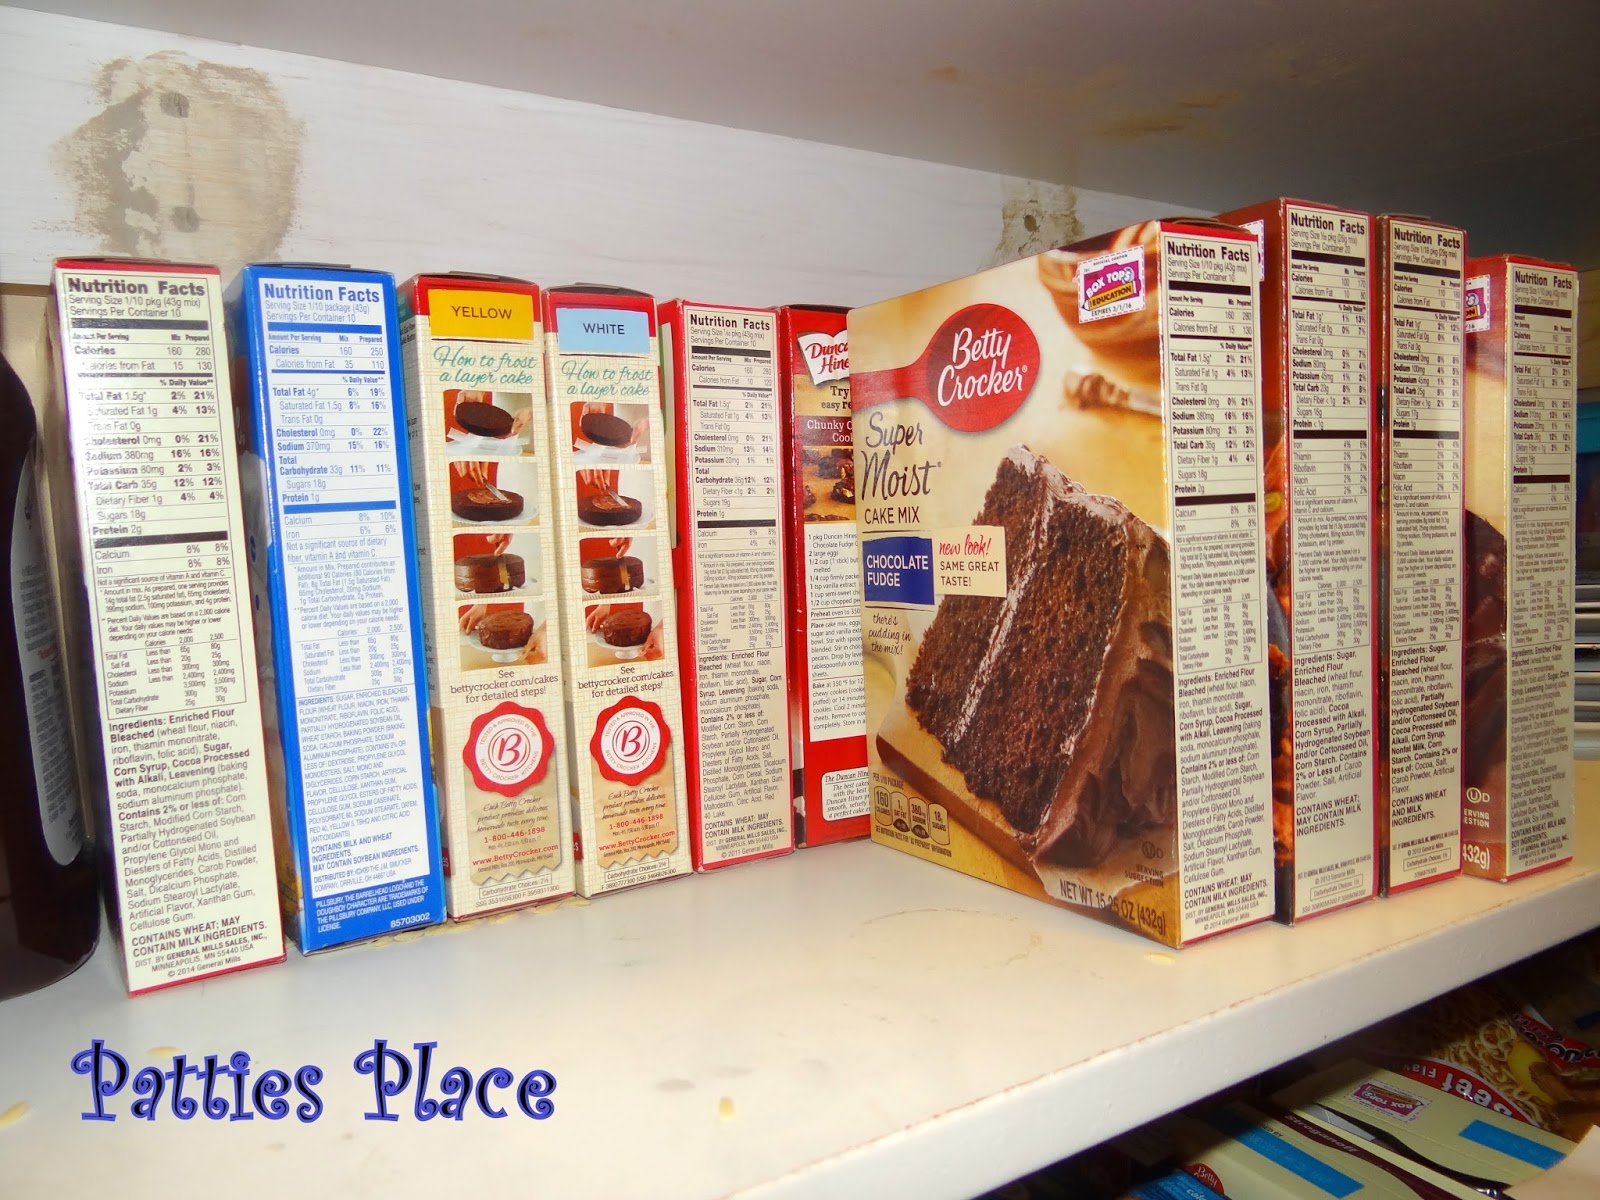
Then I lined up all my cake and brownie boxed mixes onto a shelf that we will call the baking shelf. It will house all my flour, sugars and baking tools. They are all organized now on their own shelf. Such an improvement!
In January and February I worked on all my kitchen drawers and cupboards. They went from this messiness…….
Finished! Pantry Organization looks great! At least this first shelf! Now on to the canned goods! Check out my January post on kitchen drawer organization HERE.
I LOVE these finger lickin good pork chops. I use the thicker pork chops from Costco and coat them and fry them in a little olive oil before backing them in this tasty gravy. They come out super tender and delicious. My family loves them!
Breaded Pork Chops in Mushroom Gravy….chicken fried!
PORK CHOPS IN MUSHROOM GRAVY 4-6 pork chops A few shakes of Lawry’s Season Salt A few shakes of pepper. 1 cup flour 1 egg 1 cup Italian Seasoned Bread Crumbs (optional for more of a coating) Roll chops in egg then in flour. Then repeat for a thicker coating or dip in bread crumbs if you want a crispy, thick coating. I just lightly floured mine after dipping in a whisked up egg.
Pork Chops in Mushroom Gravy…..better than a pork chop on a stick!
My hubs and I once went to a family reunion in Iowa to see all my relatives who are farmers back there. While we were there the Iowa State Fair was happening so we went to see one of the greatest State Fairs in the whole U.S.A. My hubs best memory? Eating a pork chop on a stick! He LOVES his pork chops. I love this recipe for cooking them. It is a great one to do with mashed potatoes because the gravy is so delicious you will lick it off your fingers, I promise!
I just did a light flour dusting this time on my Pork Chops in Mushroom Gravy.If you like them with a thicker breading, just leave them setting in the flour for 10 minutes then season them and fry. The more flour, the thicker the breading is.
Bread the pork chops with egg mixture, dip very lightly in flour, and season with Lawry’s seasoning salt and pepper.Then fry them up in some canola oil.
You could also bread them heavily in egg, then flour, then egg then flour again if you like that crispy chicken fried style of pork chop breading. I’ve done it both ways.
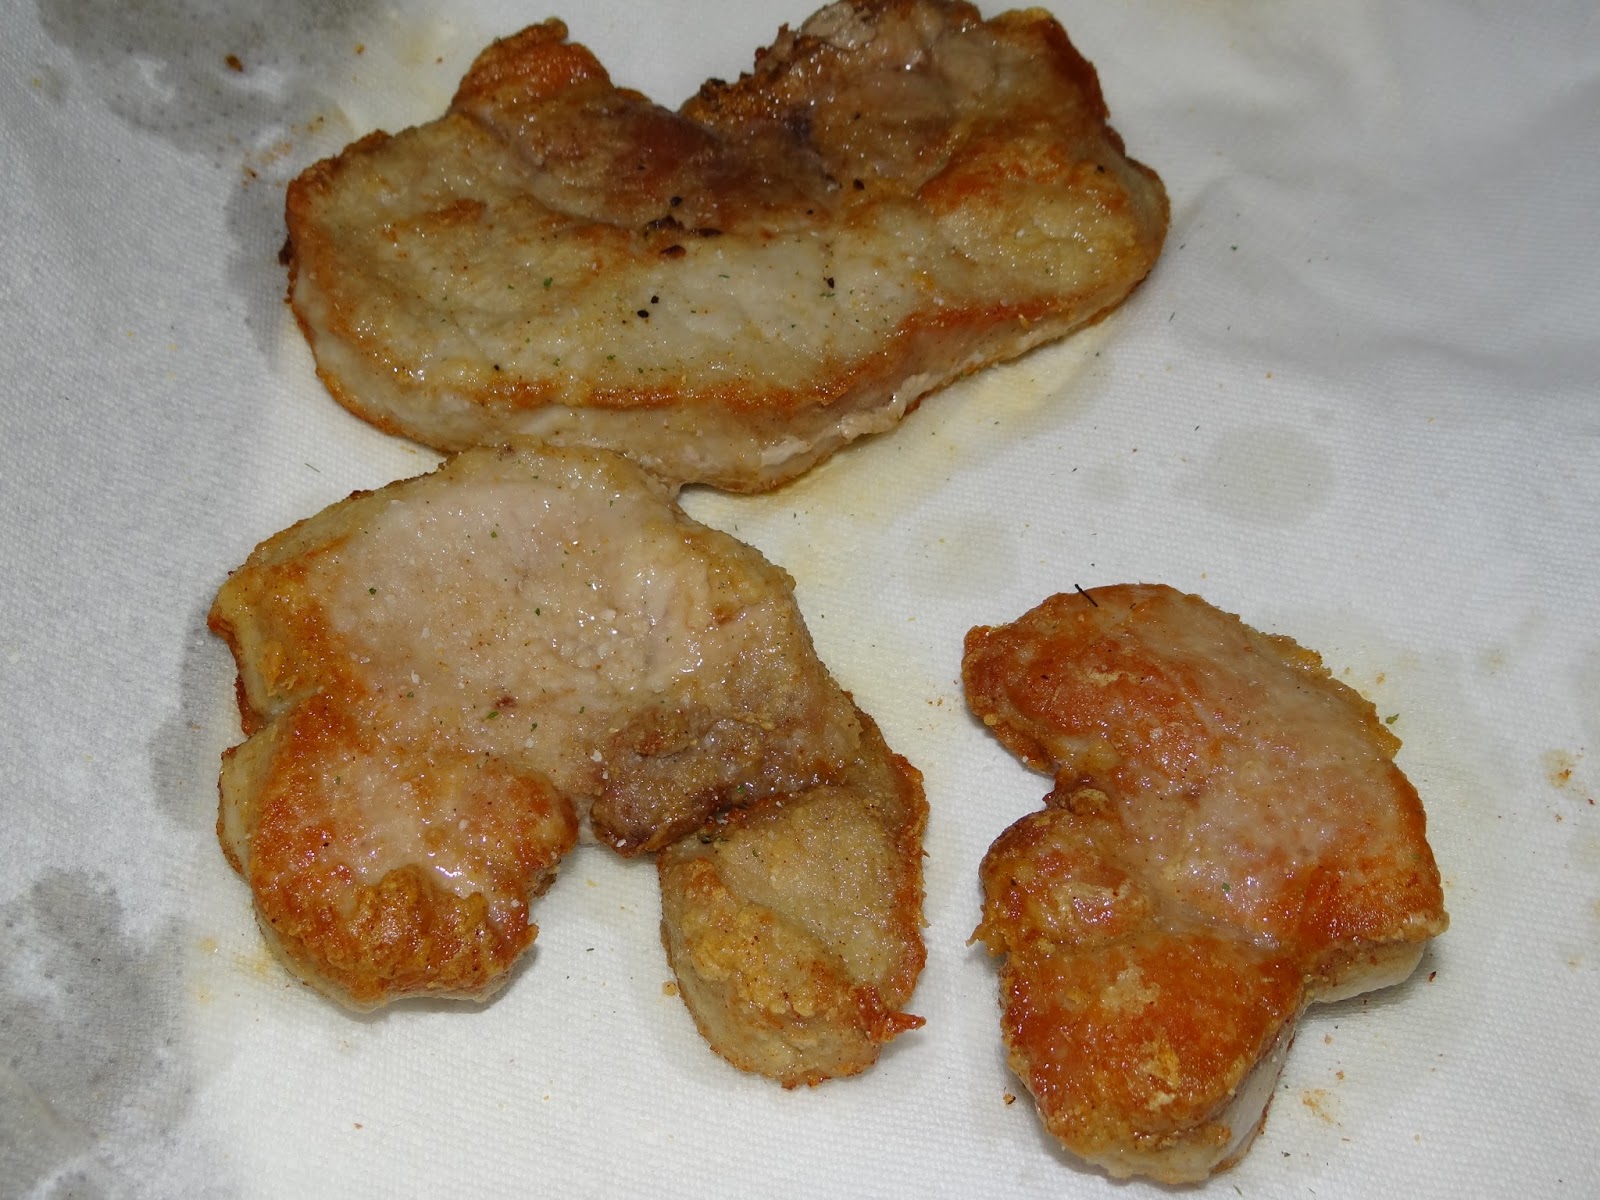
Then blot the excess canola oil from your pork chops dry on a paper towel.
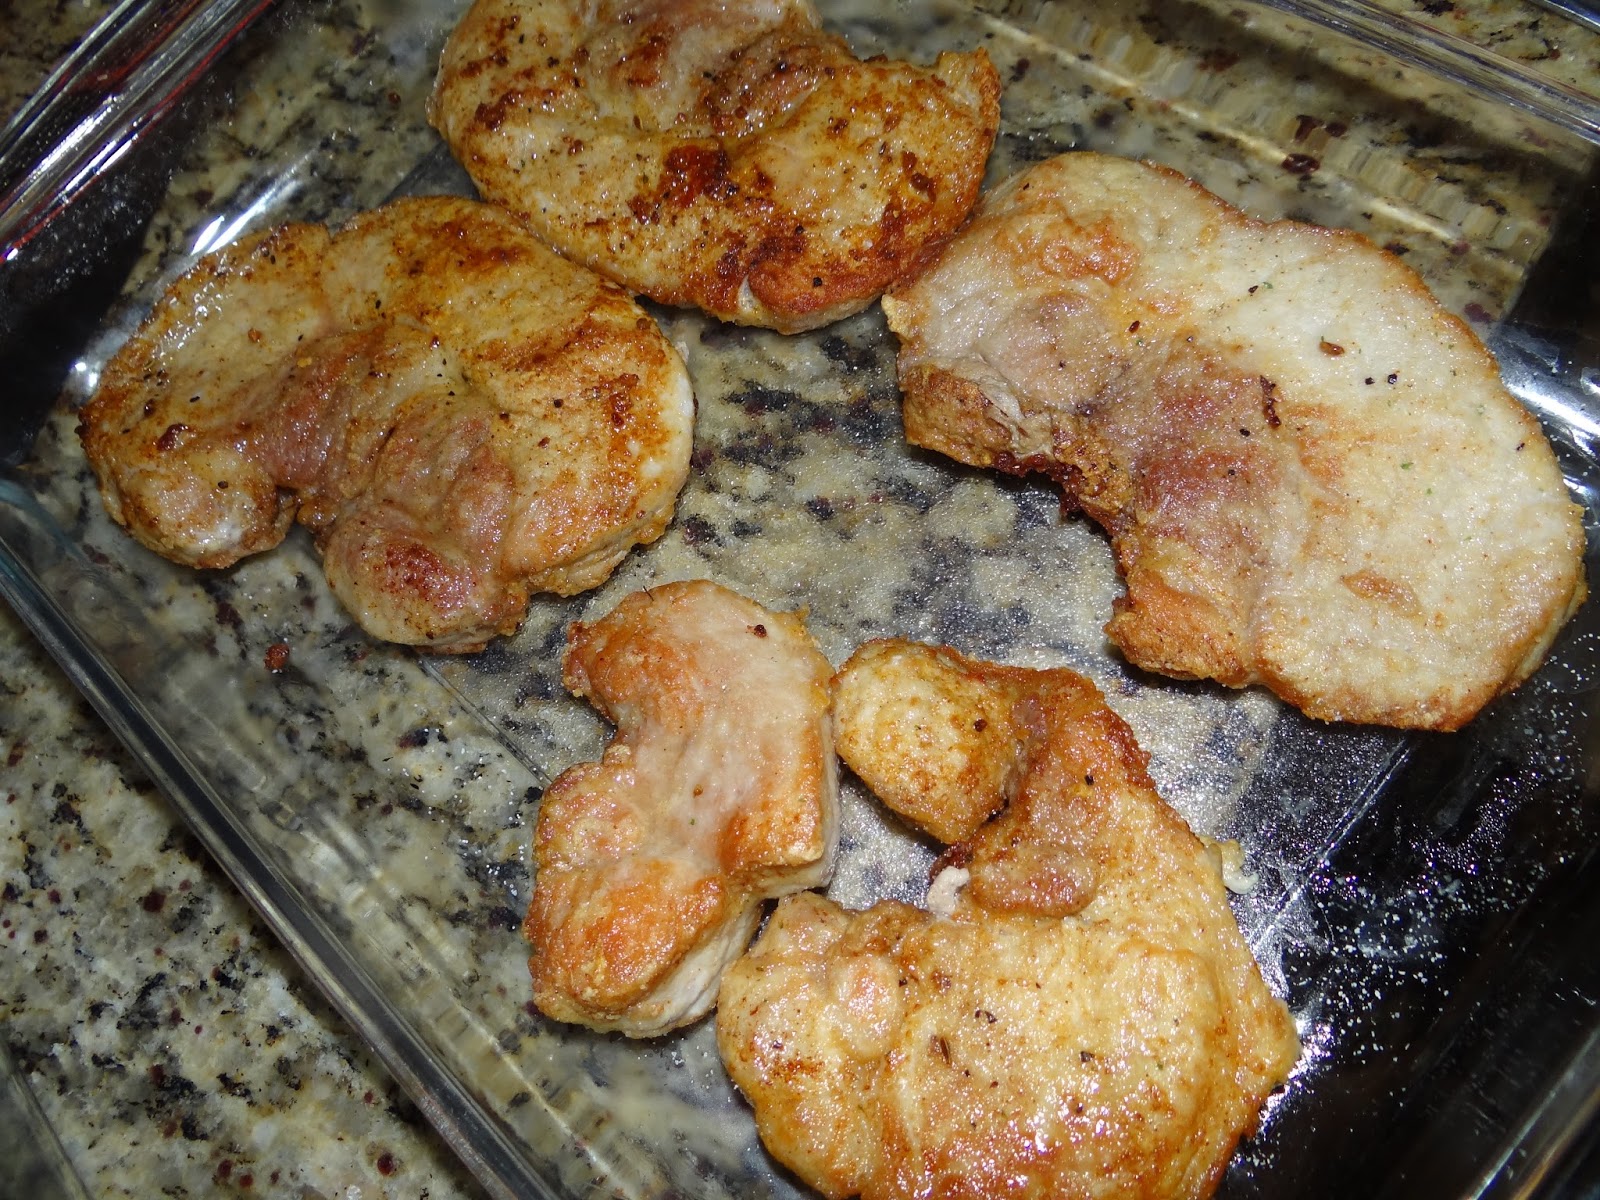
Put them in a 9 x 13 pan sprayed with Pam. Then put them in the oven on 300 for 45 minutes covered with foil.
While they are baking in a foil covered pyrex 9 x 13 pan mix up the mushroom gravy with 1 can of Cream of Mushroom Soup, 1 cup of sour cream, 1/4 cup cooking white wine, and 3/4 cup milk, 1/2 cup sauteed mushrooms, and then season with pepper and a few shakes of Lawry’s Seasoning Salt. I have used thick and thin pork chops with this recipe. If they are really thick I would bake them for a couple of hours on 300 degrees covered in foil. If they are thin, bake 45 minutes covered.
Bake your finished pork chops in a foil covered dish for 45 minutes to 1 hour if they are thin, 90 minutes if thick.
Mushroom Gravy
1 can cream of mushroom soup
1 cup sour cream
1/4 cup White wine or sherry
1/2 to 3/4 cup milk
pepper and seasoning salt to taste
1/2 cup mushrooms sauteed in butter and garlic for 5 minutes
You don’t need much salt as the soup is very salty already. Then pour it over your chops after they’ve baked for 45 minutes. Let them bake another 15 minutes covered. When they are done they should be pretty tender and very moist. The gravy is the best part so you can double the recipe if you are having mashed potatoes to go with your pork chops. Yummy. Enjoy!
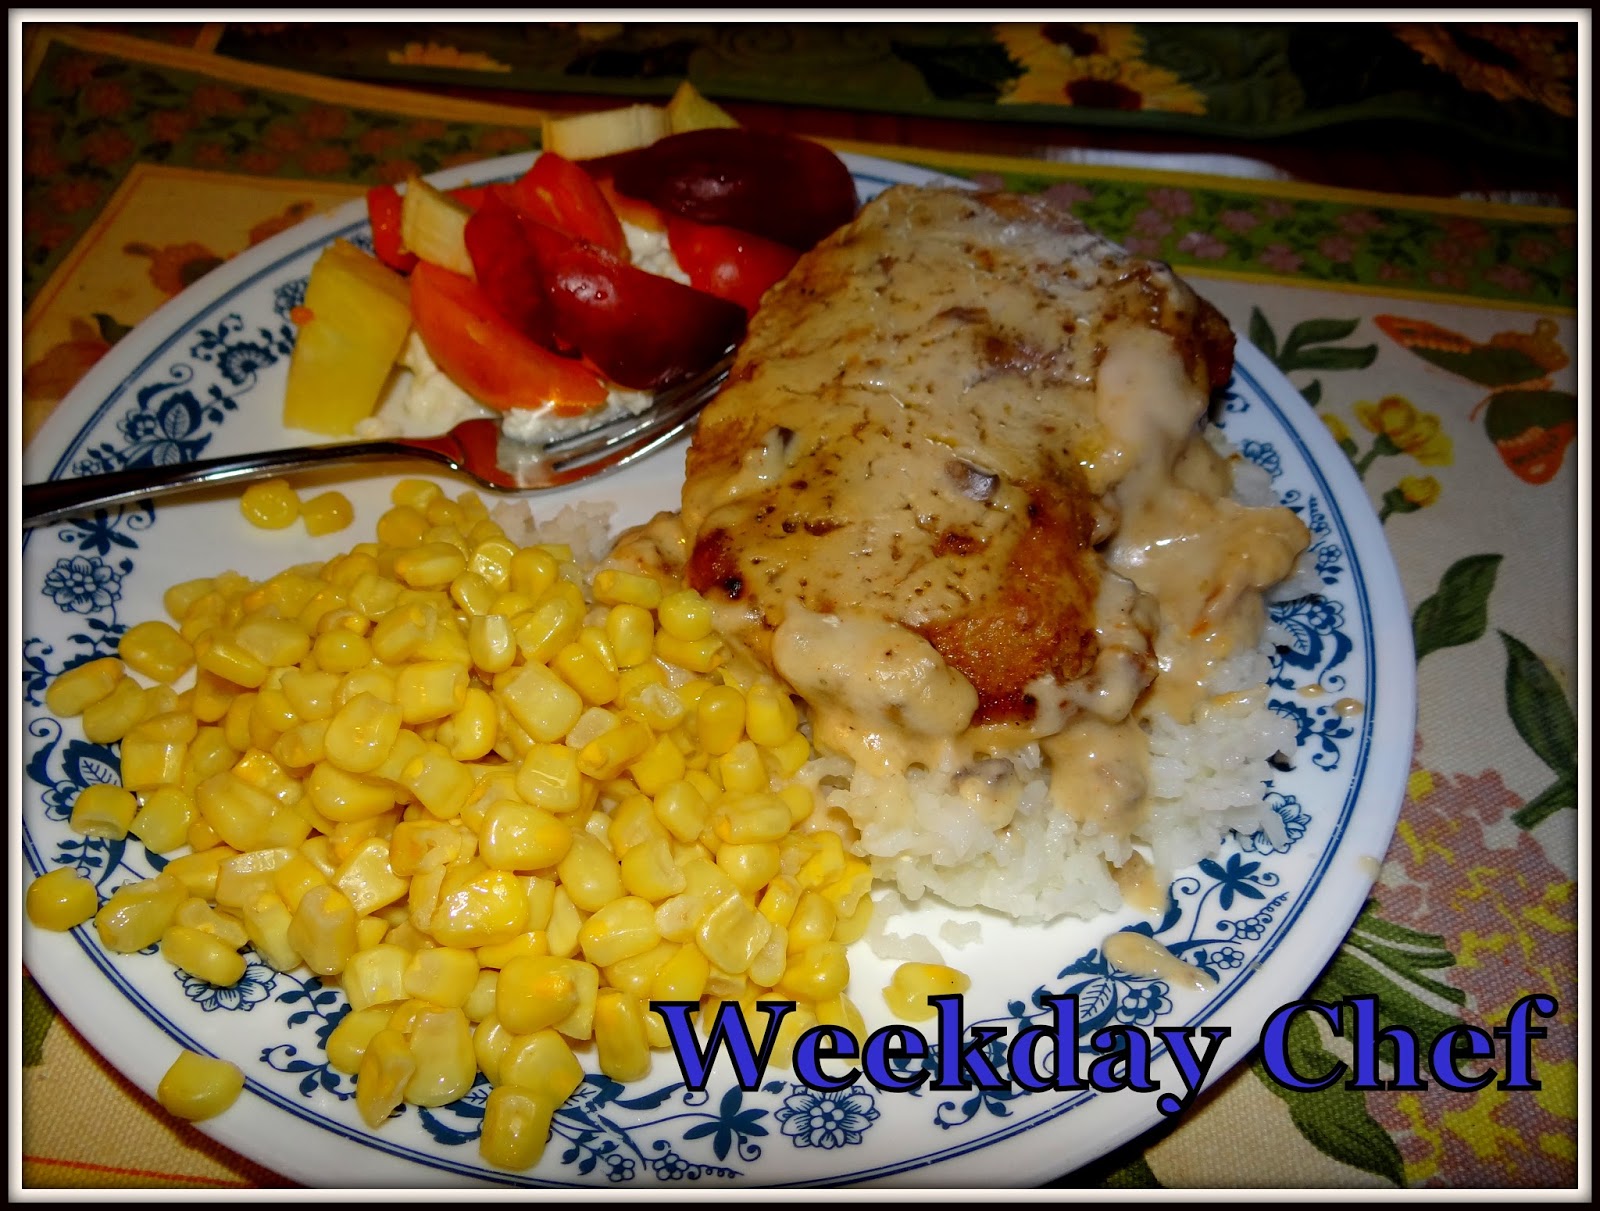
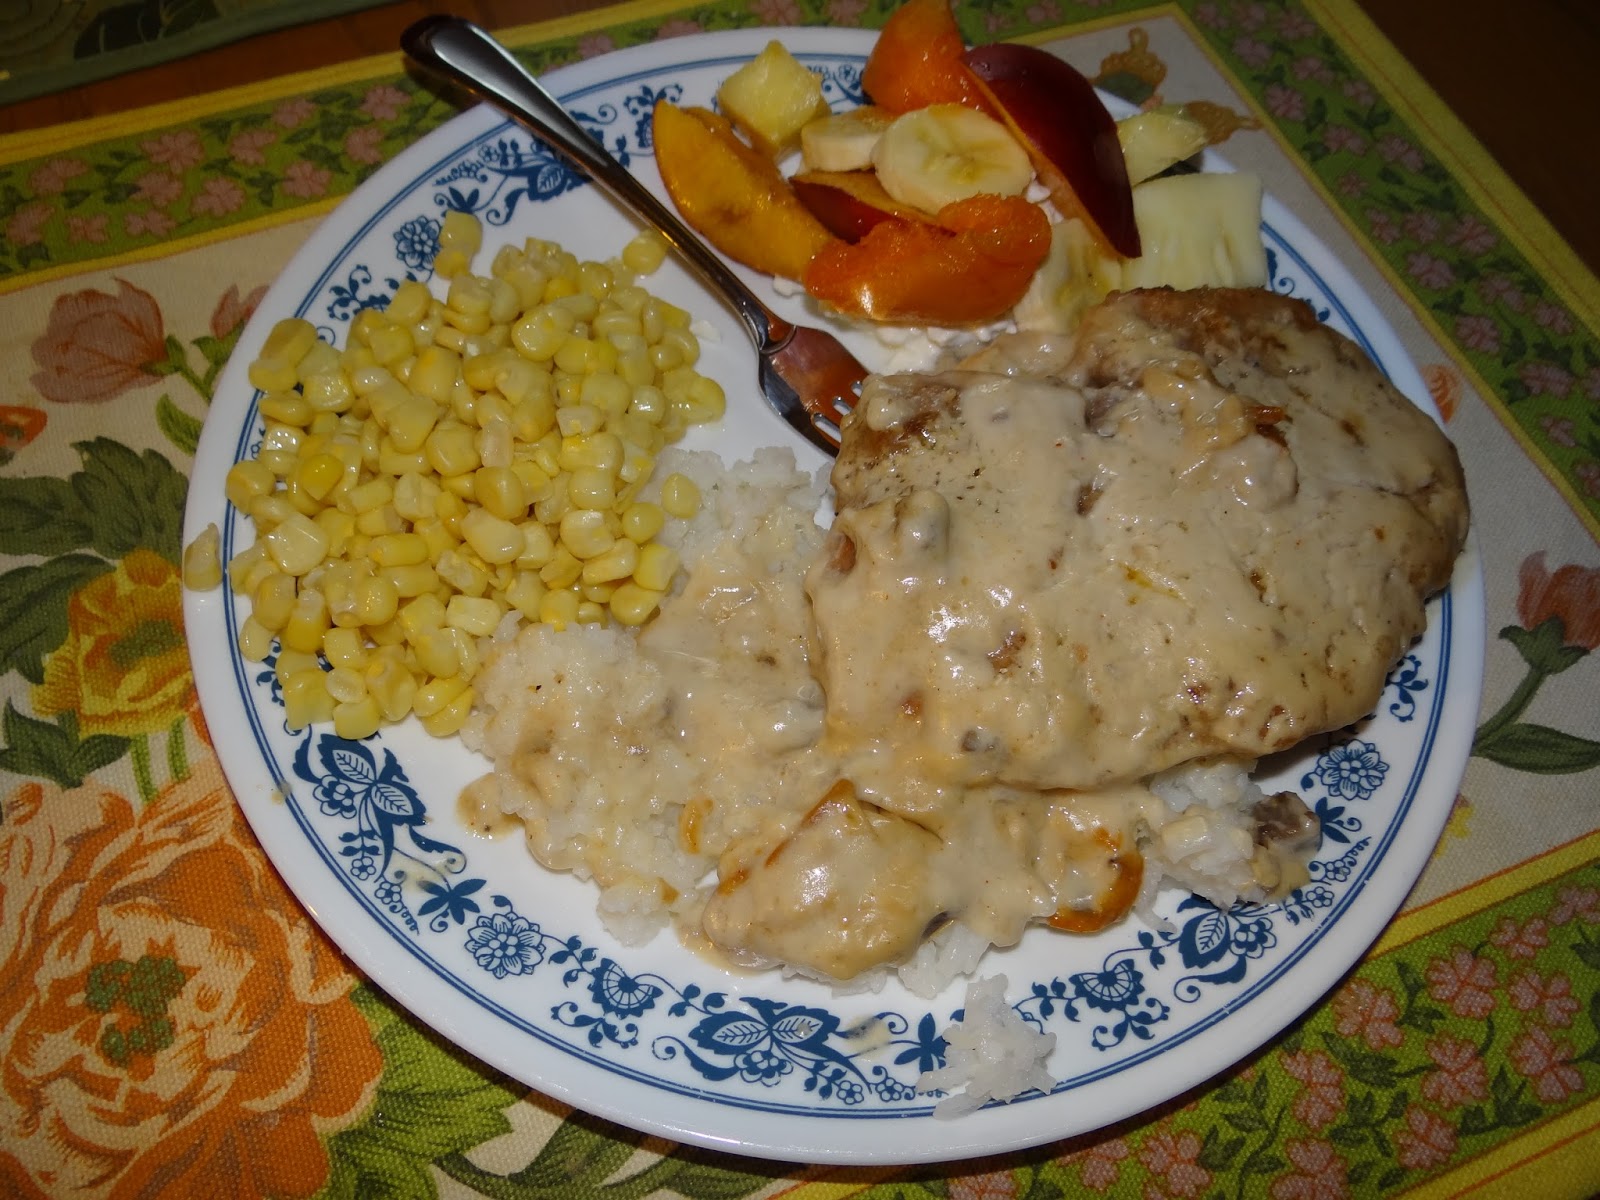
Pork Chops in Mushroom Gravy – I think we did these over rice, but Mashed Potatoes are great too!
Navajo Tacos with Indian Fry Bread is one of my favorite ways to use leftover chili you made the night before. It is a type of scone. You fry up or bake flat round pancakes of bread dough, and then top them with chili, cheese and your favorite taco toppings.
I start with a basic bread recipe for 2 loaves of bread. I use this one from allrecipes.com Here. It is kind of a foolproof bread recipe that my family loves.
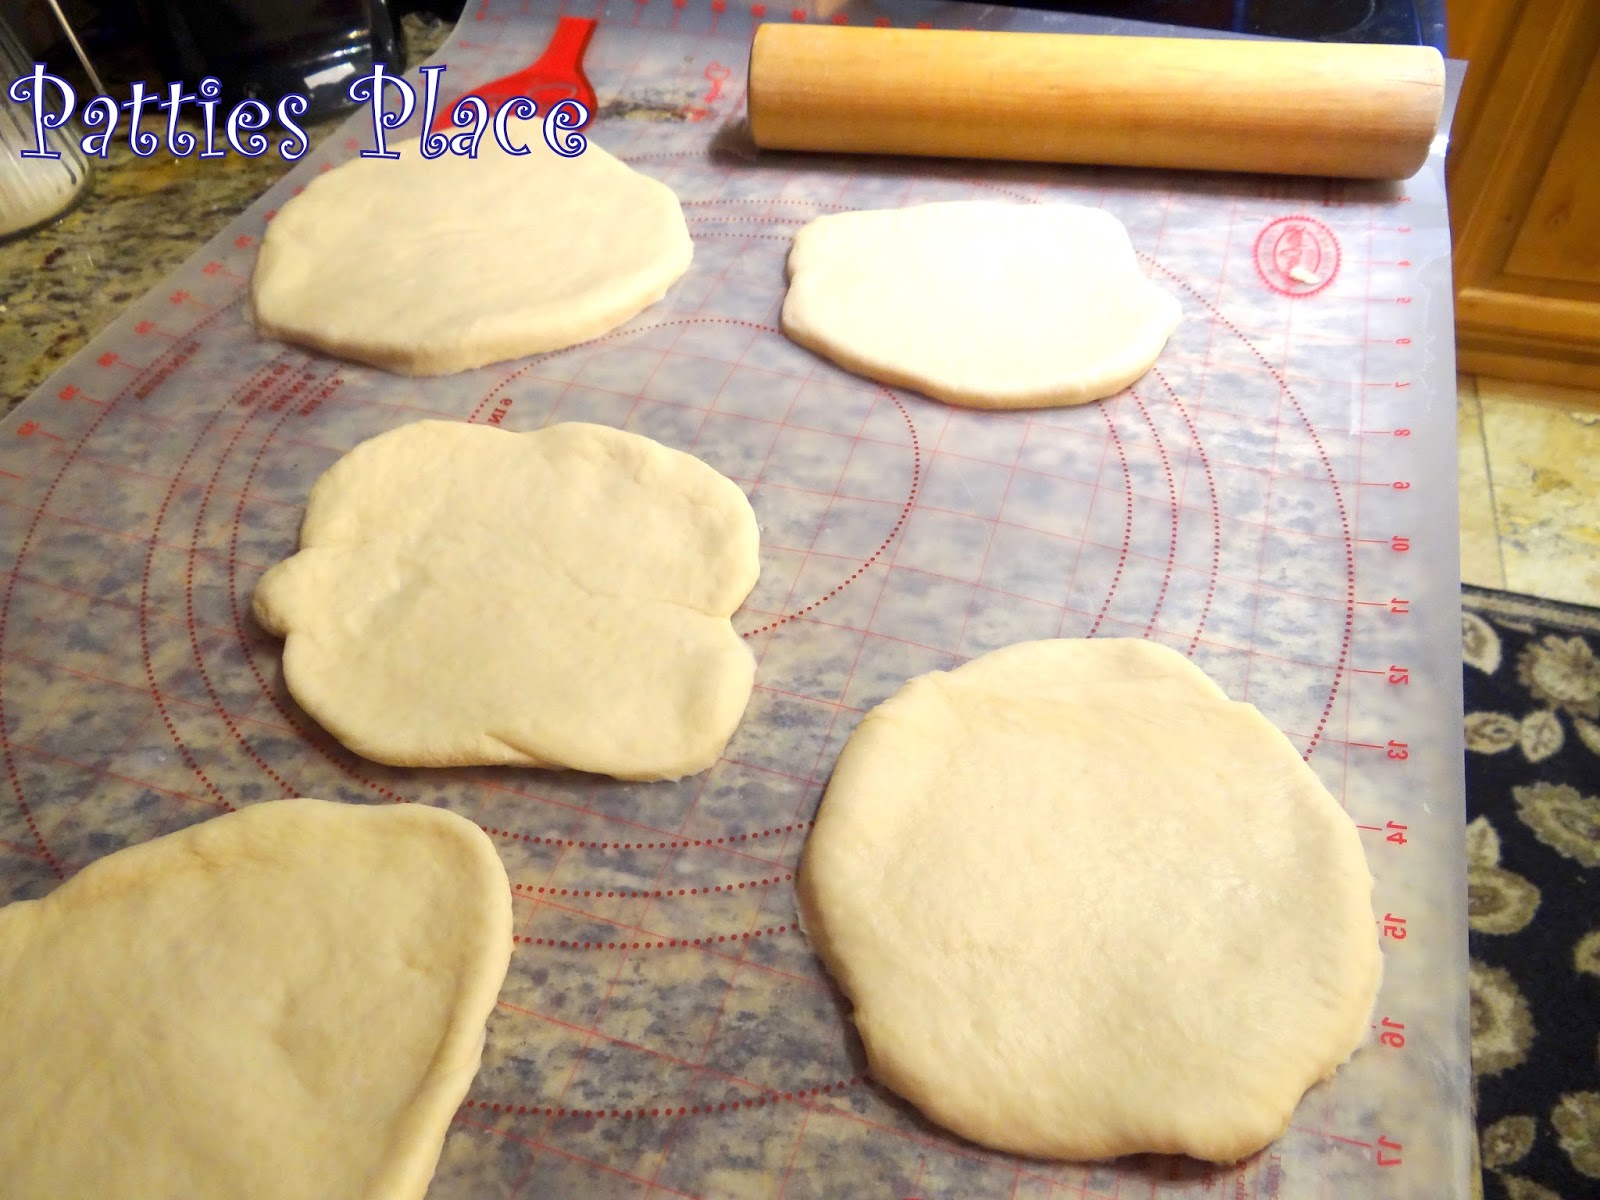
I rolled mine out pretty thick but if you like light Navajo Tacos, roll them thin like less than 1/4 inch. Flatten them into 6 inch round pieces with a rolling pin. Then put 1/4 inch Canola oil in a fry pan to medium temperature. I have an electric stove so I put mine to 5 them moved it more toward 6 later.
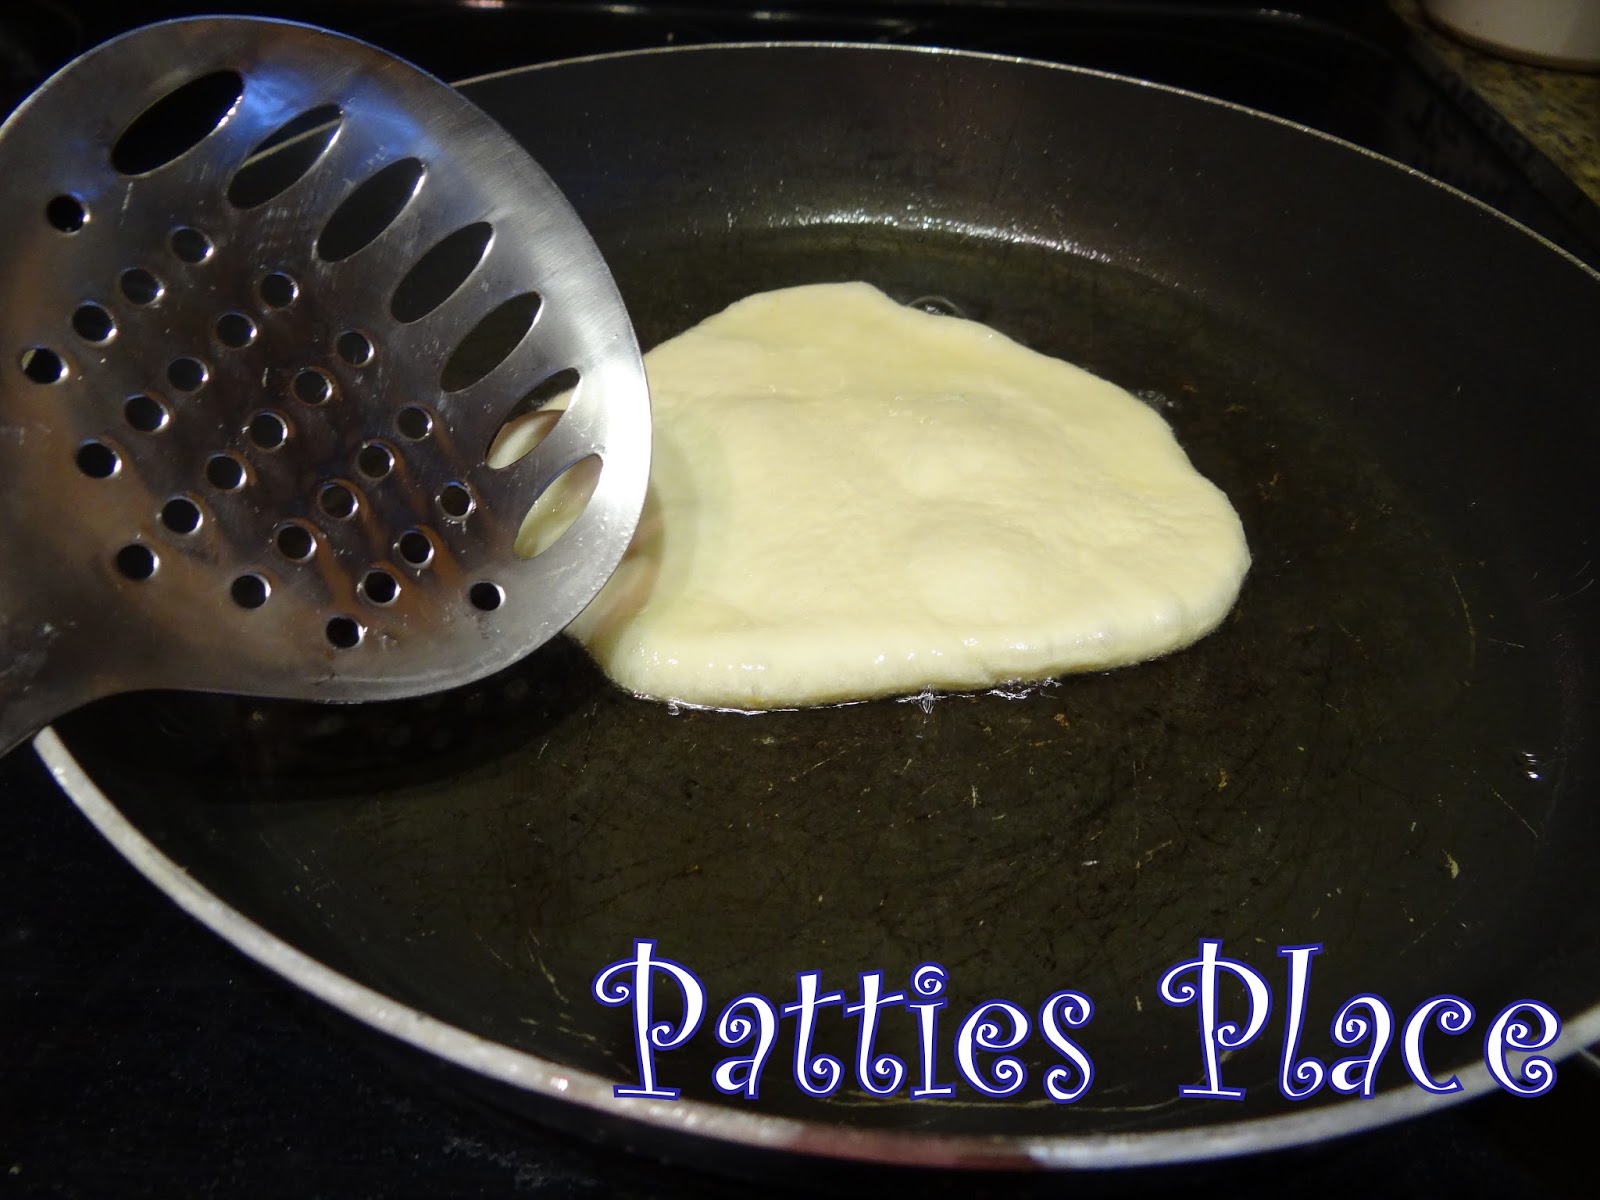
One bread dough recipe will make about 8 Navajo Tacos. I used a 2 loaf recipe of bread and made about 14 pieces of Indian Fry Bread. Fry them up like a donut. But you will know one side is done when they start to bubble, like a pancake does.
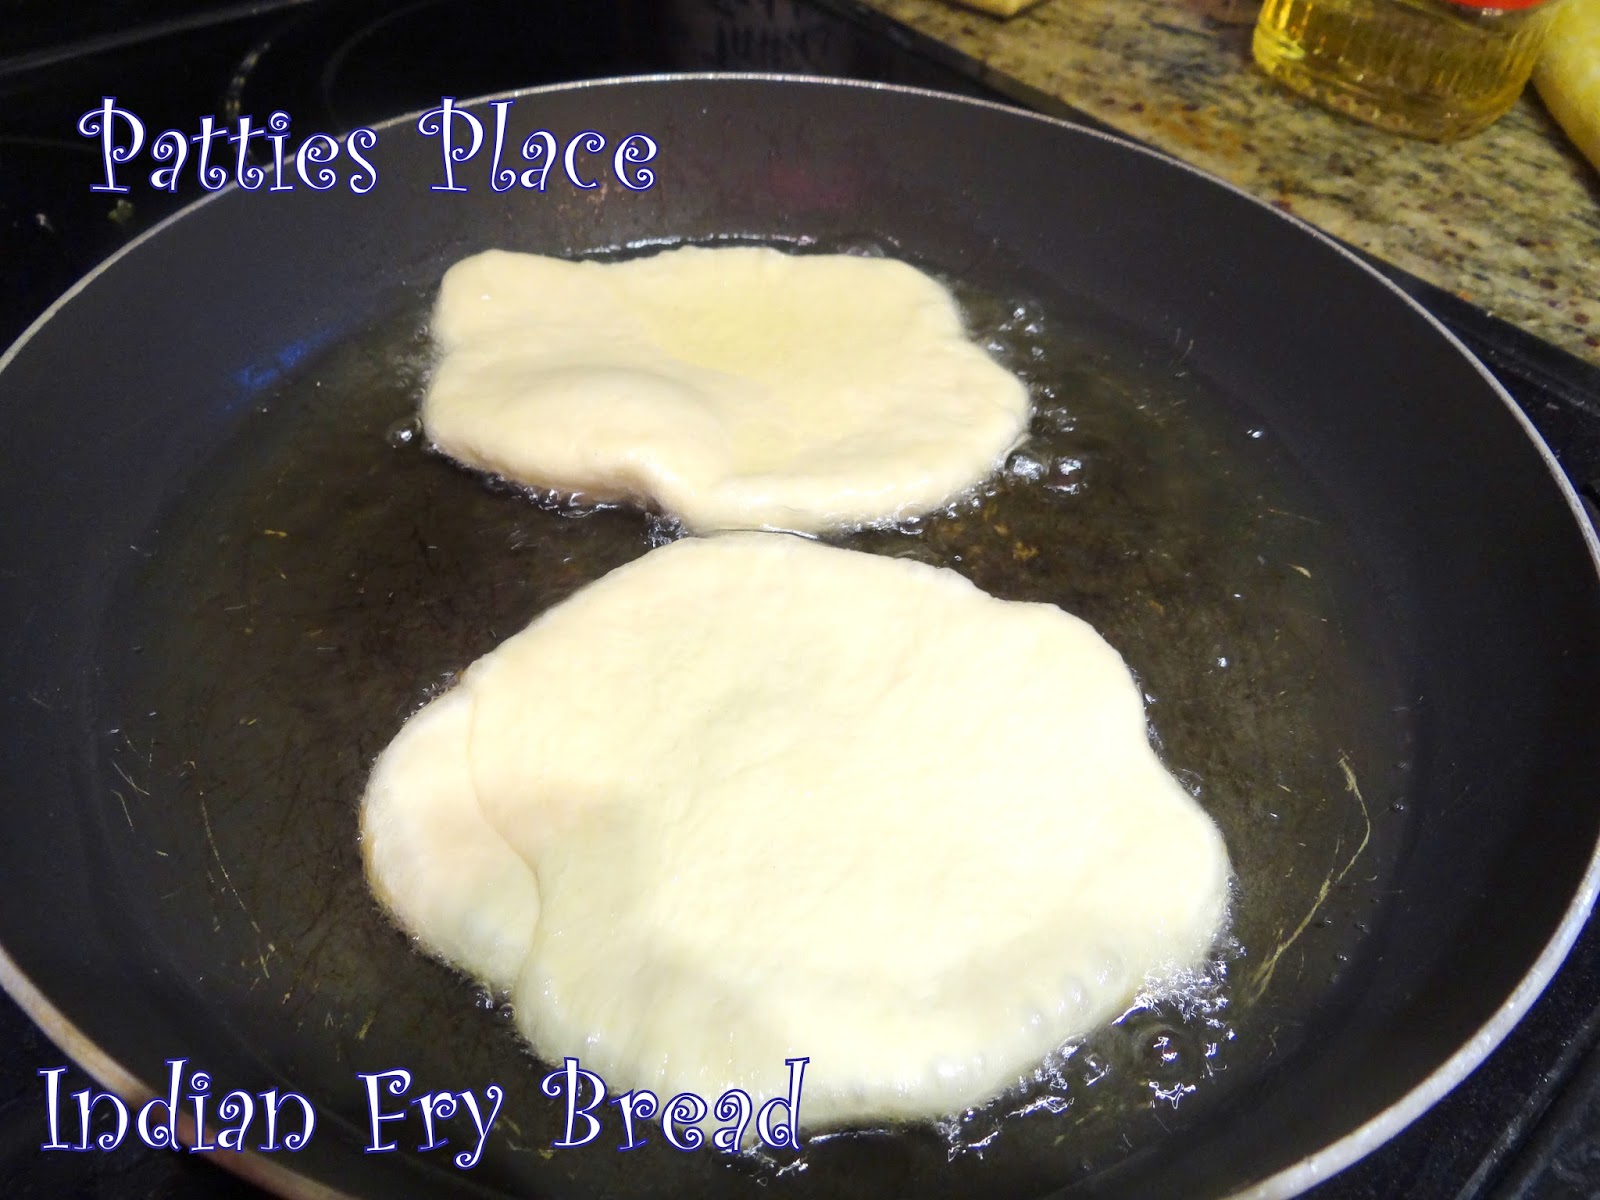
Navajo Tacos are great meal to make when you have leftover chili at home. Fry up the Indian Fry Bread for about 2 minutes per side…… then lay out on a paper towel to drain excess oil.
Fry up the dough in a frying pan with 1/2 inch of hot, canola oil.
Then dry the Indian Fry Bread on paper towels to soak up excess oil.
Here is the Indian Fried Bread….this would be good with honey and butter OR cinnamon and sugar on top for extra pieces. I do this with the leftover dough and make small “donut” twists. That’s a fun thing for kids to do with the dough.
Spread the warmed up chili on top of warm fry bread and add your favorite Mexican shredded cheeses and salsa or sour cream. Then add your toppings like tomatoes, lettuce, olives and avocados! Yummy!
I cut up all the veggies while the leftover chili was warming up on the stove……and then put them in individual bowls. Everybody just made their own Navajo Tacos. Some added salsa or sour cream to theirs. (I added both since I like them spicey). Depending on how spicy your chili is, it will not need salsa sometimes.
Navajo Tacos with Indian Fry Bread
And there you have it! Navajo Tacos are a great way to use up your leftovers from Chili Nights! You can also just BAKE the flattened dough pieces if you want to reduce the calories. We baked ours for about 8 to 10 minutes at a Girl’s Camp one year. It was almost as good. 😀
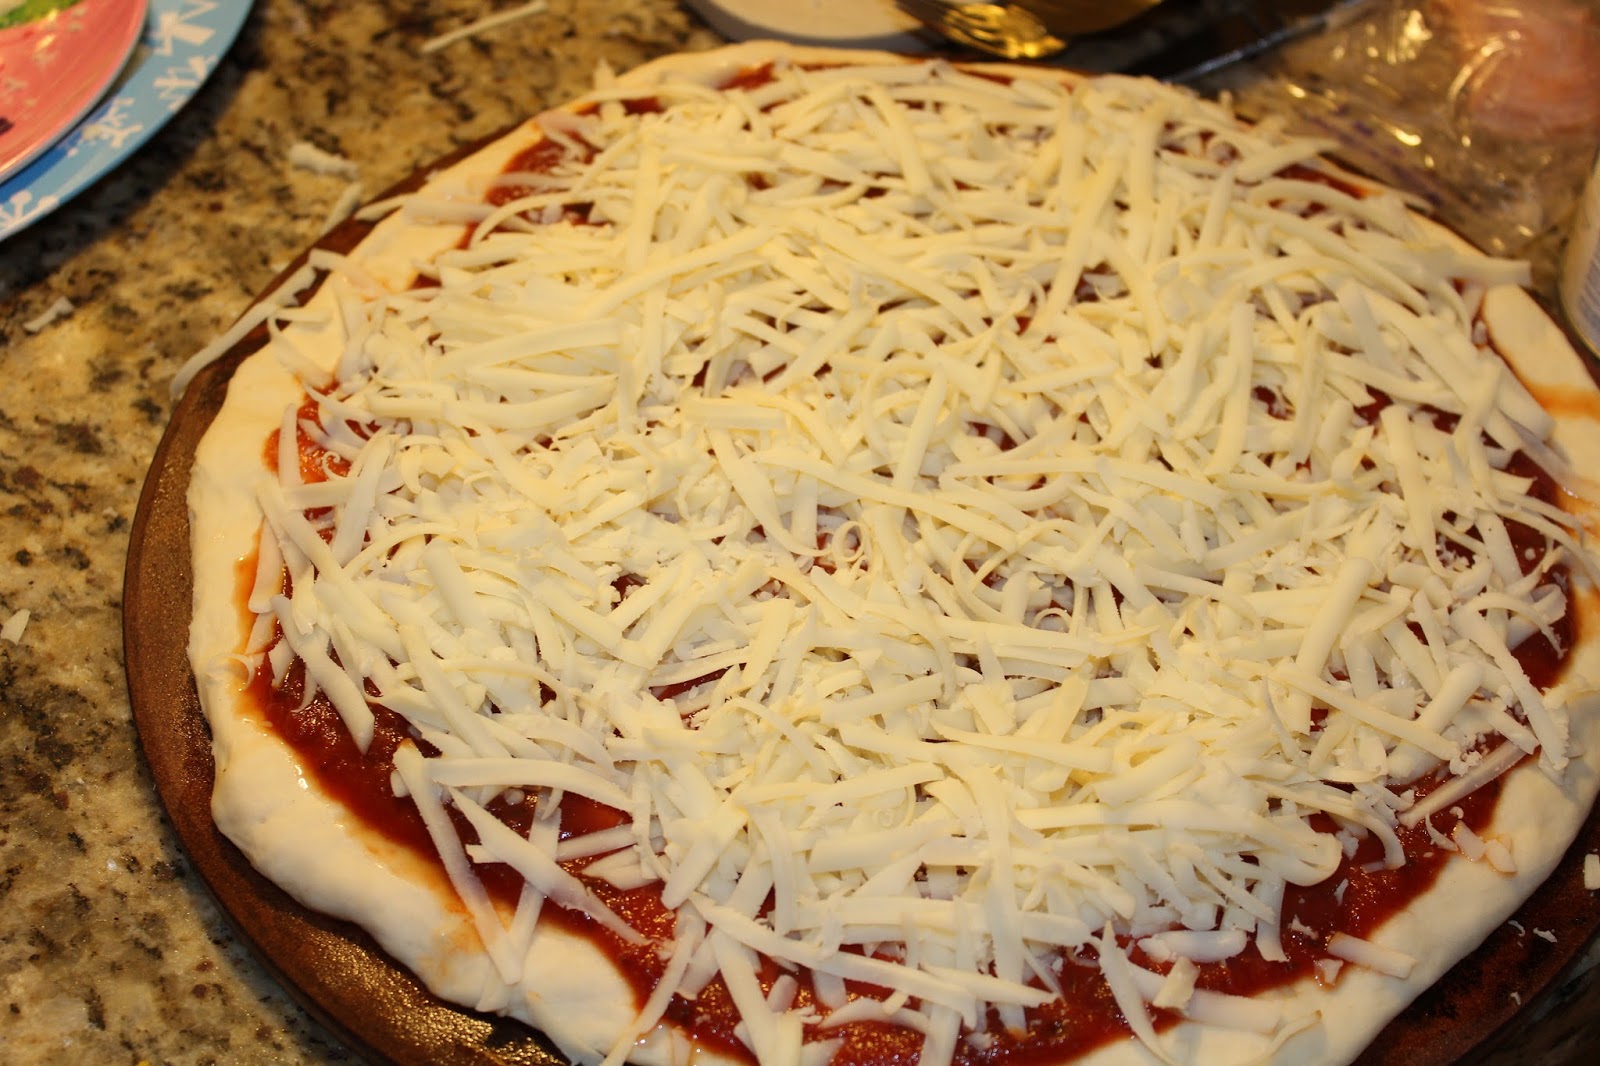
We wanted pizza tonight. So I made some homemade dough and we had fun adding toppings. It is the easiest thing. And it always turns out delicious on my pizza stones.
Homemade Pizza Dough Recipe 1 C warm water 1 T sugar 1 T Active Dry Yeast 1 t salt 3 T canola oil 2 1/2 to 3 Cups of white flour 2-3 Cups of mozzarella cheese, grated Pizza Sauce (I use Prego with mushrooms) Toppings of your choice for 2 large (12 inch) pizzas Mix up all the ingredients. Be sure you let the dough rest for 5 minutes, after you mix up all the ingredients and roll it into a ball. Then drop a bit of oil on each of the stones and rub it around before placing dough on the stone. If you made a super large pizza I usually bake it for about 6 minutes first before adding any toppings or sauce to be sure the middle will cook through and not be doughy. (I use a hot oven 450).
But if you are doing medium like 12 inch pizzas, don’t worry about it. Use a pizza stone and roll out the divided dough onto 2 different stones. I used one round one and one new rectangle one I bought recently. Be sure they are oiled.
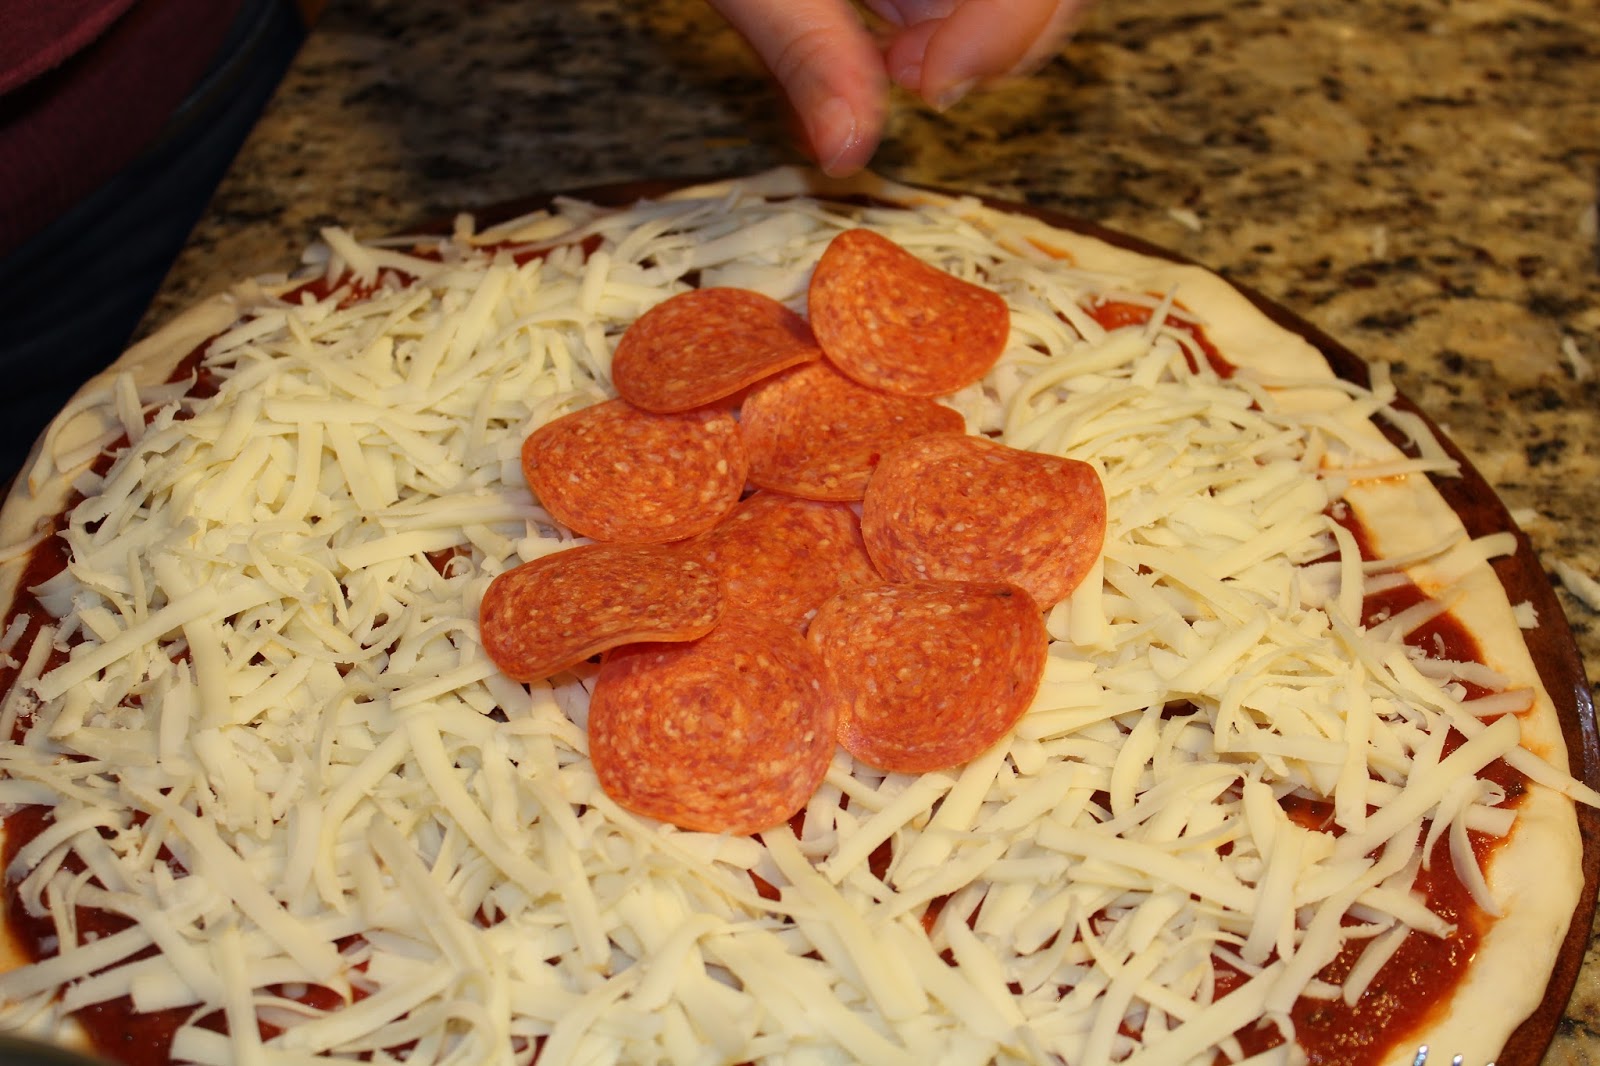
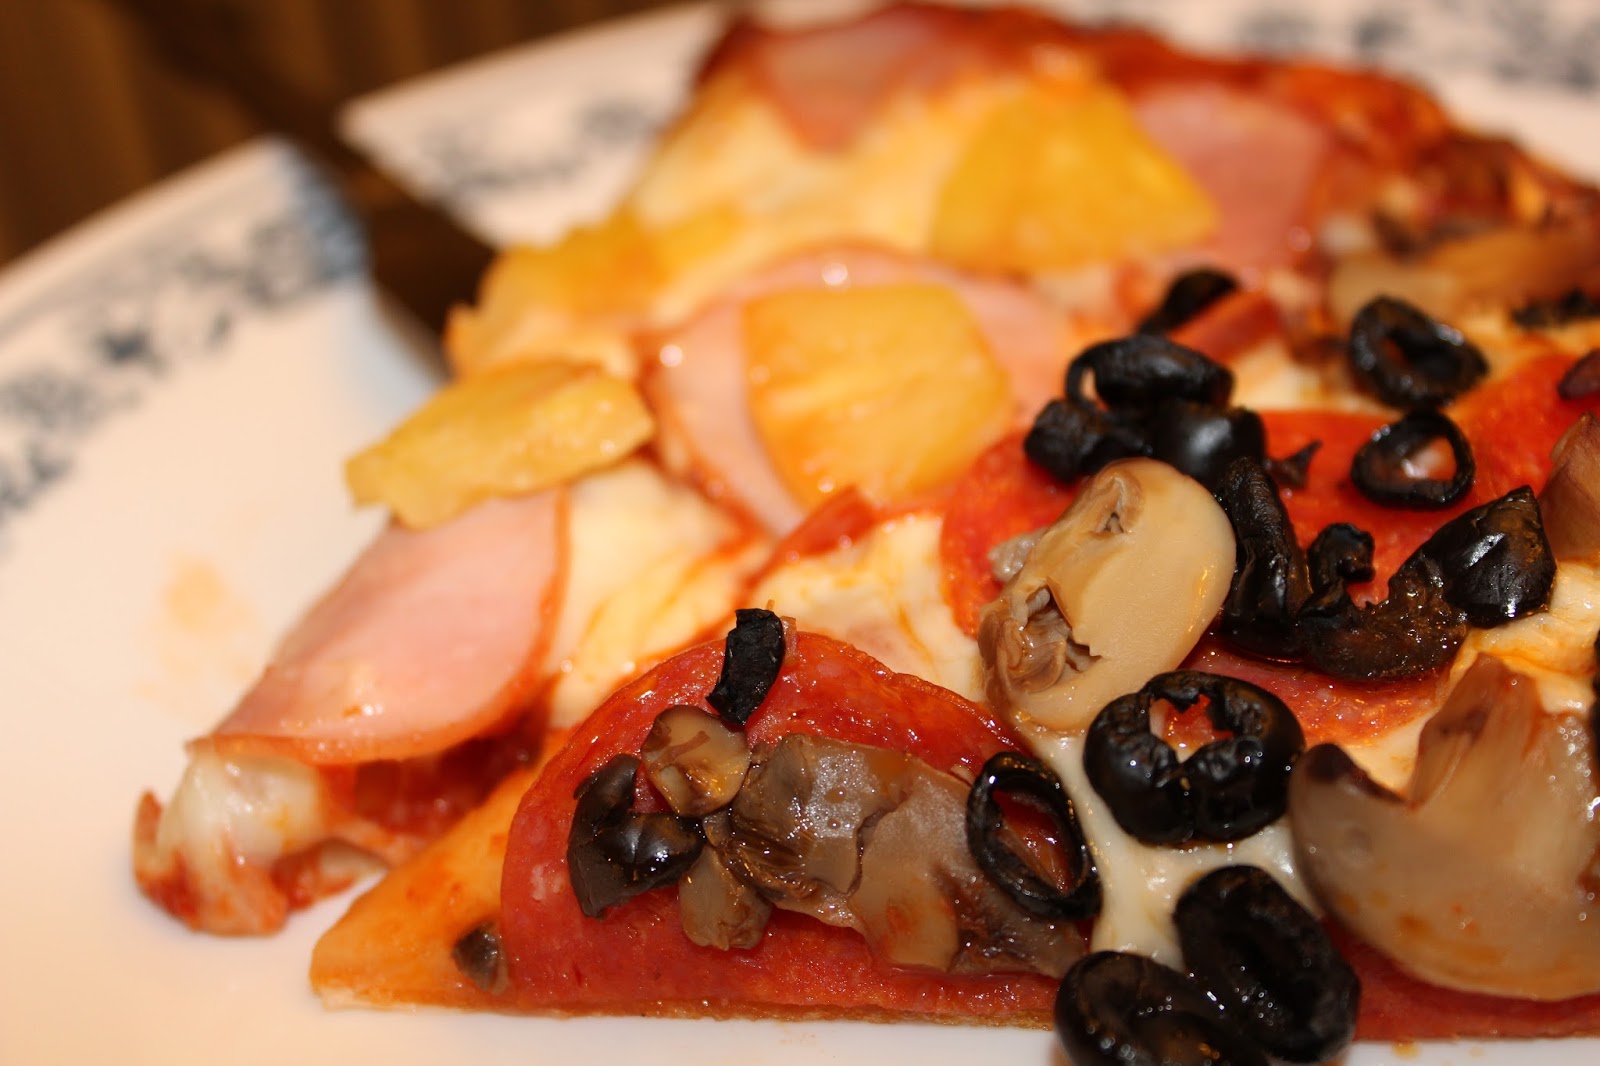
We did one pizza in pepperoni with mushrooms and olives.
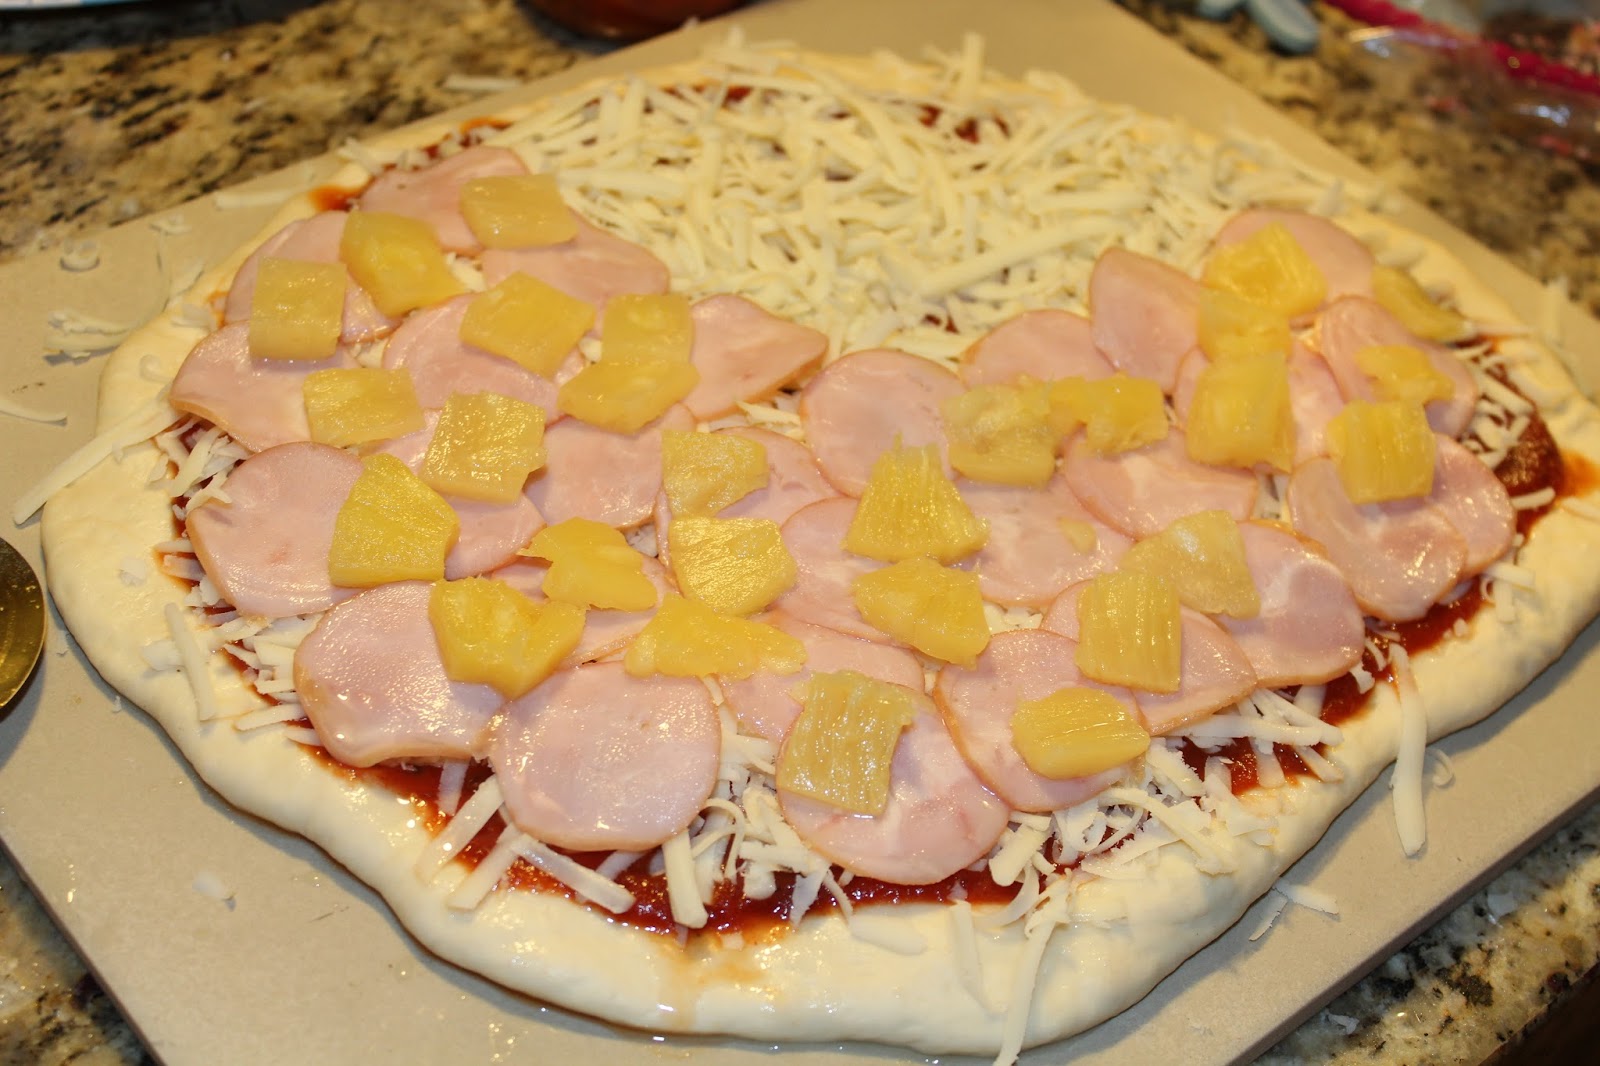
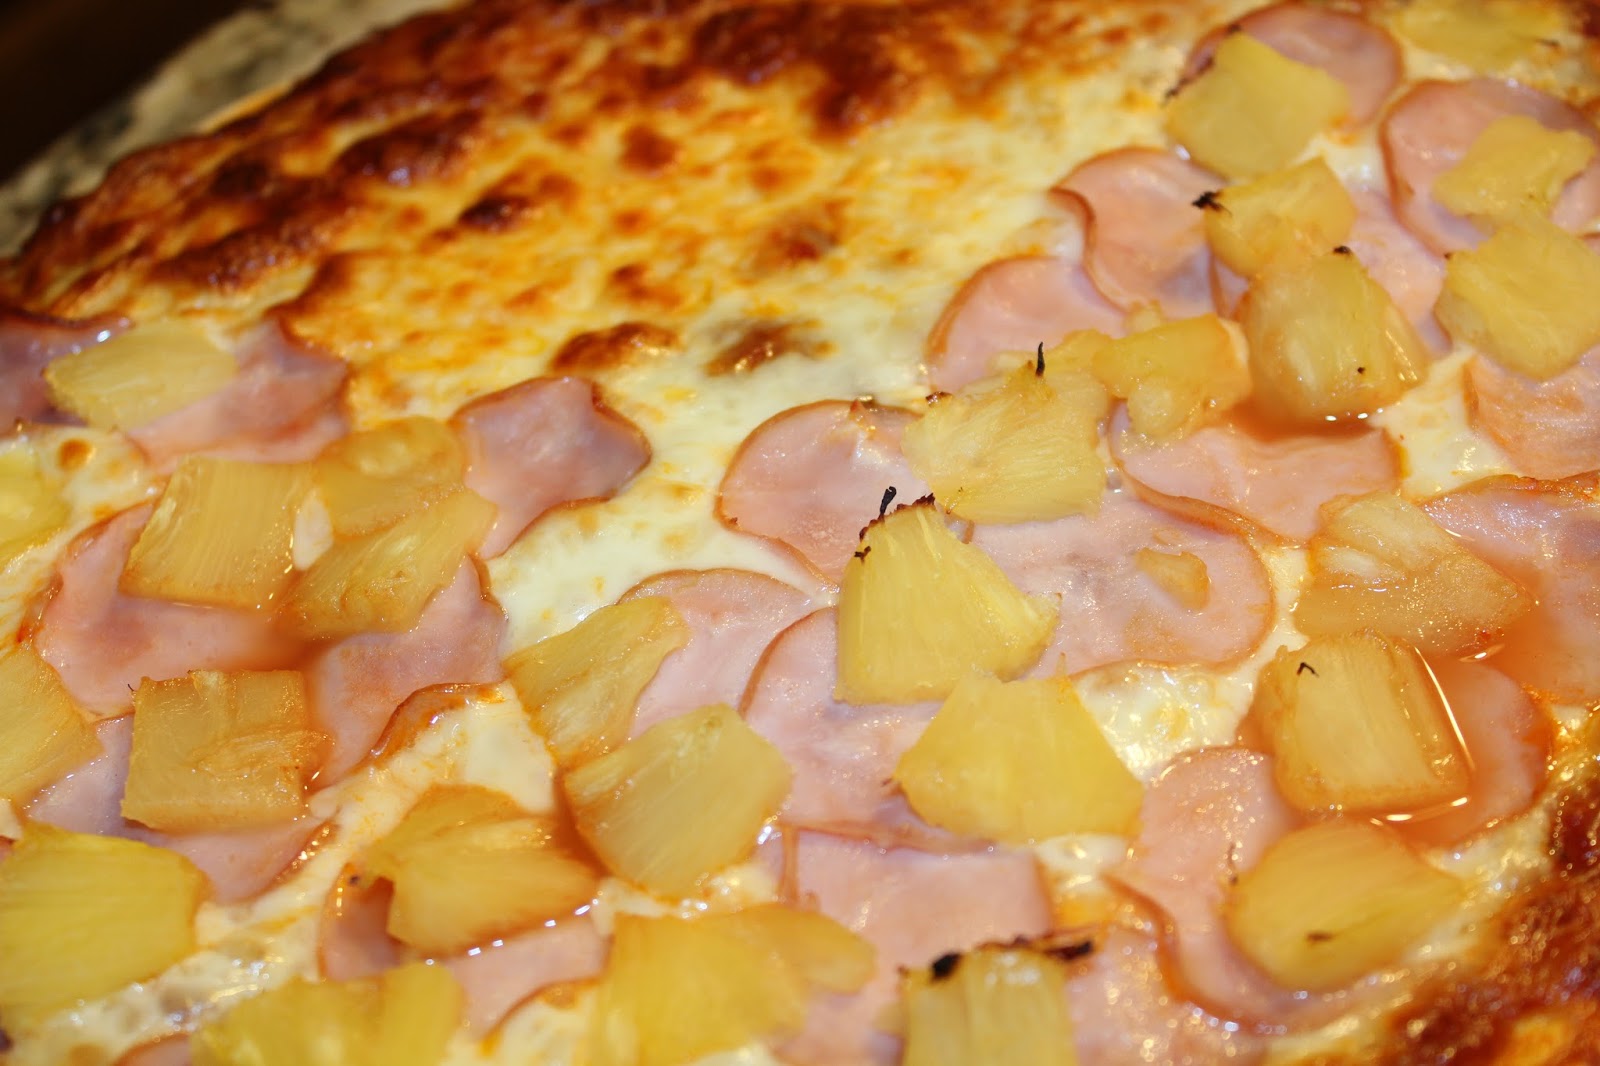
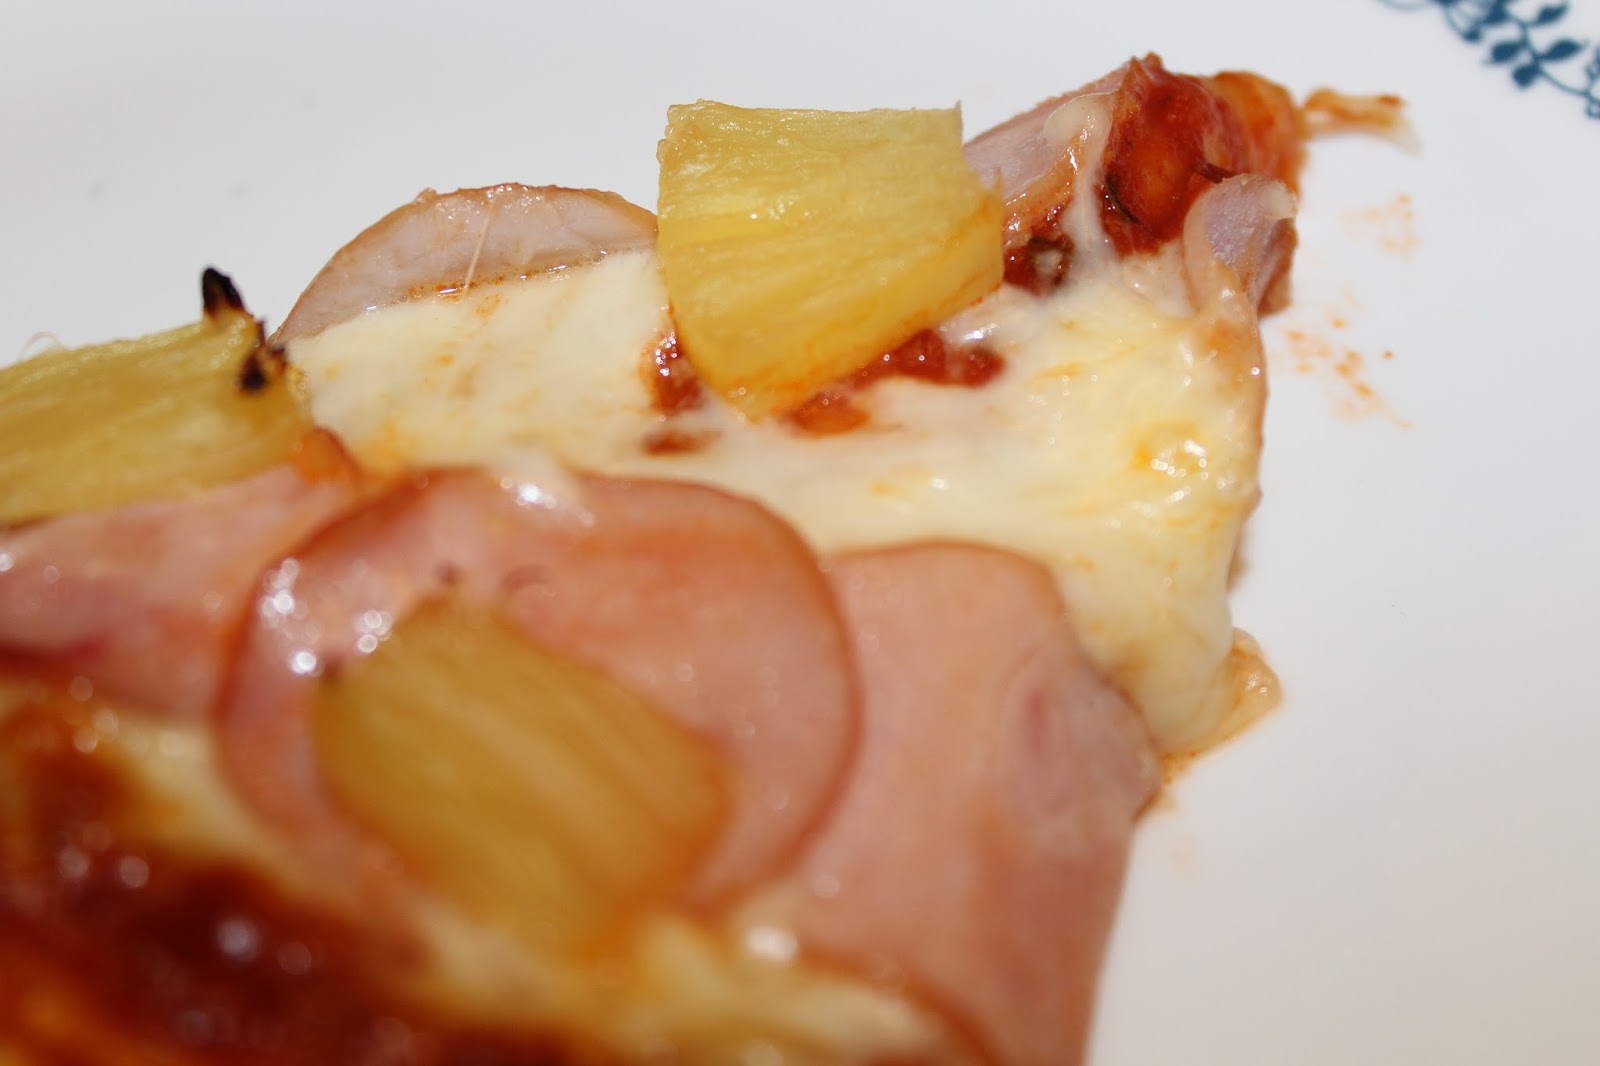
The other one we did in canadian bacon and pineapple tidbits. Yum. That’s my favorite. We left part of it just cheese pizza for the kiddos.
Once you spread the dough out evenly all over your two pizza pans or stones, then Pour 3/4 to 1 cup Prego sauce over the pizza. Then you can add 1 1/2 cups of the cheese on each pizza and your own choice of toppings.
Bake for 12 to 15 minutes in a 450 oven. When it looks ready and bubbly take it out and let it rest for 5 minutes before cutting into it with a pizza cutter. I usually try to do 8 to 10 pieces, making some large and some small for the adults and the kids. Then dig in brutha! It’s done!
Homemade Pizza is so much better than boxed pizzas from the supermarket. And it is just as good as the pizza shops make! Just be sure you use a good pizza dough recipe. That’s the secret!
We had such a fun time watching the Super bowl on Sunday and having the family over for pulled pork sliders, side salads, and Salted Caramel Samoa Cake for dessert. It was so delish!
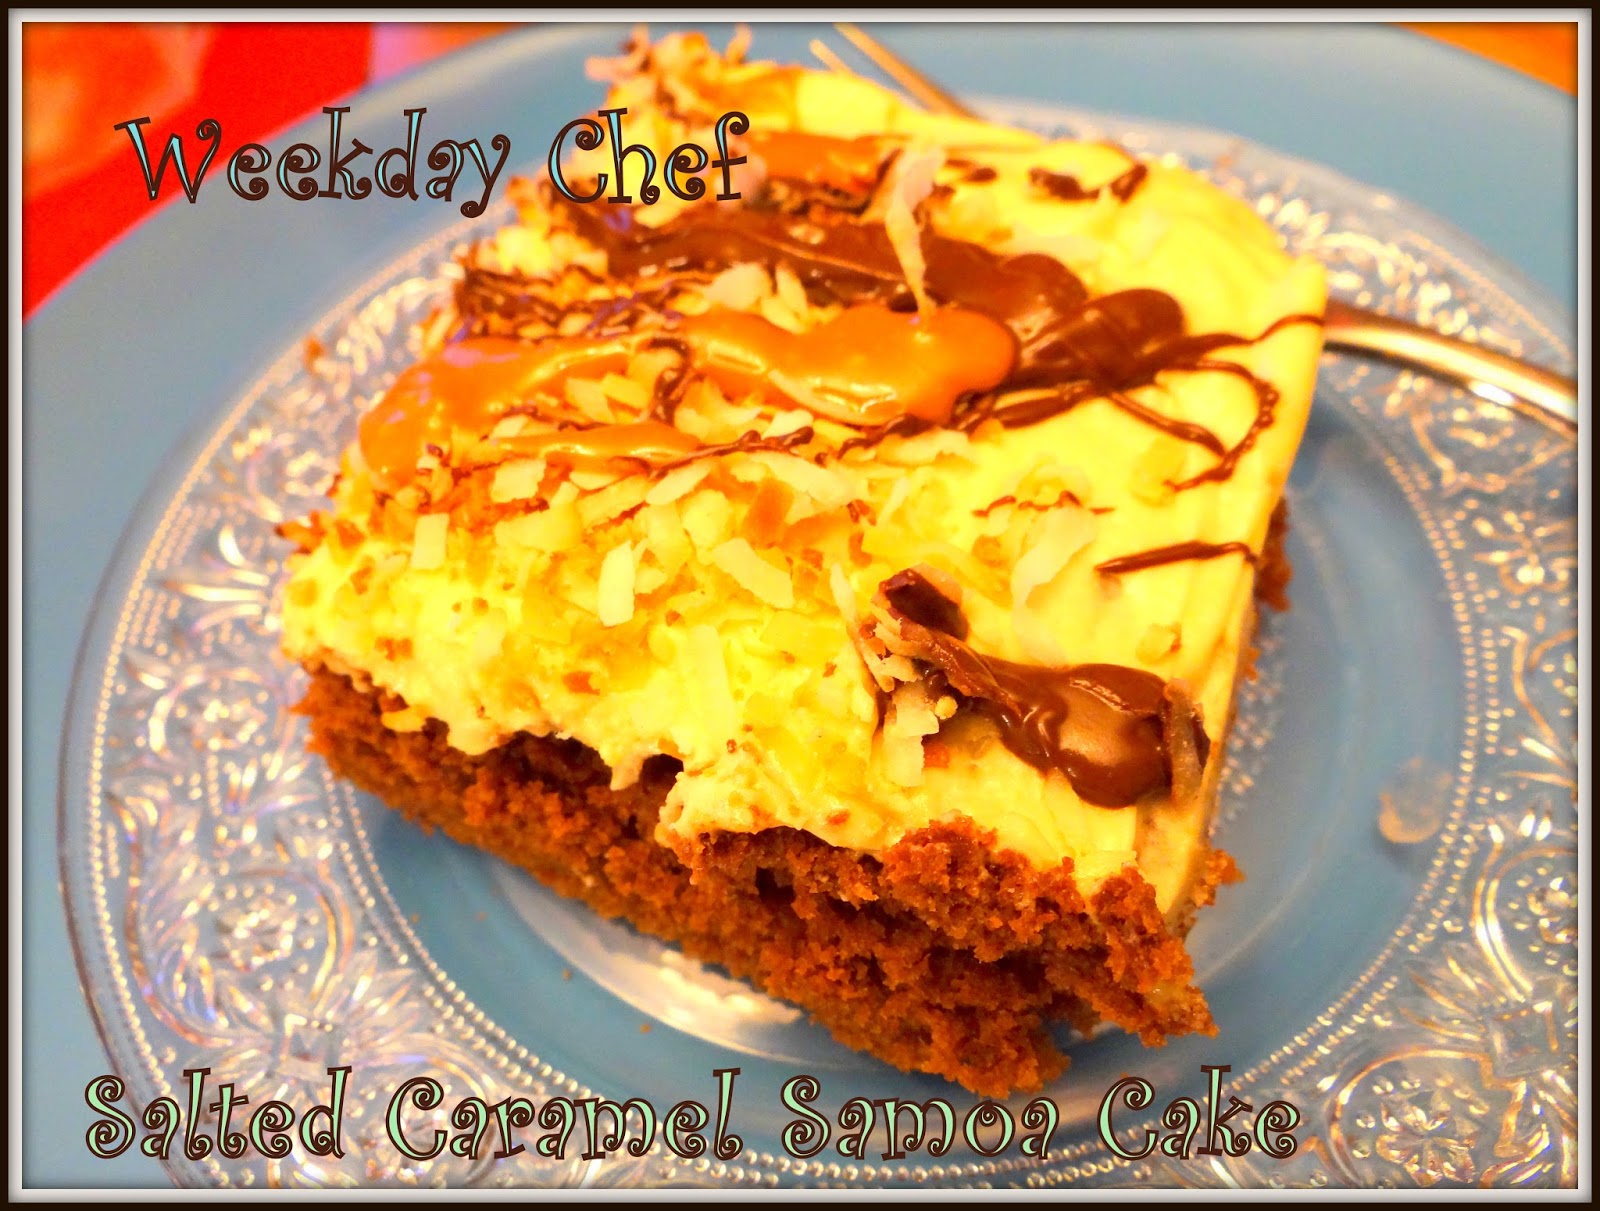
Salted Caramel Samoa Cake
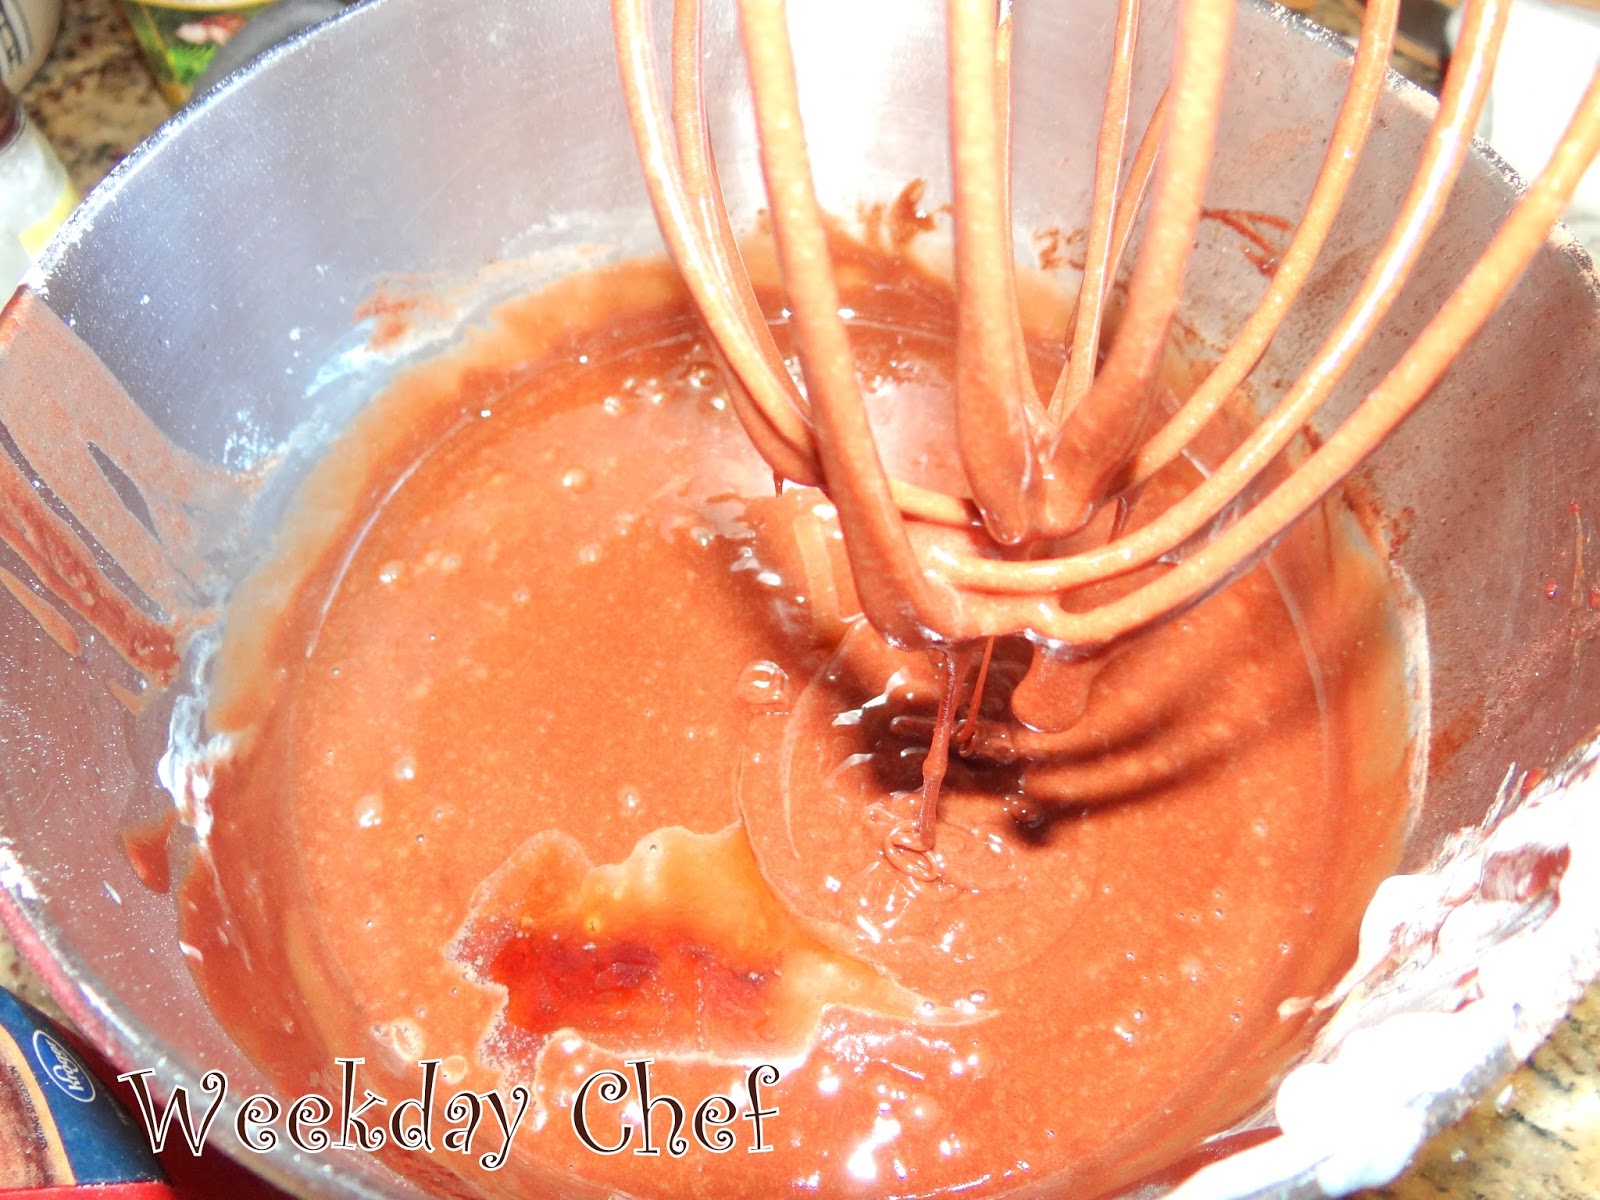
I made a regular chocolate cake in a sheet cake pan. But I doctored it up a little with some sour cream and a small box of chocolate pudding (dry) like I always do. Then I added 1/4 cube of butter melted to the batter. It makes it have a much richer chocolate taste. But the real hero is the caramel ice cream topping in the buttercream icing. Salted Caramel Samoa Cake was an idea swiped from the Girl Scouts Samoa cookies.
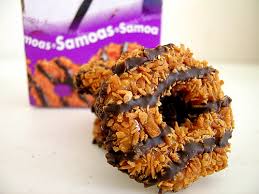
Girl Scouts Samoa Cookies are a treat, but not like this Salted Caramel Samoa Cake!
It is made with coconut, caramel and chocolate, just like Samoa Cookies. I used caramel ice cream topping in the deliciously delectable salted icing. I was eating it by the spoonful, I swear. I still dream about how yummy the icing was!
This Salted Caramel Donut I got from Beyond Glaze was good. But not as good as the Salted Caramel Samoa Cake. Nope.
It kind of reminded me of this Salted Caramel donut I had recently. Super yum![/caption] The best part is you add toasted coconut to the Salted Caramel Samoa Cake icing, then add caramel bits or melted Kraft caramels, and then drizzle warm chocolate bark or chocolate chips melted in the microwave on top. It is the yummiest of cakes. My family all raved about it. And making it in a sheet cake pan really made it go a long way. [n top of the Salted Caramel Samoa Icing It is a new favorite recipe of mine.
Toast the coconut in a non-stick pan for about 3 or 4 minutes.
Then let the coconut cool a bit before sprinkling it all across the caramel icing.
Here is how I did mine: I used a regular chocolate cake boxed recipe and added a cup of sour cream and a small pudding dry mix to the batter and 1/4 stick melted butter. Everything else is just as the boxed mix calls for. Then I greased a 13 x 18 one inch deep cookie sheet with Pam and poured the batter. I baked it at 375 for about 20 minutes. I bakes a lot faster because it is not a deep cake. Then I made up the icing. I got the recipe for the salted caramel buttercream from Chef in Training.
Here is her recipe for the Salted Caramel Buttercream Icing: I tweaked the recipe slightly
1/2 cup butter, softened
1/4 cup caramel ice cream topping
2 cups powdered sugar (hers calls for 3 cups)
1/2 teaspoon salt
1 teaspoon vanilla
2 Tablespoons milk
Bake at 350 for about 20 minutes to 25 minutes depending on your oven. It is a lot quicker because you are using that large sheet pan that is 1 inch deep.
Chocolate
et cake pan that is only 1 inch deep. Chocolate cake batter made richer with sour cream and a pudding mix and some melted butter. While it was cooling I made up the icing. Then I frosted it with the Salted Caramel icing. Oh my it is good. I kept licking the spoon and had to fight my granddaughter for the beaters.
This Salted Caramel Samoa Cake icing is so decadent and delish! I was licking the spoon AND the bowl!
Salted Caramel Samoa Cake Icing. It is so rich and delish! Then comes the real magic. I put 1 1/2 cups of coconut into a non-stick fry pan and toasted it for about 4 minutes watching it closely and turning it over and over with a spatula. Lay it out on a plate to cool. Then sprinkle it on the top of the Salted Caramel icing
Salted Caramel Samoa Cake Then I microwaved the chocolate chips for 30 seconds and added a little bit of oil to thin them. I’ve used chocolate bark too. Either one works well with 1/4 to 1/2 teaspoon of canola oil to thin it. Drizzle chocolate all across the cake back and forth. Then lastly get Caramel Bits or Kraft caramels and melt them down and add a little water for drizzling. OR you can just drizzle some Caramel ice cream topping over the drizzled chocolate. It was a great treat at the end of a Super Bowl Game to remember. Congrats to the Patriots who pulled it out at the last minute.
Salted Caramel Samoa Cake. Now I owe my son-in-law a Snickers candy bar, since we are a betting family. And, yes, I lost the bet. 😀
We were in the Swig Sugar Cookie zone. We were trying decide if we should get in the car and go down to the SWIG in Draper and get a cookie and a drink, or be ambitious and make our own.
I found a few Swig Copycat Cookie recipes online and my daughter decided to try one of them. We both wished they had a little more flavoring or something, they were not super buttery, which we LOVE. I also love the taste of almond extract in sugar cookies. We would add a 1/2 teaspoon of almond extract or vanilla in this cookie batter next time. The icing has sour cream in it. It is super Yummy! But don’t forget to flavor it with some vanilla. Here is the recipe for Swig Copycat Sugar Cookies we got from Vintage Revivals.
My SOUR CREAM Sugar Cookie FROSTING
1/2 cup room temperature butter
3/4 C Sour Cream
3/4 t salt
1/4 C Milk
1/2 teaspoon vanilla
Powdered sugar till thickened to your liking.
A drop or two of Red Food Coloring for pink icing.
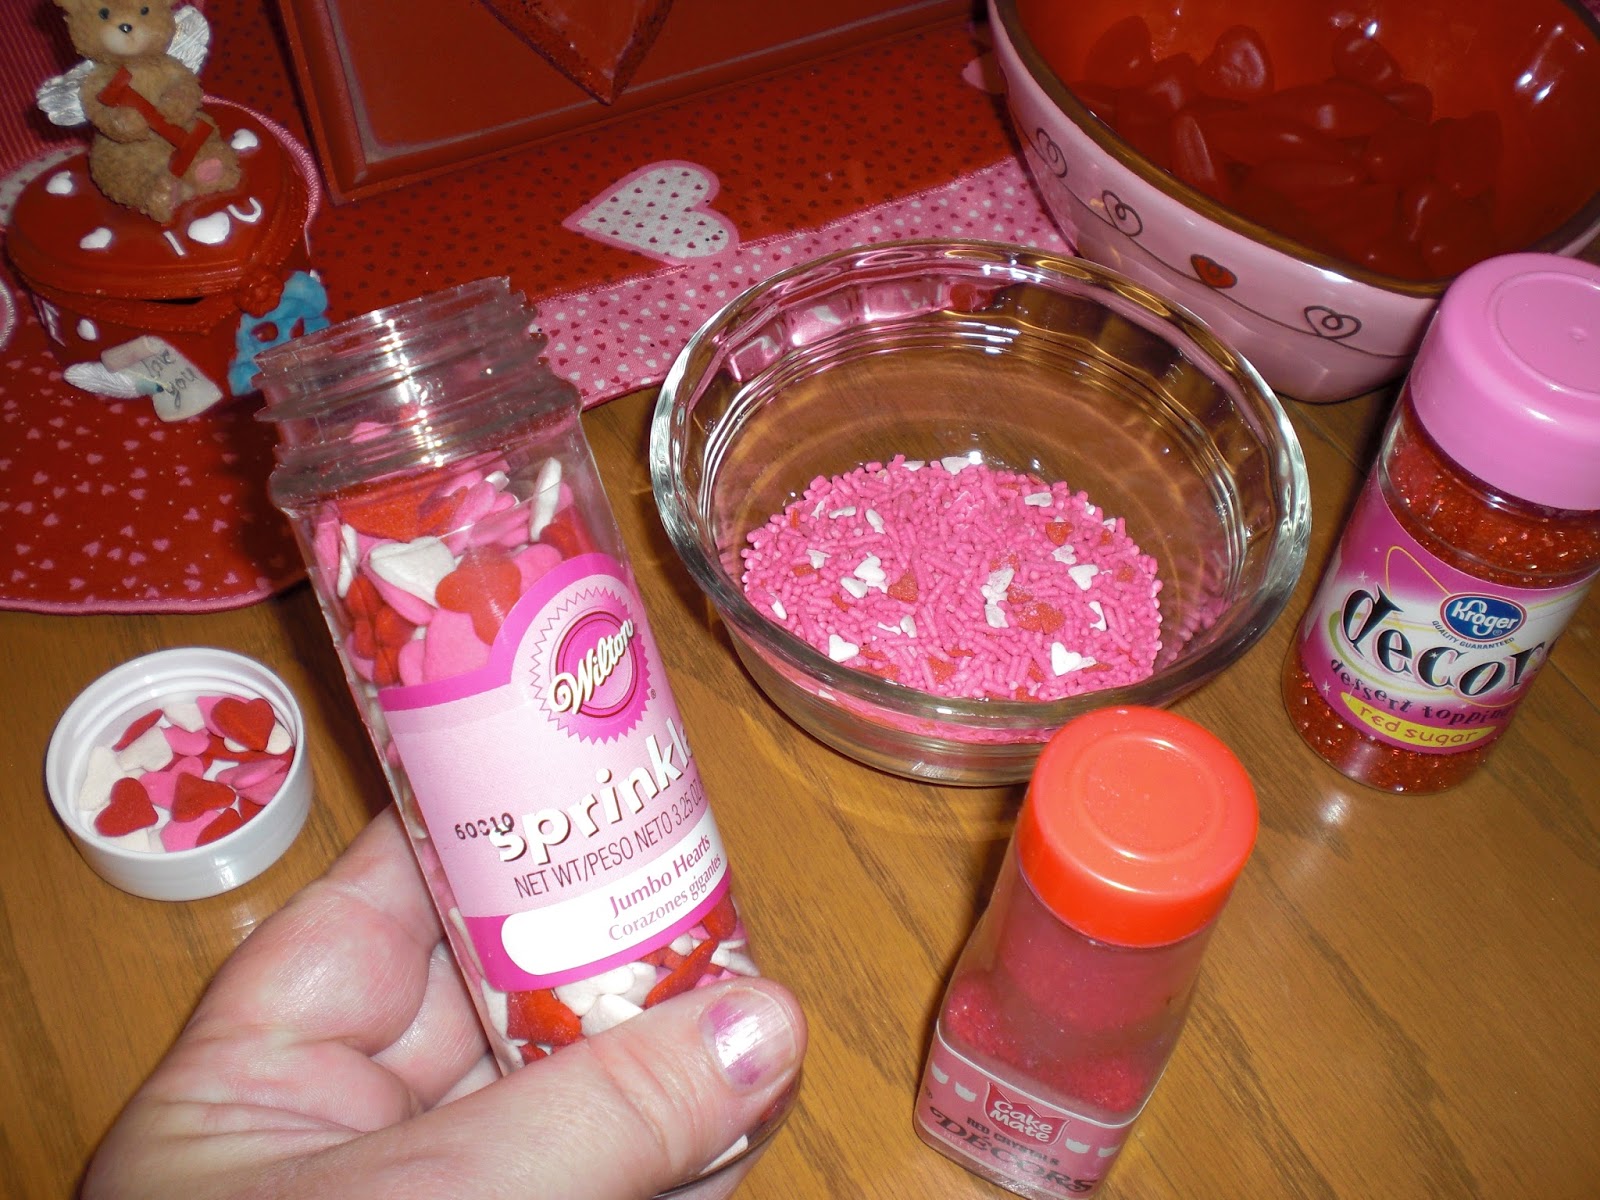
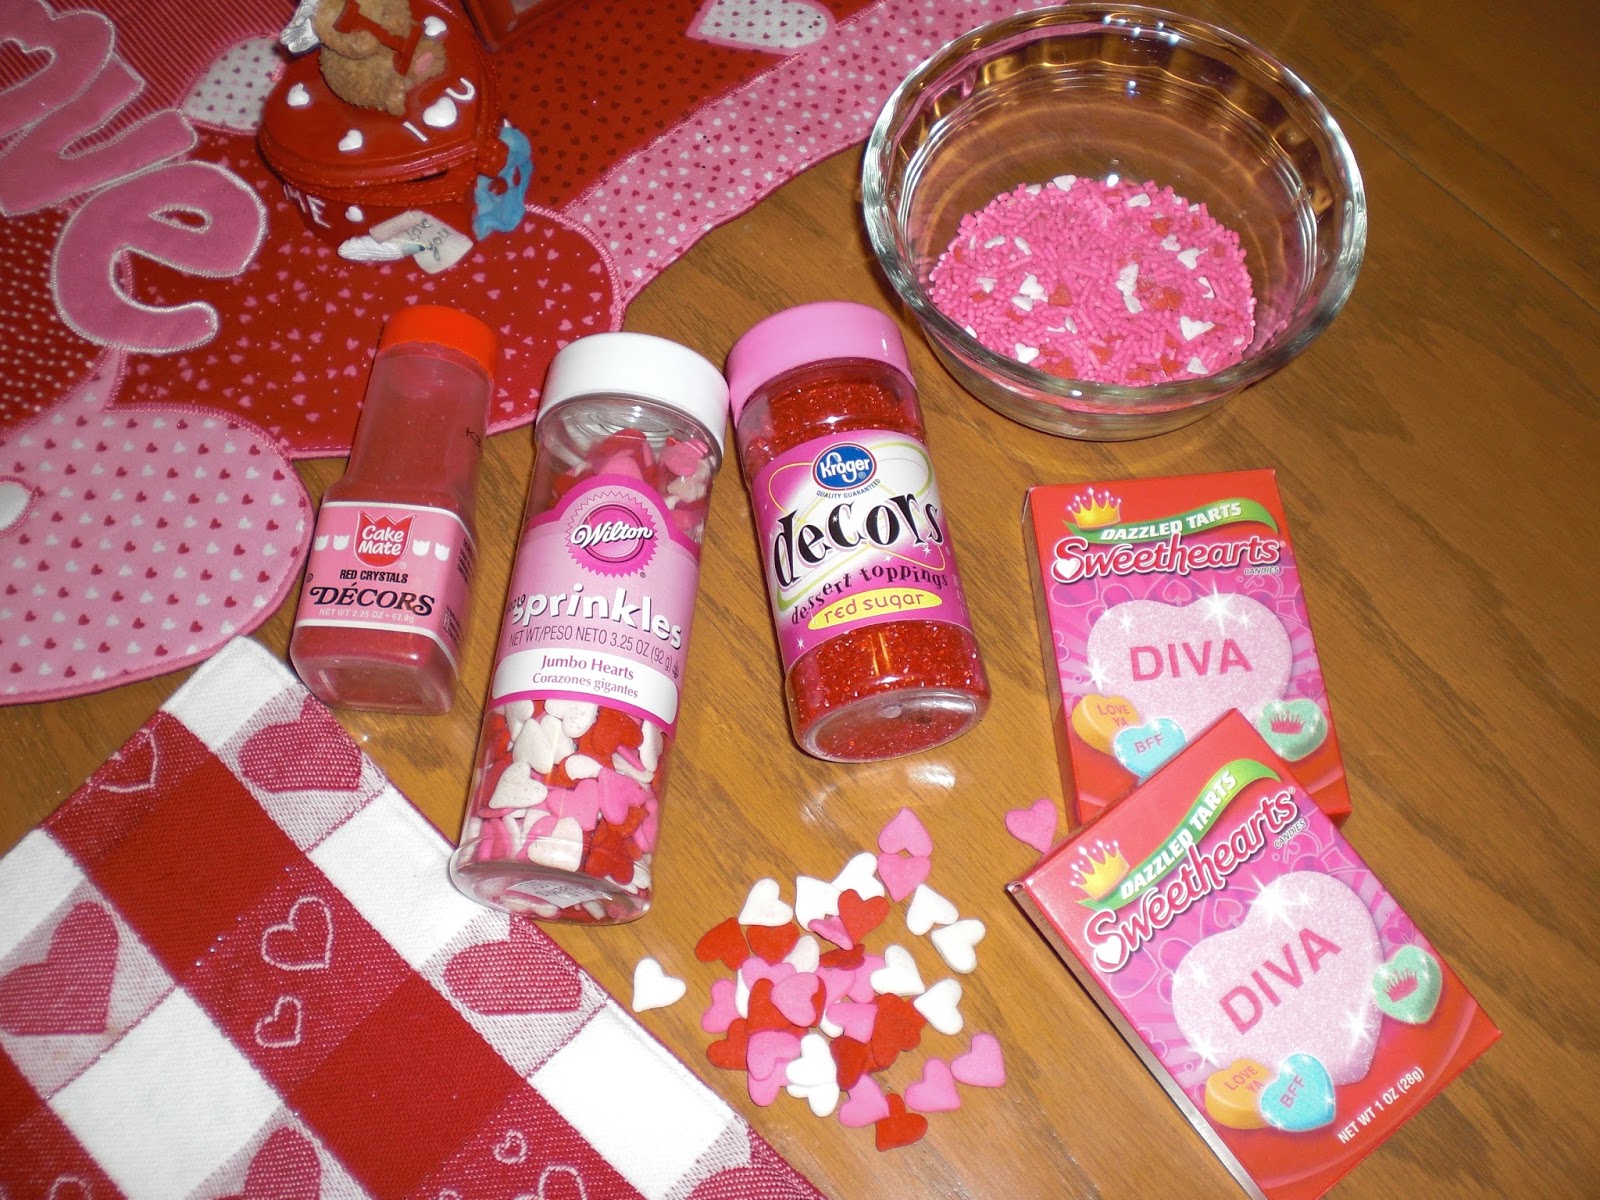
Now time to let the little kids play with all of my Valentines sprinkles. I have dozens of them!
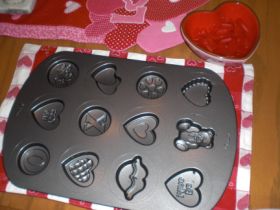
I bought this pan last year to make sugar cookies with in different shapes. It is kind of hard to get the cookies out once you bake them though. I wasn’t happy with how they turned out. But it might be fun for just making candy melt candies in red and pink and white!
These will be a lot prettier once the little girls get to decorate them! I have 2 little granddaughters aged 7 and 6 who are living with us right now while their new house is getting finished. It is so much fun hanging out with them!
All the Fun sprinkle topping we can play with to add to the Swig Copycat Cookies! Whee! Enjoy!
Game Day Guacamole and warm, salty chips is one of the best snacks for football lovers. I’m gettin my game on today….in preparation for next week’s Super Bowl. Too bad there is so much controversy surrounding the games this year. Poor Patriots. I guess they need to leave their balls alone from now on. lol.
I was looking in the market for some game day snacks for the Super Bowl next week. The avocados were looking amazing! They are large and beautiful. They would make a delicious, fresh guacamole. I bought a few and wanted to make some guacamole to go with the Chicken Taquitos I’m making for dinner.
Here is a delicious and easy recipe for making the most wonderful guacamole. It does call for a lemon, but I’ve used fresh lime, fresh oranges and even the bottled lemon juice is fine if you run out of fresh. GAME DAY GUACAMOLE 3 avocados, the bigger the better (smashed up) 1/2 cup of your favorite salsa 1 teaspoon lemon juice 3/4 cup sour cream seasoning salt and pepper to taste 1 diced tomato (optional if you like chunky guacamole) I do but my family doesn’t. I just slice my avocados in half and then twist so they come apart easily. Then I slice lines down the avocado right in the skin. Then scoop out the green stuff with a spoon and it is already in little chunks, very easy to smash up with a fork. Then add the sour cream, salsa, lemon juice and salt and pepper. Chill for 30 minutes before serving with fresh tortilla chips or hot taquitos. Or use it in a 7 layer dip! It is yummy!
This GUACAMOLE is really delicious and creamy, with the sour cream…..Yum!
I like it a lot better than the chunky varieties of Guacamole. I like it with thin, salty, warm chips too. I put mine into the microwave for 30 seconds before serving the bowl of chips. It just makes it taste better! Enjoy some fresh, guacamole for the big game next week! And I hope the best team wins! Woot!
Well, it’s the 2nd week of January and I’ve finally gone through most of my kitchen drawers, which was the task for the first week of January. And I’m about ready to move on. It takes about a week to go through all the drawers and successfully reorganize them, if you commit to doing a drawer a day, and it will only take about 30 minutes a day of organization. I have a big kitchen, so it has taken me more than a week. The “Before” picture of one of my messier drawers.[/caption] I don’t love organizing, so I promised myself I’d do 30 minutes a day and as I got into the job I’d actually push it up to about 45 minutes until I felt I had completed a task. It was actually kind of a rush to see the improvements I could make in only 30 minutes! I layed out all of the wraps and baggies and chose the ones I will keep. There is a method to organizing that I have learned from listening to a few youtube experts. ORGANIZING KITCHEN DRAWERS
Take everything out of the drawer and lay it out on a table to examine what you will keep and what you will toss and what you will donate.
REDUCE the AMOUNTof stuff you store in each and every drawer and cupboard.
Clean out the drawer with a good cleaner like 409 or Fantastic.
Use smaller containers to sort small, like items together.
Place the now organized products together with like items in drawers.
Then wipe out all the drawers as you empty them. Sort what was inside, choose what will go back and put it back in the drawer neatly, sorting like things into smaller bins. Now the drawer looks like this! Much better. And it took about 20 minutes to do.[/caption] I had a drawer full of towels that were always a mess. I decided to do something about that too. I am a towel hoarder, I know what you are thinking. So some of these had to go! I had WAY too many tea towels. I had to reduce the number. So I packed up a box of them to give away to charity. I kept only 6 that I really love. Then I put them into a bin and placed them in one of my laundry room cupboards. I hung one up on the stove front. I couldn’t believe how many of THESE things I had hanging around either! Can you say HOARDERS? lol. I packed a few of these to bring up to the cabin next time we go. And I threw one away that was out of juice. I had a gajillion microwave popcorns in my drawers. I had to purge a bunch of old ones. I found the perfect sized bin to put the rest into and placed it on a shelf in the pantry. This freed up a new drawer! Yay![/caption] I think the key is to find little containers to sort your packaged foods and then you alway know right where to go to get them or restock them…..a place for everything, and everything in its place. (My grandma used to say that….she used to run an entire 400 acre farm in Iowa!
One of my drawers had chocolate chips and hot chocolate and an array of birthday candles and cupcake sprinkles. I put the chocolate chips in a bin, the sprinkles all on a lazy susan, and the hot chocolates in a mini bin of their own. This will go in the pantry on a shelf.[/caption] The next drawer I cleaned out was the cookie and cake decorating things. Now I’ve decided that I have altogether TOO MANY cookie cutters. All of the organizational gurus say the first thing people need to do is PURGE, because we have TOO MUCH stuff.
I think I had 10 heart cookie cutters. I had to part with a few of these. I don’t want to be known as a hoarder!![/caption] So I reduced my Valentines cookie cutters from 9 to 6. I know, that’s still kind of in the “hoarders” category, but I can’t help myself….they were just so cute! And when we have family cookie parties, I will always have enough for everybody to make and bake together.
I love making Valentines Sugar Cookies with my family AND my classroom kiddos.
I just love this Valentine sugar cookie we made last year in my classroom. It is always fun to get out the sprinkles and sugars and little candies and make a masterpiece! Woo Hoo![/caption] So here is my sprinkles drawer after I cleaned it up a little bit. But I hated using this everyday drawer for something I only use rarely, on holidays mostly. That is a wasted drawer. So I cleared it out, combined a few of the sprinkles jars, and tossed out a few that were almost empty. Then I placed them all on a lazy susan. It looks SO much better. And it will be fun to twirl to see which colors I want to use next time we bake cookies.
My new Lazy Susan fit the drawer full of Sprinkles. I combined a few and tossed a few out. Now I feel I can see them at a glance.
Now I like this a lot better. I can see them easier, and I freed up another drawer in my kitchen. Yay! I love these Lazy Susans.[/caption] I debated whether to put the sprinkles for Valentines into the same baggie, but I decided to put the sprinkles onto their own lazy susan. I might want to use pink or red sprinkles other times of the year anyway. I bagged the holiday cookie cutters together with cupcake picks and sugar stencils. The Halloween cookie cutters and 4th of July and Easter were all bagged and organized. Then I put them all together in the cake decorating drawer. I feel so organized finally![/caption] I put all of the cookie cutters into their own baggie according to season; Christmas, Easter, Halloween, Valentines Day, St. Patrick’s Day, 4th of July. Now I can just pull out the right baggie and find the cookie cutters I need easily. It took me about 2 weeks to do all the kitchen drawers. I still have a hobby drawer left to do. Next week I will do the Kitchen shelves. Those should take at least a week. Although they truthfully aren’t as messy as the drawers were. Why is that?
Join me in getting organized this year! I’m pretty excited about it!
My kitchen pantry is a mess. It’s a chocolate mess! I tend to dump things wherever there is space when I’m in a hurry. I think that is my main problem. That’s why it gets overwhelming. I started my pantry with good intentions. But I don’t keep it organized like I should. I have been reading lots of organization blogs. And what I found out is that I am lacking bins and containers for all of my foodstuffs. If I had the proper containers and had them labeled, and had plenty of them, it wouldn’t be so hard to keep it up. I noticed that the places where I do have things labeled, they have stayed much neater over the 4 years since we added a pantry to the kitchen. So, since it is a new year, I made some organizational resolutions. I want to completely organize my house in 2015. I will purge and give away things we don’t use anymore. Sort things we do use and put them in containers so there is a place for everything. And try to keep up with daily clutter everyday! Hey what a concept. That means doing dishes and wiping off every countertop every evening before bed. And that means keeping things from mounting to clutter in the first place. I have an acquaintance who is an organizer nut. I asked her once what she feels like before she just has to clean and organize something. She said to me “I just look at a drawer and notice that I haven’t gone through it in awhile and I say to myself, THAT is the next thing I’m going to reorganize.” So they really do have it in their blood to sort. It’s an itch they get to sort and put things in order. People like me find it difficult to organize because we hate sorting stuff. I’d much rather scrub and polish than sort things. But it must be done. Do it along with me. I’ll share how I’m doing it as I go.
JANUARY WEEK 1 is…..Da dada da! KITCHEN DRAWER ORGANIZATION!
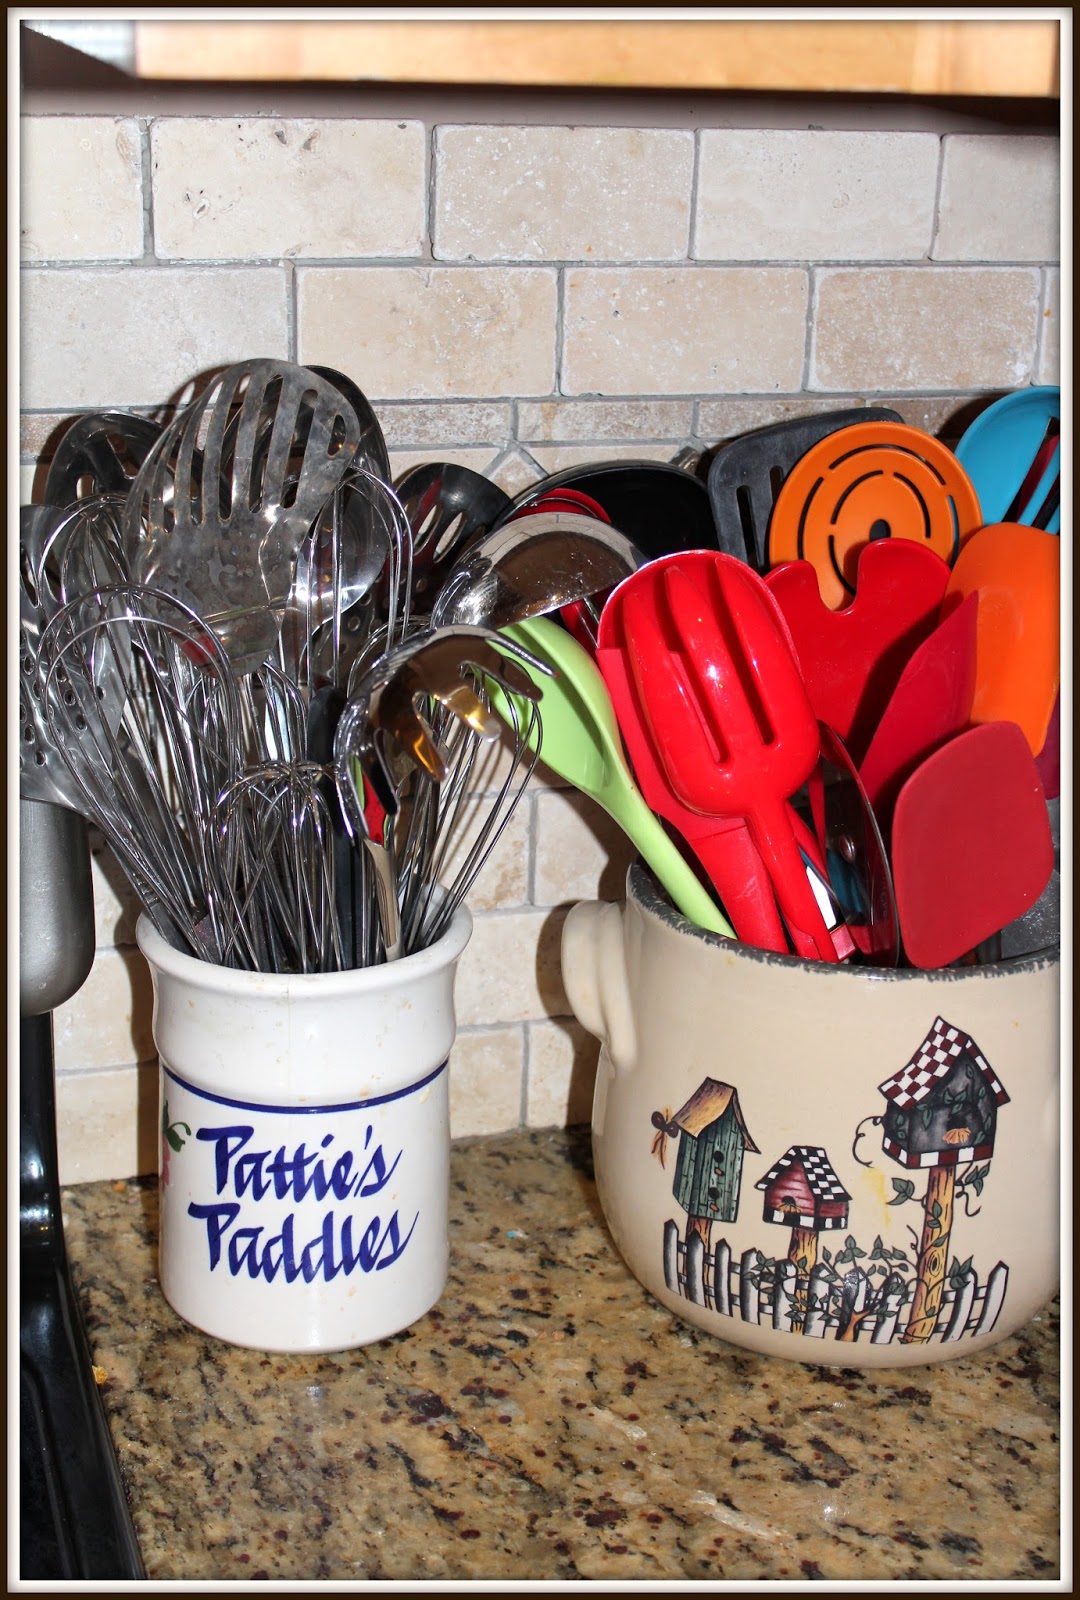
In my kitchen drawers. I am going to have a space for everything by the end of this year. The first thing I’m doing is my silverware drawer and junk gadget drawers. My Gadget Drawer turned into countertop crocks filled with metal utensils, plastic and silicone utensils and wooden spoons. Step 1. Take everything out of the drawer and sort it into piles. Throw away anything broken, bent or too old. Give away cheap stuff you don’t like anymore, or things you have 2 or 3 of. Then wipe down the drawer inside with some all purpose cleaner. Then find some cool containers for your silverware or gadgets. Here is how mine turned out. I like dumping what is in the dishwasher to the silverware drawer, that is why I have the “dumping” section. All my kids laugh at me, but I hate to sort. And I don’t want to spend hours in the kitchen. I like to cook, but not clean up. So the hubs does most of the dishes. He likes dumping too. So here is our compromise. Half dumping grounds, half sorted. I got these bins for 99cents at Walmart. They come in a pack of 3. So you can buy $10.00 worth and sort every drawer in your house with these. You’d have 30 of them. They would be good for desk drawers, bathroom drawers, and even in the garage and laundry room. Or sorting kids tiny things into larger boxes or bins.br />
One of the best pork chops I’ve ever tasted was at the Iowa State Fair about 10 years ago. We were visiting Iowa to go to a family reunion. Both of my parents were from Iowa. And, although they are both gone, my aunts and uncles still live there!
Here’s Mitt Romney enjoying a Pork Chop on a Stick during his Presidential Campaign.
My husband and I still joke about the Porkchop on a stick we got there at the fair. It was super delicious. They BBQ’d them for hours in these slow cookers that looked like 50 gallon drums. They were tender and oh, soooo, juicy! They know how to do BBQ in at the State Fair, that’s for sure.
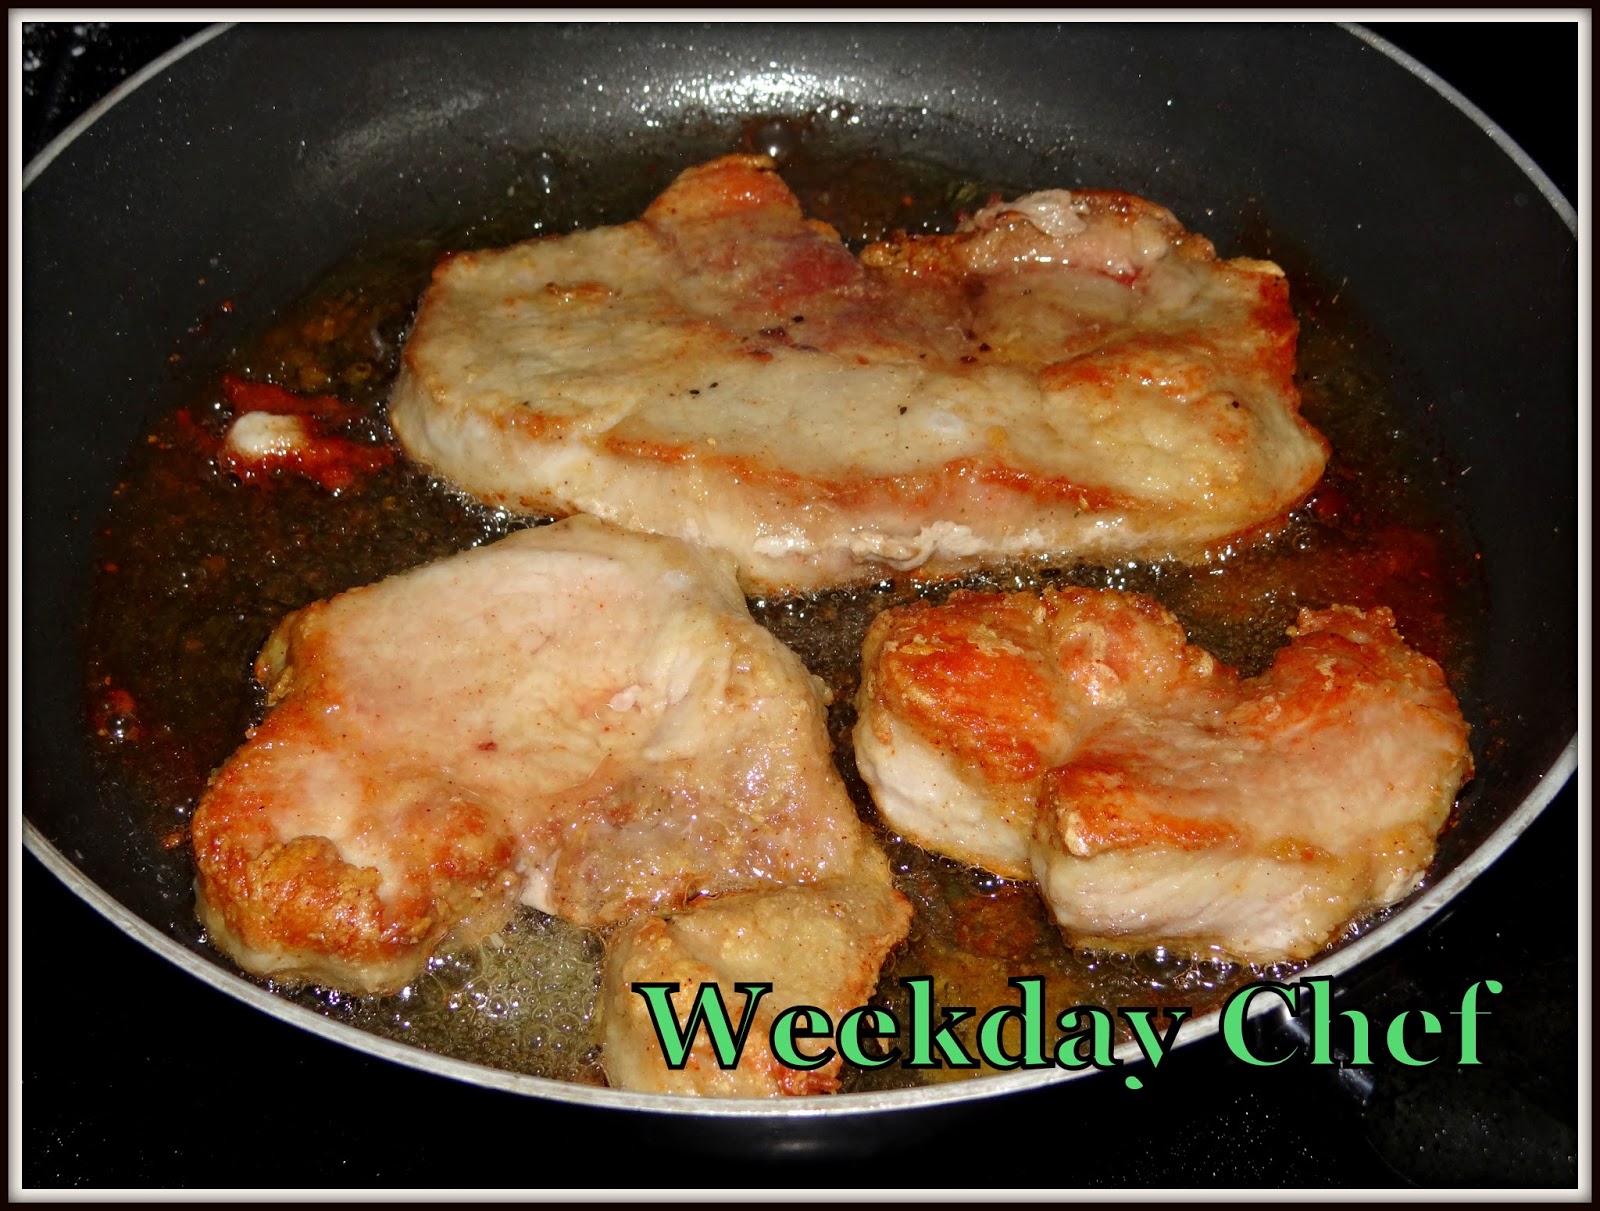
Chicken Fried Pork Chops in Mushroom Gravy
But, truth be told, I like a little breading on my pork chops. I love chicken fried steak and chicken too. So we can call them Chicken fried Pork Chops. And you’ve GOT to have mashed potatoes because we will whip up a mushroom gravy to pour over the top. It is a delicious one with some white wine in the gravy.
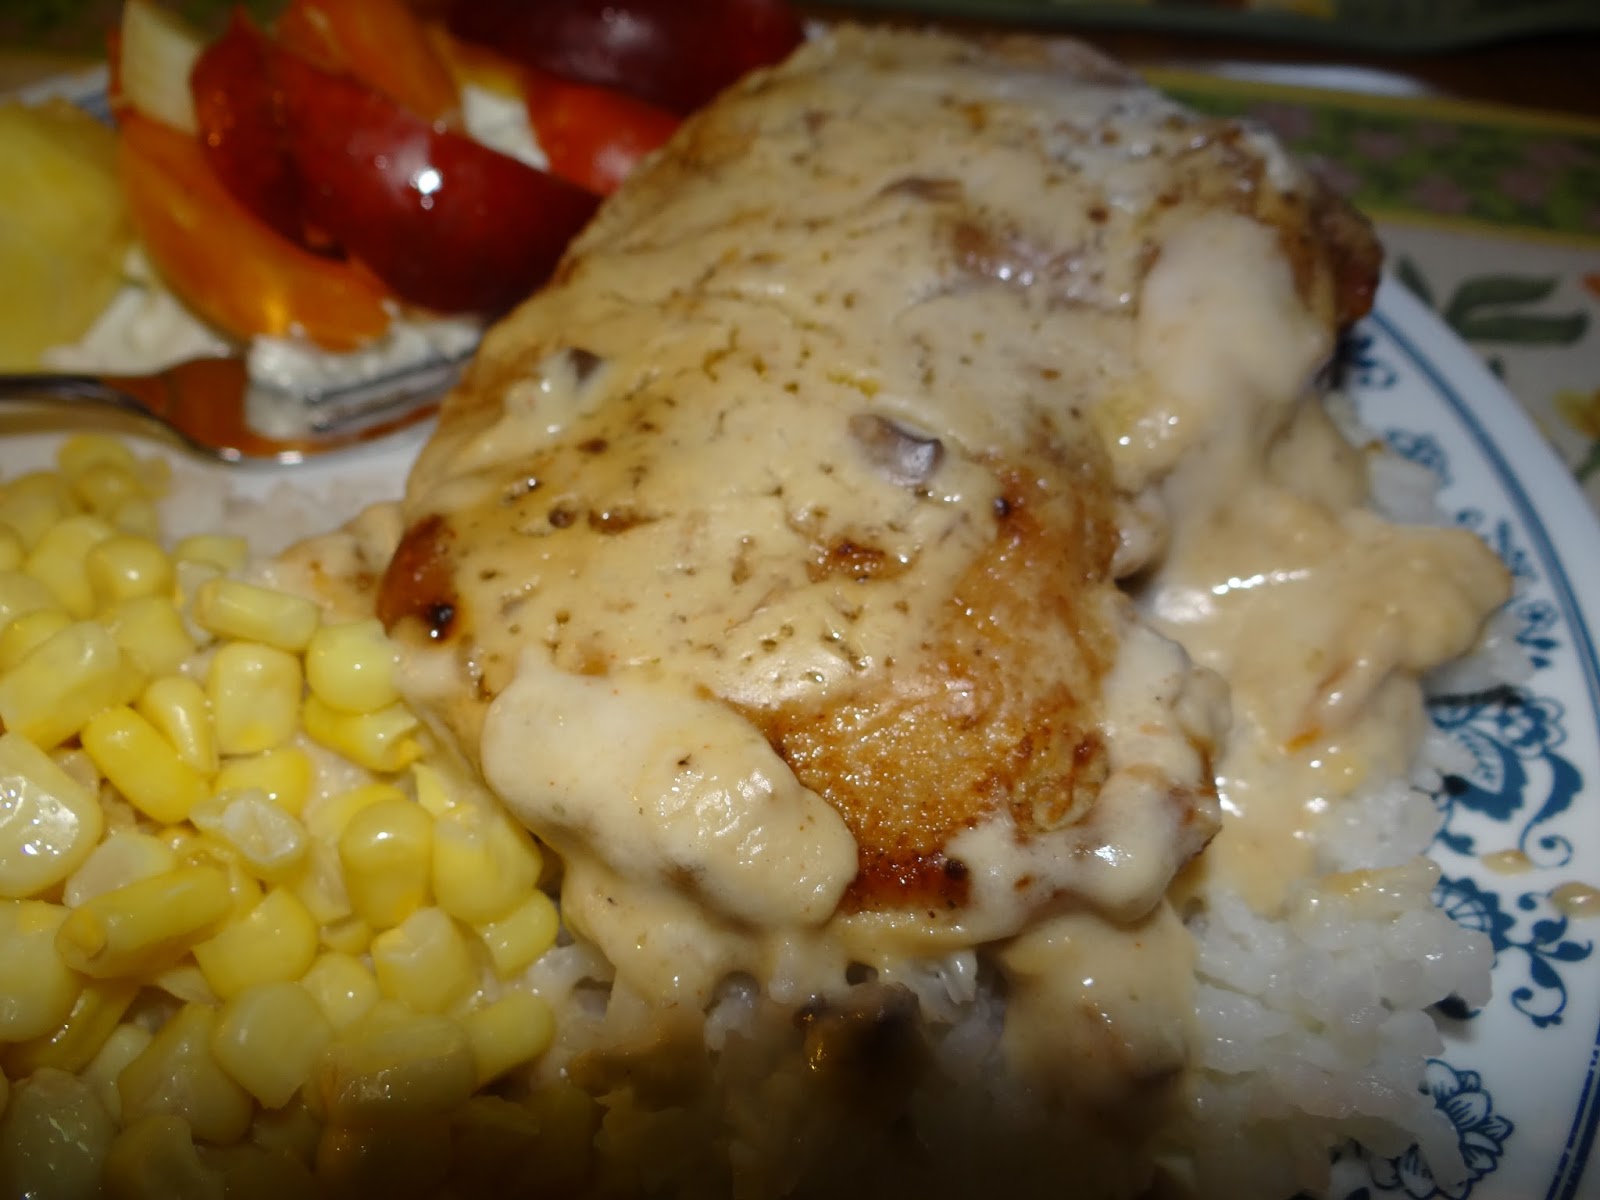
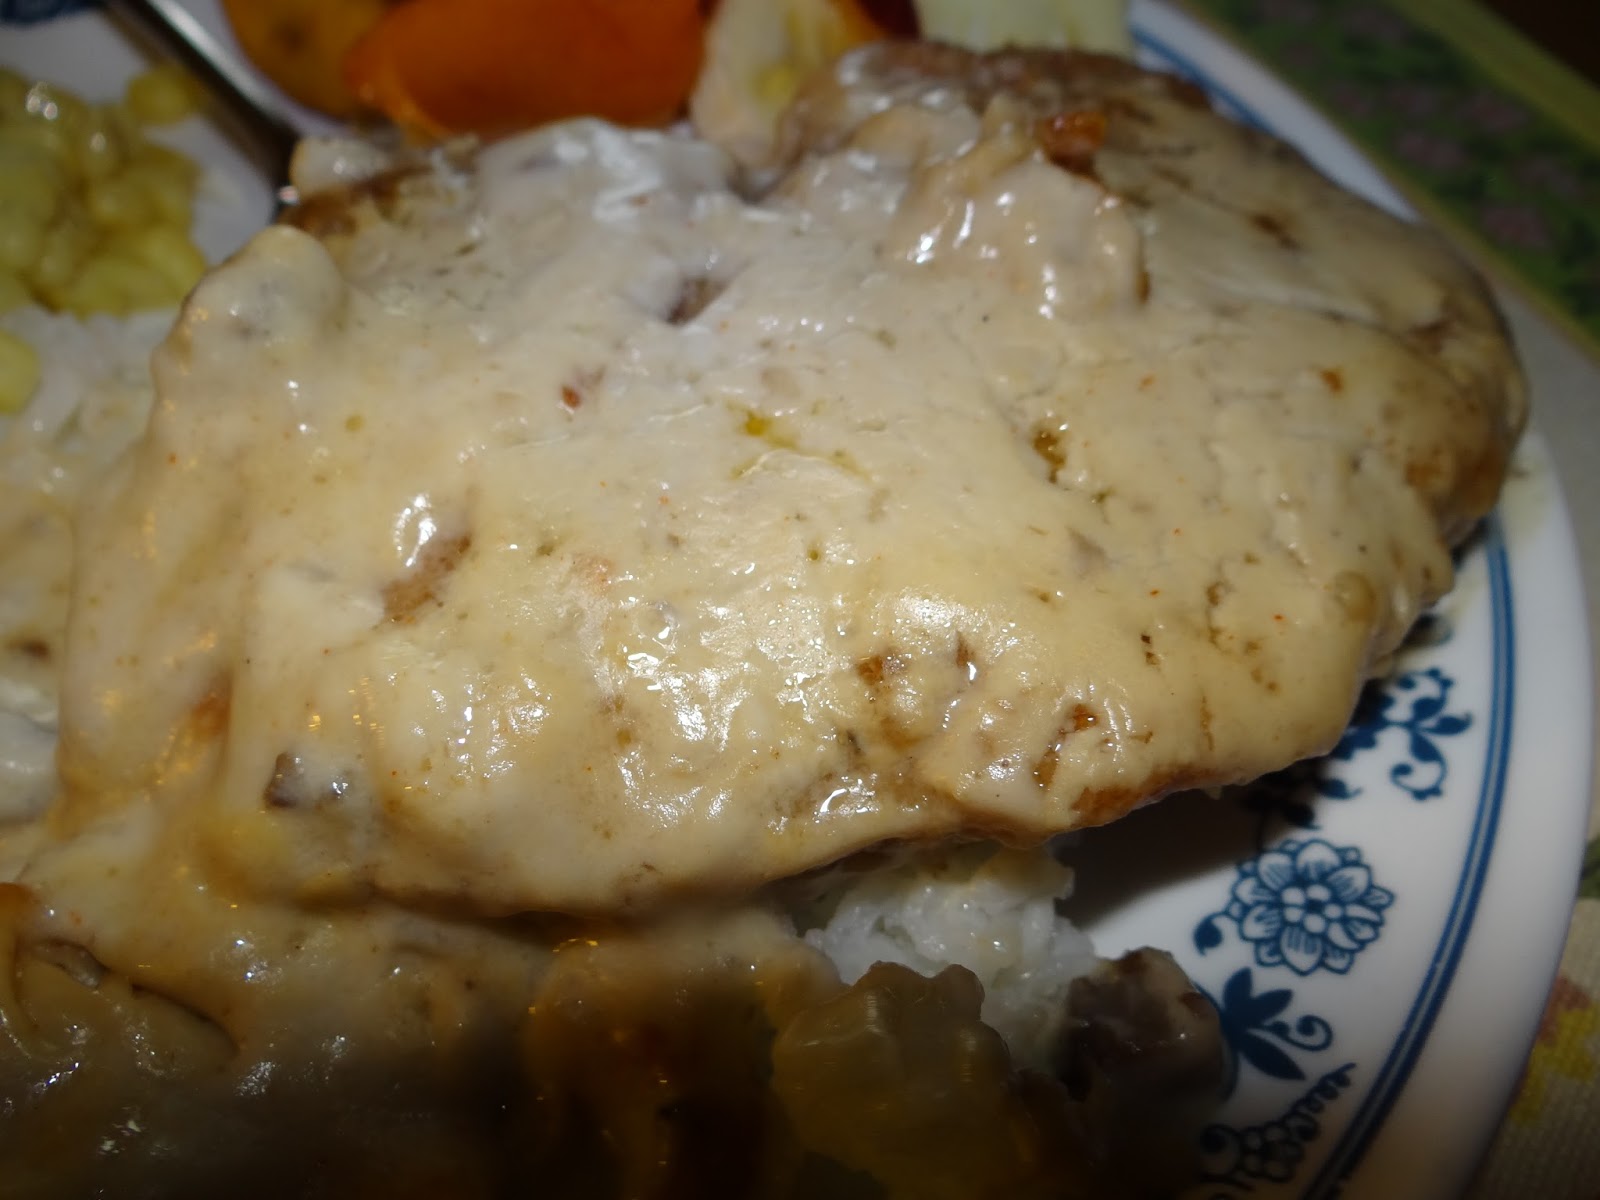
Mushroom gravy is made with white wine, sour cream, and cream of mushroom soup.
Oh heavenly yum! These are truly one of my very favorite dinners. I do these for company a lot because I always get compliments on them. And the meat is always super tender and juicy.
Recipe:PORK CHOPS IN MUSHROOM GRAVY 4-6 pork chops A few shakes of Lawry’s Season Salt A few shakes of pepper. 1 cup flour 2 eggs 1 cup Italian Seasoned Bread Crumbs (optional for more of a coating)
Directions: Roll the pork chops in whisked eggs, then into the flour. Coat them twice for a thicker coating. Then dip into Italian bread crumbs if you want a crispy, thick coating. Salt and Pepper the floured chops. I just lightly floured mine after dipping in a whisked up egg. Fry in canola oil with a half cube of butter mixed in for flavor. Lay out on paper towels to soak up some of the oil. Then place in a casserole dish (9 x 13 pan). Cover with foil and bake for 30 minutes at 325 degrees.
Then fry them up in half oil, half butter for a tastier fried pork chop.
After about 2 to 3 minutes per side, lay them on a paper towel and dab dry.
Lay them flat in a 9 x 13 casserole dish. Cover with foil and bake for 30 minutes on 325. Then mix up the gravy while your chops are baking. After 30 minutes pour the gravy over the chops in the 9 x 13 pan and bake for 15 to 20 minutes longer. Chops will be so moist and tender and delicious!
Mushroom Gravy
1 can cream of mushroom soup
1 cup sour cream
1/4 cup White wine or sherry
1/2 to 3/4 cup milk
pepper and seasoning salt to taste
1/2- 3/4 cup mushrooms sauteed in butter and garlic for 5 minutes. I just use Johnny’s Garlic Salt mix. I get it at Costco and it is delicious to make garlic bread too.
I made 45 of these chops once for a huge dinner at my house. I used dutch ovens and put a few layers of chops in each one. They turned out super tender and tasty. This recipe is a keeper. You NEED to not only try this. You need to eat this! If you use the very thick chops at Costco, I would add some extra cooking time, maybe an added 20 to 30 minutes (at 325 degrees) in the oven so they are tender.
I have also tried brining my pork chops for 20 minutes in some lightly salted water. You could do this if you want to make sure they will be juicy when you are done baking them. Here is a video I watched that had a little brining going on. I always brine my turkeys. It always adds to the juiciness! Enjoy!


